5 Fast Tools For Generating Polished Product Mockups

Key Takeaways
- The article discusses five specialized mockup generators: SmartMockups, Mockuuups Studio, Dunnnk, Dimmy.Club, and Magic Mockups. These tools are useful for creating images that demonstrate a product in use, such as a mobile app displayed on a phone screen.
- SmartMockups stands out for its broad range of uses, including digital device templates, billboards, posters, business cards, and apparel template designs. Mockuuups Studio, on the other hand, offers over 260 product shots and allows users to filter the photo pool by device type, orientation, and even the gender of the hands holding the device.
- The author recommends Mockuuups Studio as the best overall tool for its good free options and reasonable fee for additional variety. For those on a budget, Dunnnk is recommended for its wide range of no-cost options.
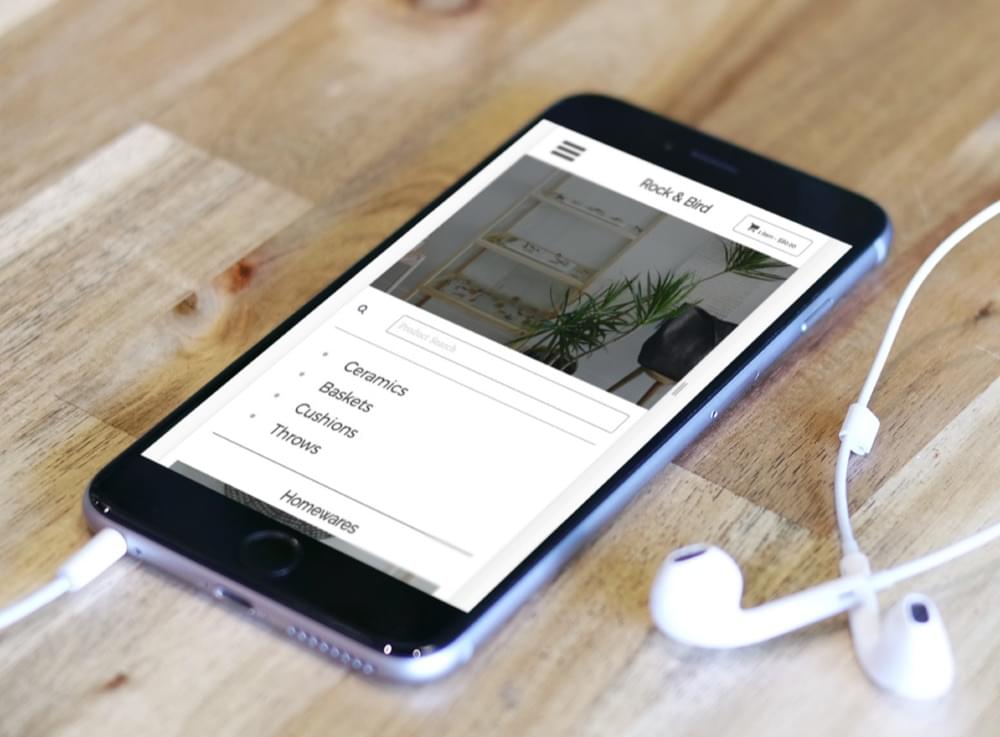
When you hear the word ‘mockup’, it usually refers to a lo-fi website/app layouts. Today I want to talk about another type of mockup, product mockups. These are the mockups you might make to ‘show the product in action’. Typically they take your site, template, theme or mobile app and show it off by setting it into a laptop, a desktop, phone, tablet or even smartwatch setting. They are part aspiration – part demonstration.
Of course, you can create these images from scratch in Photoshop or Sketch – in fact, there are plenty of excellent Photoshop actions and Sketch extensions that will layer your artwork into a preset image.
However, if you’re generating more than one or two, you’ll probably want some variety in your imagery. Today I’ve collected five specialist mockup generators designed to showcase your future products.
Enjoy.
SmartMockups

SmartMockups is a standalone app available for both OSX and Win7+ for a one-off payment of $49. I must admit, I was curious about this payment model. What use is an iPhone 6 mockup in 2 years? However, SmartMockups promises free lifetime updates.
Of course, there’s not much you can do if they decide to discontinue the app tomorrow.
Nevertheless, SmartMockups is a rich and impressive application with a much broader range of uses than any of its competitors (in fact, we featured it in our Incredible Design Tools and Resources, August 2017 article on Tuesday!). Apart from the expected digital device templates, SmartMockups offers billboards, posters, business cards and even apparel template designs. This is a versatile unit.
- URL: https://app.smartmockups.com/
- OS: Mac and Win
- Price: $US49
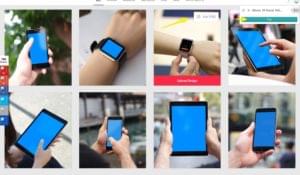
Mockuuups Studio

Mockuuups Studio is a desktop app available for Windows 7+ and MacOS offering a nice selection of original base photos.
Once you’re up and running, you can drag any JPG, PSD or Sketch file into the app window and see it displayed in over 260 product shots. These include phones and tablets – in both portrait and landscape modes – along with laptops and even smartwatches. Impressively, there’s a nice selection of Google, HTC, Samsung and Dell devices along with the predictable Apple product shots.
Mockuuups Studio offers a nice set of controls that let you filter the photo pool by device type, orientation, and even by the gender of the hands holding the device.
The app is free to download and install and offers 24 free product shots to use. For $5 per month you can remove the watermarks from the other 243 shots (though there was a discounted to $3.50 when I checked).
- Link: https://mockuuups.studio/
- OS: All/browser-based
- Price: $5/month for Premium photos (Free photo are available)
Dunnnk
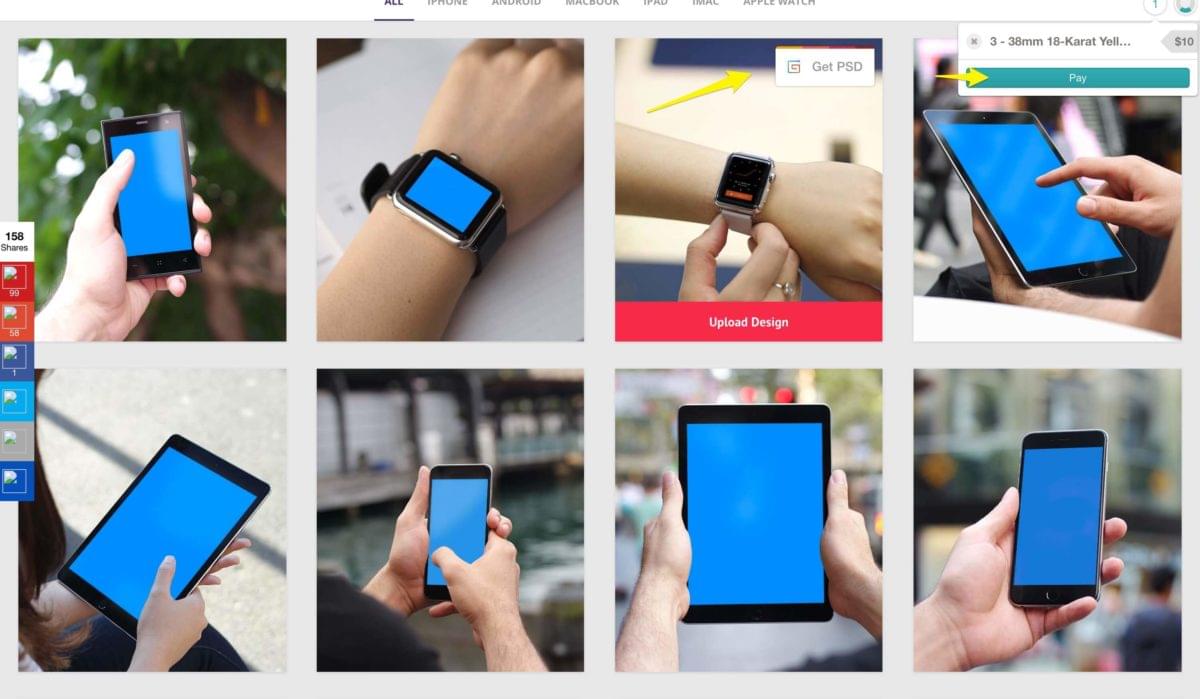
Dunnnk is another super simple online mockup generator currently offering almost 60 base templates across six device categories – iPhone, Android, MacBook, iPad, iMac, and Apple Watch. Two things make it noteworthy.
Firstly, the imagery appears to be all original (I didn’t see it anywhere else) and shares a cohesive look and feel. They’re even clever enough to blur your uploaded screenshot to match the focal length of the underlying image. Secondly, Dunnnk has an unusually large selection of Apple Watch image templates (if you need should ever need those).
The images that you generate live in-page are high-quality and free to download. You also have the option to buy and keep layered PSD files of some templates for between $5 or $10.
- Link:
- OS: All/browser-based
- Price: Free. Buy re-useable Layered PSDs for $5 – $10
Dimmy.Club
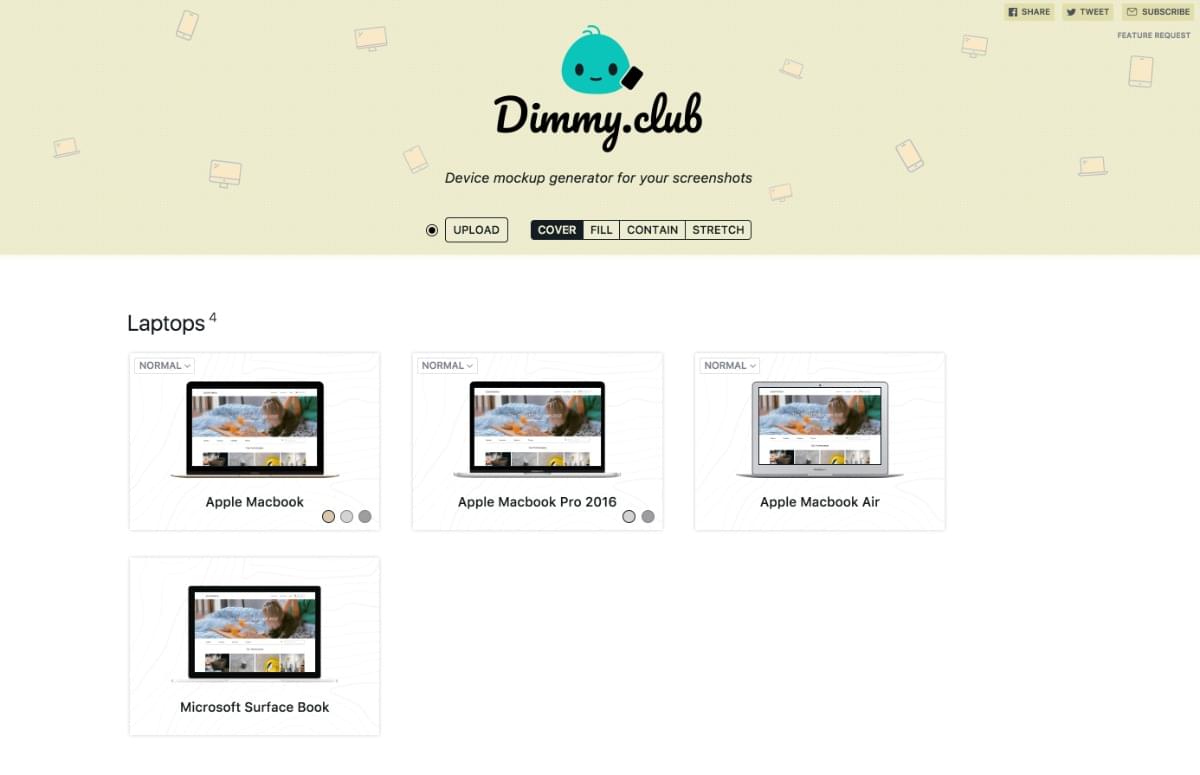
Dimmy.Club is another web-based option. Though it only offers 12 devices, it is the only option in this list that lets you select multiple color options for your device. It’s relatively Apple-centric, though offers a Google Pixel and a random Nokia.
I think it’s most notable for the plain, stripped-back product shots it produces, which may well turn out to be more versatile than any of the others presented here. And if that’s still not visually simple enough for each, each template is also offered in a lo-fi ‘vector blueprint’ view.
Dimmy.Club is 100% free.
- Link: https://dimmy.club/
- OS: All/browser-based
- Price: Free
Magic Mockups
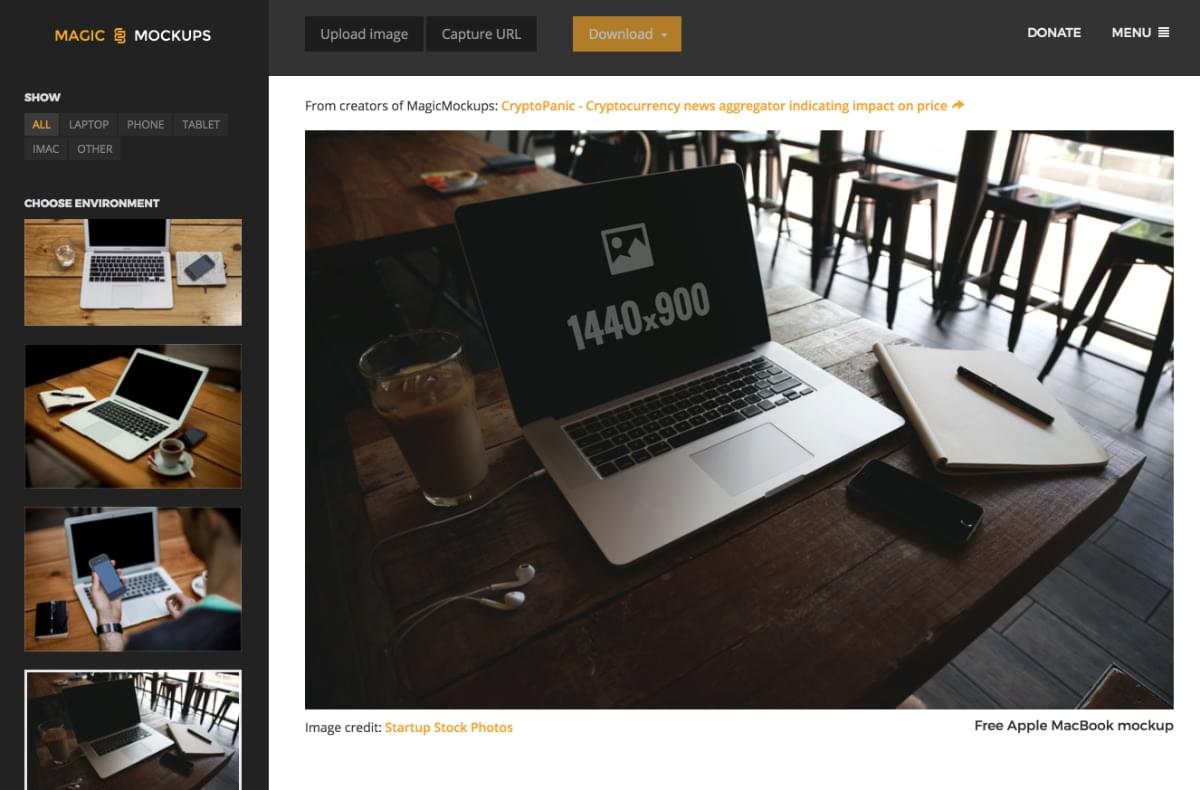
Magic Mockups is a simple web-based product mockup generator offering laptop, phone, tablet and iMac images.
The service currently offers approximately 25 base images that seem to be curated from a range of free image sites – Unsplash and Layerform – so you’ll see these images elsewhere. While the images may not be exclusive, Magic Mockups is free and simple to use.
- Link: http://magicmockups.com/mockup/
- OS: All/browser-based
- Price: Free (Donations appreciated)
The Verdict
Best Overall
Though each of the apps listed above have a case to mount, I think Mockuuups Studio is a good place to start. It requires no install, gets you started with some good free options, but allows you to buy more variety for a reasonable fee.
Budget Option
If budget is big driver in your decision, Dunnnk has a wide range of no-cost options – assuming you don’t need the PSD format.
Frequently Asked Questions about Product Mockup Tools
What are the key features to look for in a product mockup tool?
When choosing a product mockup tool, there are several key features to consider. Firstly, the tool should offer a wide range of templates to cater to different product types and industries. Secondly, it should allow for customization, enabling you to adjust colors, fonts, and other elements to match your brand. Thirdly, the tool should be user-friendly, with an intuitive interface that doesn’t require advanced design skills. Lastly, consider the tool’s export options. It should allow you to download your mockups in various formats for different uses, such as presentations, websites, or print materials.
Are there free product mockup tools available?
Yes, there are several free product mockup tools available online. However, these tools may have limitations in terms of the number of templates available, customization options, and export formats. For more advanced features, you may need to consider paid options.
How can I create a realistic product mockup?
Creating a realistic product mockup involves several steps. Firstly, choose a template that closely matches your product. Then, customize the template by adding your product images, adjusting colors, and adding any necessary text or logos. Use the tool’s editing features to adjust the lighting and shadows to make the mockup look as realistic as possible. Finally, export your mockup in a high-resolution format for the best results.
Can I use product mockup tools without design skills?
Yes, many product mockup tools are designed to be user-friendly and do not require advanced design skills. They offer pre-designed templates and easy-to-use editing features, allowing you to create professional-looking mockups with just a few clicks.
What are the benefits of using product mockup tools?
Product mockup tools offer several benefits. They allow you to visualize your product in a realistic setting before it’s manufactured, helping you to identify any potential design issues. They also enable you to create promotional materials for your product, such as product images for your website or marketing materials. Additionally, they can save you time and money compared to hiring a professional designer.
Can I use product mockup tools for digital products?
Yes, product mockup tools can be used for both physical and digital products. For digital products, you can use the tool to create mockups of how the product will look on various devices, such as smartphones, tablets, and computers.
How can I share my product mockups with others?
Most product mockup tools allow you to export your mockups in various formats, such as JPEG, PNG, or PDF. You can then share these files with others via email, cloud storage, or other methods. Some tools also offer collaboration features, allowing you to share your mockups directly within the tool and gather feedback from others.
Can I use product mockup tools for print materials?
Yes, many product mockup tools allow you to export your mockups in high-resolution formats suitable for print. However, you should always check the tool’s export options to ensure they meet your needs.
Are product mockup tools suitable for small businesses?
Yes, product mockup tools are suitable for businesses of all sizes. They offer a cost-effective way for small businesses to create professional-looking product images without the need for a professional designer.
Can I use product mockup tools on mobile devices?
Some product mockup tools offer mobile apps or are web-based and can be used on mobile devices. However, due to the detailed nature of the work, it may be easier to use these tools on a larger screen, such as a computer or tablet.
Alex has been doing cruel and unusual things to CSS since 2001. He is the lead front-end design and dev for SitePoint and one-time SitePoint's Design and UX editor with over 150+ newsletter written. Co-author of The Principles of Beautiful Web Design. Now Alex is involved in the planning, development, production, and marketing of a huge range of printed and online products and references. He has designed over 60+ of SitePoint's book covers.

Published in
·Design·Design & UX·HTML & CSS·Photoshop·Prototypes & Mockups·Review·Sketch·Software·Technology·UI Design·UX·Web·March 11, 2019


Published in
·Design�·Design & UX·Photography & Imagery·Resources·Review·Software·UI Design·UX·September 23, 2015

Published in
·Animation·Canvas & SVG�·Design·Design & UX·Entrepreneur·HTML & CSS·Illustration·Review·Software·September 22, 2014