Mock-ups are critical for every web and graphic designer. They play a key role in convincing clients, making sales, and giving a tangible feel to digital goods and other intangible media. Buyers are always looking for value, and although it may sound trivial, customers always want something tactile in return for their hard-earned money. Showing your prospective customers a physical disk can be surprisingly persuasive when it comes to selling software or marketing other media forms online.
So, in this tutorial we will learn how to create a DVD Mock-up in Photoshop from scratch. We will design both sides of the DVD using different shape tools, the pen tool, blending options, and layer styling. Let’s get started!
Resources:
DVD Brushes
Before we get started, let’s have a look ahead at our final result:

Step 1
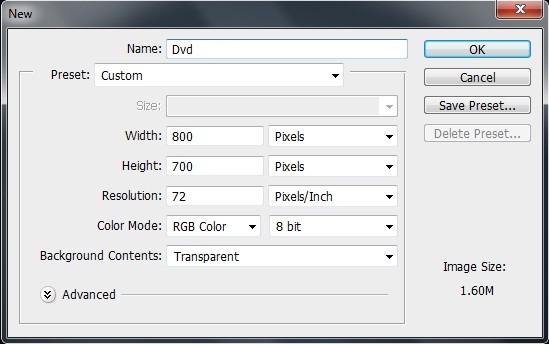
Open Photoshop and create a new file with an 800px width and a 700px height.
Step 2
Create a new background layer and fill it with a basic gradient.
Step 3
Now, we will start with the shiny side of the DVD. So select the ellipse tool and create a circle using pure white.

Step 4
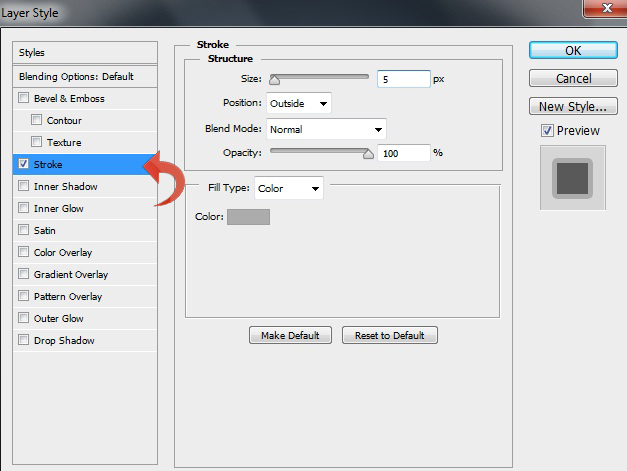
Click on “Layer” > “Layer styles” > “Stroke” and add a 6 pixel stoke using color #acacac.
Step 5
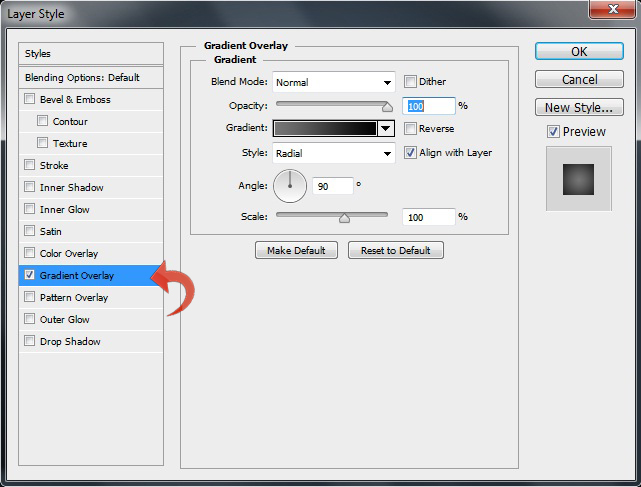
Now click on “Gradient Overlay” and apply a gradient with “Angle” as the chosen style.

Step 6
Create another small circle using color #e1e1e1 and place it in the center.

Step 7
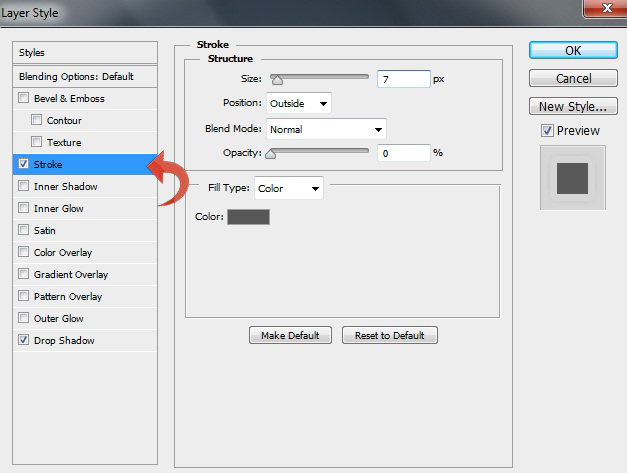
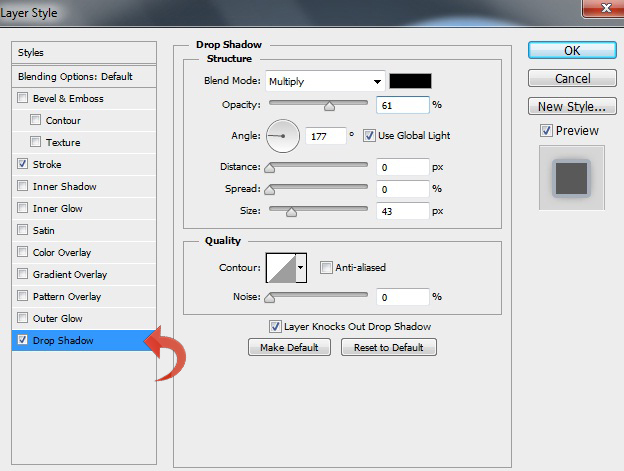
Click on “Layer Style” and add a stroke and a drop shadow using the following settings.

Step 8
Create another circle of the same size using the ellipse tool and fill it with color #c9d0d9.

Step 9
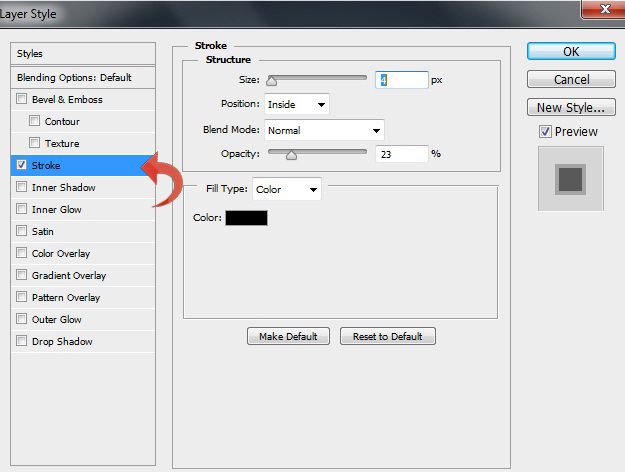
Now, add a stoke to this new circle using the following stroke settings.

Step 10
Create another circle and fill it with color #d4dae2. Then, click on “Layer Styles” and add another stroke and drop shadow.

Step 11
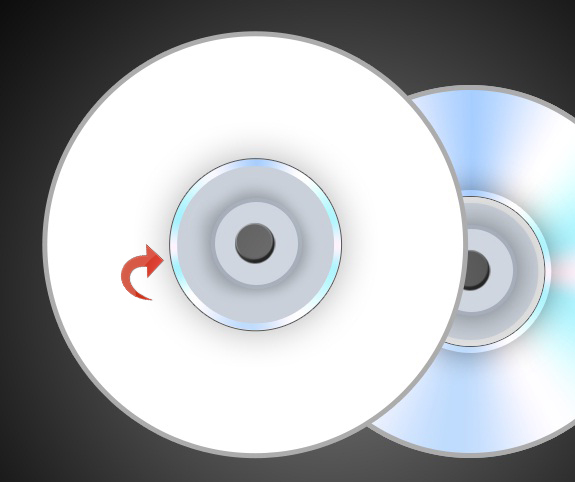
Select the eraser tool and use it in the center to create the central hole of the DVD. Then, select a hard round brush to use it on the edge to create a bit of depth, keeping the foreground color as #242424.

Step 12
Now, let’s start with the top side of the DVD. First, create a circle and fill it with pure white.

Step 13
Click on “Layer Styles” and add a stroke using the following values.

Step 14
Now, create the center area the same way that we did above. Just don’t add a stroke for the second circle.
Step 15
Select the ellipse tool and change the tool mode to “Paths.” Then, create a circle inside the white area near the edges.

Step 16
Now, select the text tool and add text on the path.

Step 17
Select the elliptical marquee tool, create a circle in the middle, and fill it with color #302c2b. Use the eraser tool in the center.

Step 18
Click on “Layer Styles” and add a stroke and an inner glow using the following settings.

Step 19
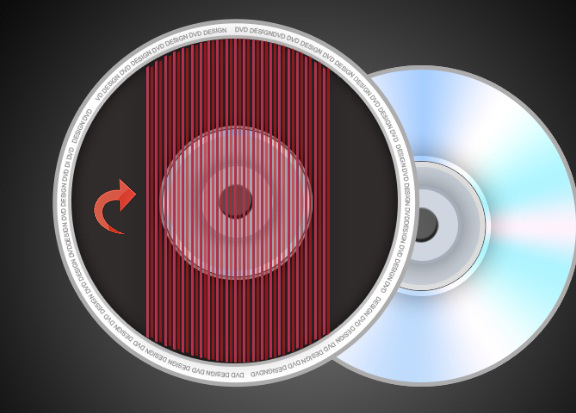
Select the line tool with a 3px weight and create some straight lines using colors #ab203e and #951a20. Look below for clarity.
Step 20
Use the eraser tool in the center and add a gradient using the following values.

Step 21
Now, create a new layer and select some of the DVD brushes that I mentioned above. You can add few more DVDs to the final result if you want.

We’re done! Our DVD Mock-up is ready. I Hope you guys enjoyed it and found it useful.
 Anum Khan
Anum is Web and Graphic designer. Addicted to Photoshop and crazy for pixel perfection. She is also an active blogger, sharing her passions, skills and creative details on her blog Websoulz. She loves to connect with the community, sharing the latest design gossips and rolling her eyes on boring trends.