5 jQuery Right Click Context Menu Plugins

We have seen a lot of jQuery Right Click Menu plugins out there but if you are looking for some decent and lightweight ones you don’t have to spend and waste time here is some handpicked pretty neat 5 jQuery Context Menu plugins… Enjoy! :)
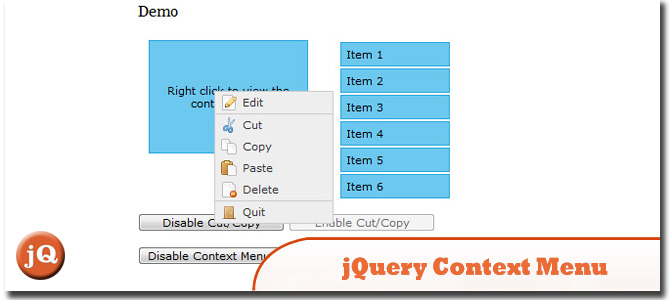
1. jQuery Context Menu Plugin
It was designed to make implementing context menu functionality easy and requires minimal effort to configure.
SourceDemo
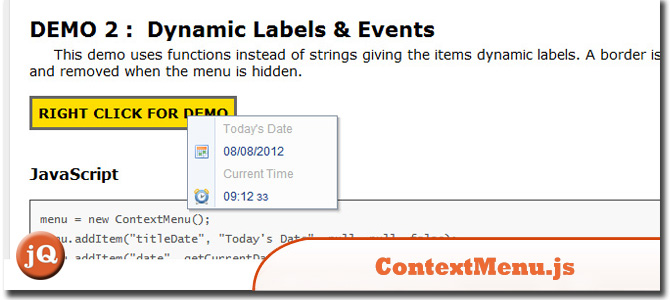
2. ContextMenu.js
A very easy to use utility that lets you add custom right click menus to any HTML element on your website!
SourceDemo
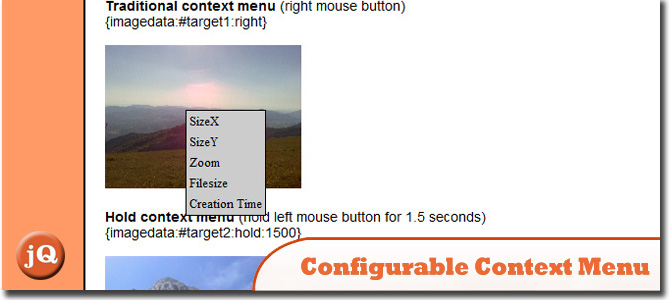
3. JQUERY CONFIGURABLE CONTEXT MENU
This is a configurable context menu, it works in 3 way: right click, hold down, hover.
Source + Demo
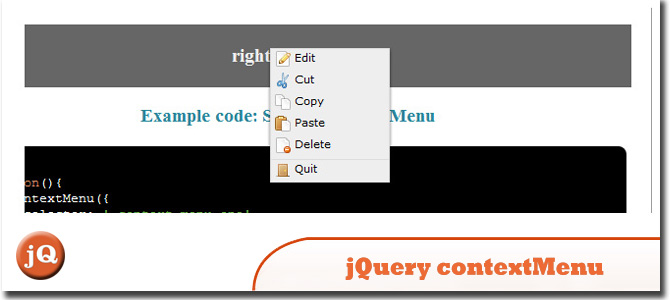
4. jQuery contextMenu plugin & polyfill
It was designed for an application where there are hundreds of elements that may show a context menu – so intialization speed and memory usage are kept fairly small. It also allows to register context menus without providing actual markup, as $.contextMenu generates DOMElements as needed.
SourceDemo
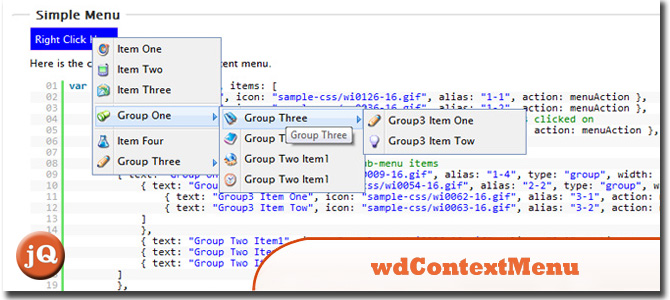
5. wdContextMenu – Jquery Context Menu Plugin
Is very lightweight jquery plugin for right click menu.
SourceDemo
Frequently Asked Questions (FAQs) about Right-Click Context Menu Plugins
What are the benefits of using right-click context menu plugins?
Right-click context menu plugins offer a variety of benefits. They provide a more intuitive and user-friendly interface, allowing users to access specific functions directly from the context menu. This can significantly enhance the user experience, making navigation and functionality more efficient. Additionally, these plugins are highly customizable, enabling developers to tailor the context menu to suit the specific needs of their application or website.
How do I install a right-click context menu plugin?
Installing a right-click context menu plugin is typically straightforward. Most plugins come with detailed installation instructions. Generally, you will need to download the plugin files, include them in your project, and initialize the plugin using JavaScript or jQuery. Some plugins may also require additional dependencies, such as jQuery UI.
Can I customize the options in the context menu?
Yes, one of the key features of right-click context menu plugins is their high level of customizability. You can add, remove, or modify menu items, change the appearance of the menu, and even create nested submenus. This allows you to create a context menu that perfectly fits the needs of your application or website.
Are right-click context menu plugins compatible with all browsers?
Most right-click context menu plugins are designed to be compatible with all modern web browsers, including Chrome, Firefox, Safari, and Edge. However, compatibility can vary between different plugins, so it’s always a good idea to check the plugin documentation for any potential compatibility issues.
Can I use right-click context menu plugins with mobile devices?
While right-click context menu plugins are primarily designed for use with a mouse, many also offer support for touch events, making them compatible with mobile devices. However, the functionality and user experience may not be as smooth as on a desktop, so it’s important to thoroughly test the plugin on various devices.
How can I add a submenu to my context menu?
Adding a submenu to your context menu can usually be done by defining a nested array of menu items in your plugin initialization code. The exact syntax can vary between different plugins, so be sure to check the plugin documentation for specific instructions.
Can I use right-click context menu plugins with frameworks like Angular or React?
While most right-click context menu plugins are designed to work with jQuery, some also offer support for other JavaScript frameworks like Angular or React. However, this can vary between different plugins, so it’s important to check the plugin documentation for compatibility information.
How can I disable the default browser context menu?
Disabling the default browser context menu can usually be done by calling the preventDefault method on the contextmenu event. This prevents the browser from displaying its default context menu, allowing your custom context menu to be displayed instead.
Can I use icons in my context menu?
Yes, many right-click context menu plugins allow you to use icons in your menu items. This can be done by including an icon class or URL in your menu item definition. The exact syntax can vary between different plugins, so be sure to check the plugin documentation for specific instructions.
How can I handle click events on my context menu items?
Handling click events on your context menu items can usually be done by defining a callback function in your menu item definition. This function will be called when the menu item is clicked, allowing you to perform specific actions. The exact syntax can vary between different plugins, so be sure to check the plugin documentation for specific instructions.
Sam Deering has 15+ years of programming and website development experience. He was a website consultant at Console, ABC News, Flight Centre, Sapient Nitro, and the QLD Government and runs a tech blog with over 1 million views per month. Currently, Sam is the Founder of Crypto News, Australia.