
Images add flavor, character and delight to your app interfaces. Image loading in Android typically involves adding many lines of code boilerplate code. Picasso from Square is one of the simplest libraries to use and includes memory and data optimization, allowing you to choose not to save the images in cache after they are downloaded.
In this tutorial I will show how to download images from external locations, using a file path, image resource id or any URI in your Android application using Picasso.
You can find the project on GitHub. You can download the drawables used in the project here, make sure you add them to the drawables folder.
Adding Picasso to Your Project
Note: I am using version 2.5.2 of Picasso.
Create a new Project in Android Studio and add this line inside dependencies in build.gradle (Module: app):
compile 'com.squareup.picasso:picasso:2.5.2'
Sync Gradle in your project to download the library.
Add the internet permission in AndroidManifest.xml.
<uses-permission android:name="android.permission.INTERNET"/>
In this project I am going to use a single activity class and layout resource file.
XML Layout
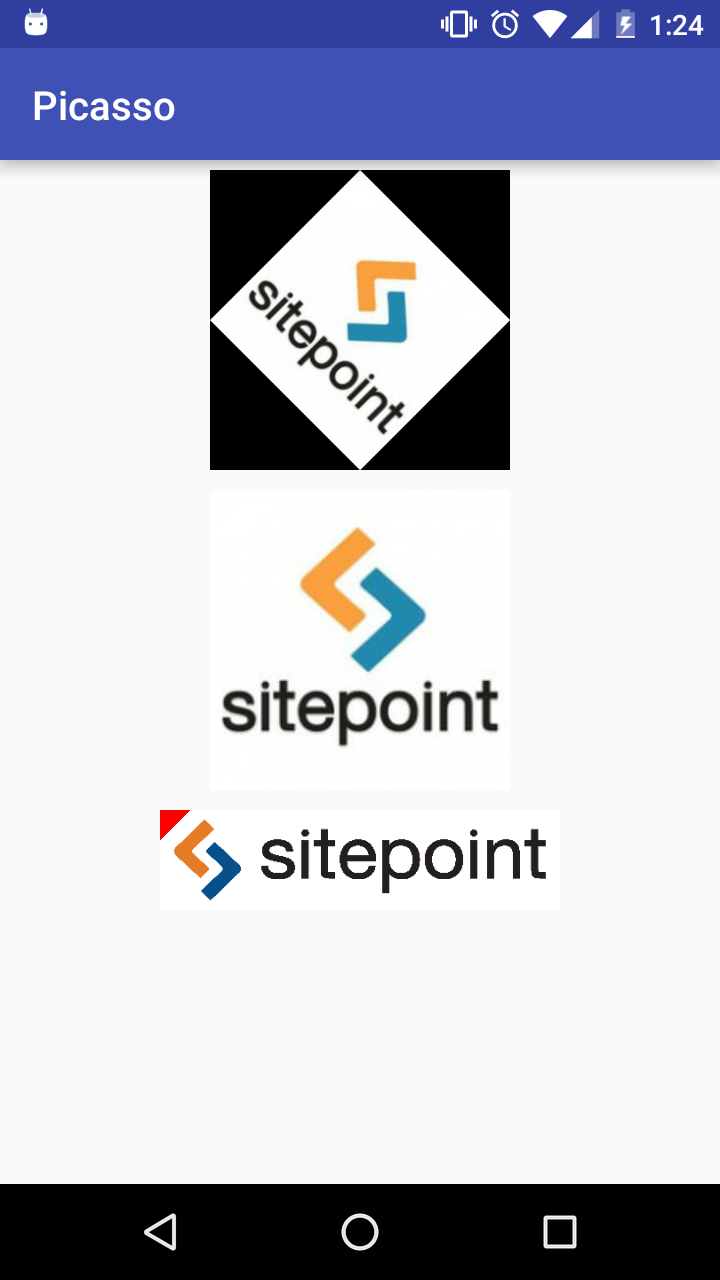
The interface of this sample application includes three ImageViews, inside a vertical-oriented linear layout. Each image will be downloaded, saved and displayed using a different method of the library.
The code for activity_main.xml is below (don’t forget to change to your package name):
<?xml version="1.0" encoding="utf-8"?>
<RelativeLayout
    xmlns:android="http://schemas.android.com/apk/res/android"
    xmlns:app="http://schemas.android.com/apk/res-auto"
    xmlns:tools="http://schemas.android.com/tools"
    android:layout_width="match_parent"
    android:layout_height="match_parent"
    tools:context="com.example.theodhor.picasso.MainActivity">

    <LinearLayout
        android:layout_width="wrap_content"
        android:layout_height="match_parent"
        android:orientation="vertical"
        android:id="@+id/activity_main"
        android:layout_centerHorizontal="true">

        <ImageView
            android:layout_width="150dp"
            android:layout_height="150dp"
            android:layout_gravity="center_horizontal"
            android:id="@+id/image_1"
            android:layout_margin="5dp"/>

        <ImageView
            android:layout_width="150dp"
            android:layout_height="150dp"
            android:layout_gravity="center_horizontal"
            android:id="@+id/image_2"
            android:layout_margin="5dp"/>

        <ImageView
            android:layout_width="wrap_content"
            android:layout_height="wrap_content"
            android:id="@+id/image_3"
            android:layout_margin="5dp"/>

    </LinearLayout>

</RelativeLayout>
Displaying Images
The first step is creating a reference in your Java code for each of the above ImageViews. Add the following below the MainActivity class declaration:
ImageView firstImage, secondImage, thirdImage;
Below this code, create String variables and give them the value of any image URI. Since you are using three ImageViews, an URI for each is needed:
private static final String IMAGE_1 =
"http://uxmastery.com/wp-content/uploads/2015/06/sitepoint-logo-195x195.jpg";
private static final String IMAGE_2 =
"http://uxmastery.com/wp-content/uploads/2015/06/sitepoint-logo-195x195.jpg";
private static final String IMAGE_3 =
"https://www.sitepoint.com/premium/books/git-fundamentals/online/images/sitepoint-logo-2012.png";
Inside the onCreate() method, create the references for the ImageViews:
firstImage = (ImageView)findViewById(R.id.image_1);
secondImage = (ImageView)findViewById(R.id.image_2);
thirdImage = (ImageView)findViewById(R.id.image_3);
The simplest way to download an image, save it in device memory and display it is with this line of code, added below the image references:
Picasso.with(this).load(IMAGE_1).centerCrop().fit().into(firstImage);
You need to reference each instance of Picasso inside the application context, using with(context). Then .load(parameter) can accept a file, resource id, path or uri of any image as a parameter. .centerCrop() places the image in the center of the ImageView and uses .fit() to stretch the image according to the ImageView size. You can also use .resize(int width, int height) to set the explicit size of the downloaded image. The last method, .into(parameter), accepts the ImageView to display the image as a parameter.
This was the shortest line of code for displaying an image from an external source.
This is the shortest line of code to load an image, but Picasso lets you use different methods to better use network data, device memory and processor.
A more customized example to do the same is:
Picasso.with(this)
  .load(IMAGE_1)
  .centerCrop()
  .fit()                    .placeholder(getResources().getDrawable(R.drawable.placeholder,null))
  .error(getResources().getDrawable(R.drawable.no_image,null))
  .rotate(45)
  .memoryPolicy(MemoryPolicy.NO_CACHE)
  .priority(Picasso.Priority.HIGH)
  .into(firstImage);
With larger images, you can use a placeholder which displays a dummy image until the desired one has downloaded and ready to display. You can use the same technique to avoid empty ImageViews when loading encounters an error.
By skipping Cache, Picasso avoids cache look up while processing a request. This can apply in cases when you are sure that the image cannot be found in cache. Use .memoryPolicy(MemoryPolicy.NO_STORE) to not store the image in cache after it has downloaded.
Each image can have its own Priority: LOW, NORMAL or HIGH.
You are going to display the secondImage using a Target which has three main methods to determine the status of the image downloading process. Add this code after the previous Picasso calls:
Target target = new Target() {
   @Override
   public void onBitmapLoaded(Bitmap bitmap, Picasso.LoadedFrom from) {
          secondImage.setImageBitmap(bitmap);
   }

   @Override
   public void onBitmapFailed(Drawable errorDrawable) {
          secondImage.setImageDrawable(errorDrawable);
   }

   @Override
   public void onPrepareLoad(Drawable placeHolderDrawable) {                secondImage.setImageDrawable(getResources().getDrawable(R.drawable.prepare_load,null));
   }
};

target.onBitmapFailed(getResources().getDrawable(R.drawable.no_image,null));

Picasso.with(this).load(IMAGE_2).priority(Picasso.Priority.HIGH).into(target);
The overridden methods of the Target allow you to better manage the process. You can set the parameters of these methods by calling them from outside of the target. You can set the bitmap displayed when downloading fails using:
target.onBitmapFailed(getResources().getDrawable(R.drawable.no_image,null));
The next line creates an instance of Picasso, downloading the image located at IMAGE_2.
You will download the third image using a ‘Picasso Builder’. This will help distinguish where this image comes from. If the image is found in device memory or disk, Picasso won’t download it but use the currently available one. By creating a Builder, you can display Debug Indicators that show the image source.

The builder supports another method, called when an image load fails.
//Third method
Picasso.Builder picassoBuilder = new Picasso.Builder(this);
picassoBuilder.listener(new Picasso.Listener() {
    @Override
    public void onImageLoadFailed(Picasso picasso, Uri uri, Exception exception) {
        Log.e("TAG","Failed");
    }
});
Picasso picasso = picassoBuilder.build();
picasso.setLoggingEnabled(true);
picasso.setIndicatorsEnabled(true);
picasso.load(IMAGE_3).centerCrop().resize(400,100).placeholder(R.drawable.no_image).into(thirdImage);
This time you are creating an instance of Picasso using the Builder. As this image is wide, you need to resize the image to keep the correct ratio. A placeholder can be a good element for the application user interface because we can never predict the connection speed and time required to download each image.
Conclusion
In this tutorial I showed you how easy the Picasso library is to configure and use allowing you to download, display and format images in a few lines of code.
I hope you find it as easy to use as I do and if you have any comments or questions, please let me know below.
Frequently Asked Questions (FAQs) about Hassle-Free Image Loading in Android with Picasso
What is Picasso and why is it used in Android development?
Picasso is a powerful image downloading and caching library for Android applications. It simplifies the process of displaying images from external locations, such as URLs, and reduces the amount of boilerplate code that developers need to write. Picasso automatically handles image recycling and download cancellation in an adapter, complex image transformations, and seamless display of images in different resolutions. It’s a go-to tool for many Android developers due to its simplicity and efficiency.
How does Picasso compare to other image loading libraries?
Picasso is known for its simplicity and ease of use. Unlike some other libraries, Picasso allows for hassle-free image loading with minimal setup or configuration. It also provides automatic memory and disk caching, which can significantly improve the performance of your app. However, other libraries like Glide or Fresco might offer more advanced features or better performance in certain scenarios. The choice of library often depends on the specific needs of your project.
How do I add Picasso to my Android project?
To add Picasso to your Android project, you need to include the following dependency in your build.gradle file: implementation 'com.squareup.picasso:picasso:2.71828'. After syncing your project with the Gradle files, you can start using Picasso to load images in your app.
How can I load an image from a URL with Picasso?
Loading an image from a URL with Picasso is straightforward. You just need to call the load() method with the URL of the image and then call the into() method with the ImageView where you want to display the image. Here’s an example: Picasso.get().load("http://example.com/image.jpg").into(imageView);.
Can I use Picasso to load images from resources or assets?
Yes, Picasso can load images from resources or assets. To load an image from resources, you can use the load() method with the resource ID: Picasso.get().load(R.drawable.image).into(imageView);. To load an image from assets, you need to create a Uri pointing to the asset and pass it to the load() method: Picasso.get().load("file:///android_asset/image.png").into(imageView);.
How does Picasso handle image caching?
Picasso automatically caches downloaded images in memory and on disk. This means that once an image has been downloaded, it can be displayed instantly the next time it’s needed, without requiring another network request. Picasso’s caching strategy is designed to balance memory usage and performance, ensuring that your app remains responsive and efficient.
Can I perform image transformations with Picasso?
Yes, Picasso supports a variety of image transformations, such as resizing, cropping, or rotating images. You can apply transformations by calling the transform() method with a Transformation object. Picasso also includes a few built-in transformations, like fit() and centerCrop(), which can be used to adjust the size and aspect ratio of the image to fit the ImageView.
What happens if Picasso fails to load an image?
If Picasso fails to load an image, it will simply leave the ImageView empty. However, you can provide a placeholder image that will be displayed while the image is loading or if the loading fails. You can set a placeholder image by calling the placeholder() method with the resource ID of the image: Picasso.get().load("http://example.com/image.jpg").placeholder(R.drawable.placeholder).into(imageView);.
Can I cancel an image load request with Picasso?
Yes, you can cancel an image load request with Picasso. If you have an ImageView that is no longer in use, for example because the user has scrolled it off screen, you can cancel any pending load request for that ImageView by calling the cancelRequest() method: Picasso.get().cancelRequest(imageView);. This can help to save resources and improve the performance of your app.
Is Picasso suitable for large-scale or complex Android projects?
Picasso is a powerful and flexible library that can be used in a wide range of Android projects, from simple apps to complex, large-scale projects. Its simplicity and ease of use make it a good choice for beginners, while its robust set of features and efficient performance make it suitable for more advanced or demanding use cases. However, for very large-scale or complex projects, other libraries like Glide or Fresco might offer more advanced features or better performance in certain scenarios.
 Theodhor Pandeli
Theodhor has just finished his Computer Engineering bachelor. He loves Android development and that is the field he is the most focused. He also has good knowledge in web development and Unity 3D.