We all know Photoshop is a powerful, versatile tool, but it’s at its best when it’s used for its original intended purpose — photo editing. You can turn boring and plain photos into stylish masterpieces with just a few careful enhancements. If you have good photo editing skills, you can easily add professional touches to your photos and projects with surprising speed.
Today, we are going to create a dynamic photo effect that you can use on your photos to give them an impressive, professional, stylized look. To achieve this effect, we will use some interesting blending options and adjustment techniques. So, let’s get started.
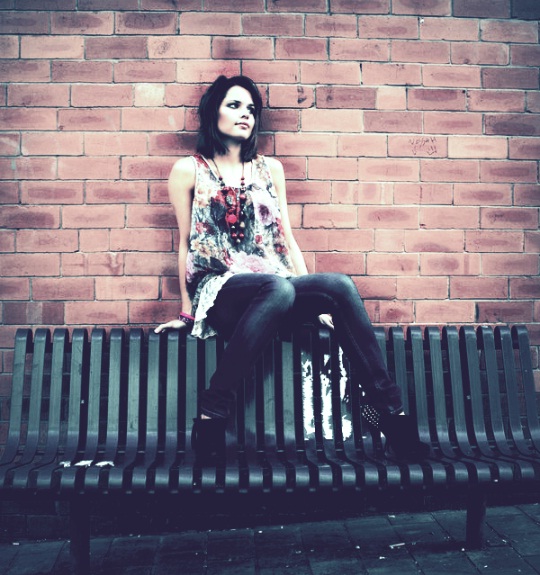
First, let’s have a look at our final result:

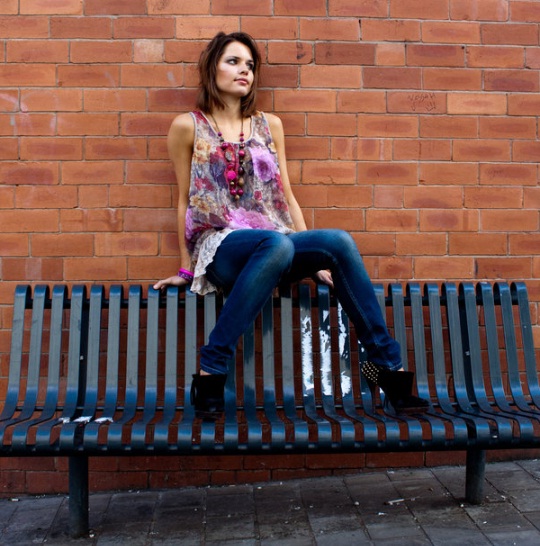
Resources:
Girl Image by Random acts
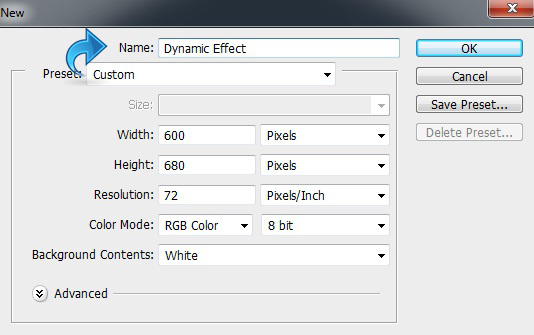
Step 1
Open Photoshop and create a new file with a 600px width and a 680px height.
Step 2
Open the resource image and paste it onto our canvas.
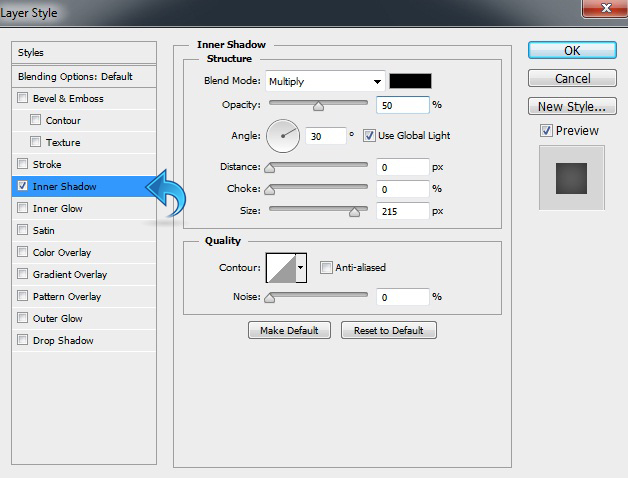
Step 3
Now, duplicate the image layer and add an inner shadow using the following settings.
Step 4
Create a new layer and fill it with color #767676 using the paint bucket tool.
Step 5
Change the blending mode to “Overlay,” and use dodge and burn tool over the image (“Dodge” on the light parts and “Burn” on the darker ones).

Step 6
Now, let’s start with adjustments, so click on “Layer” > “New adjustment layer” > “Levels.”

Step 7
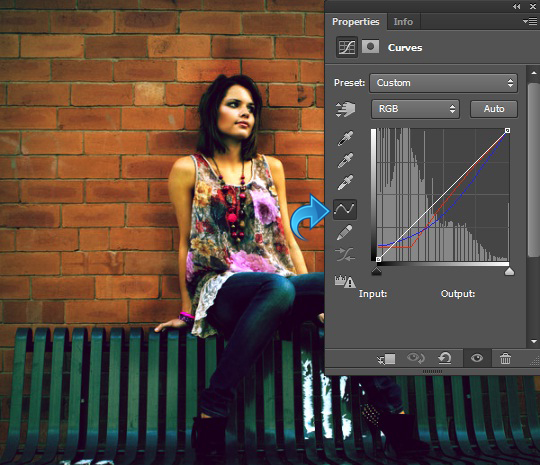
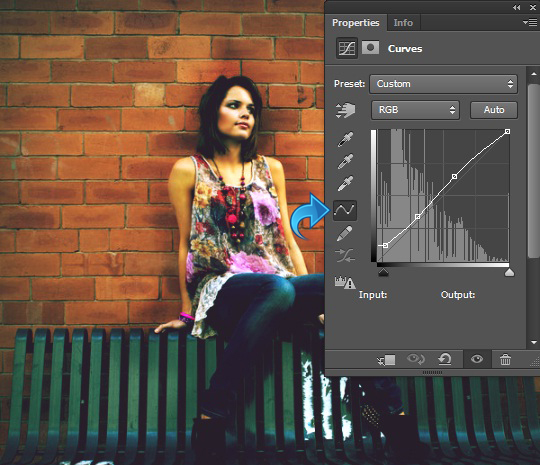
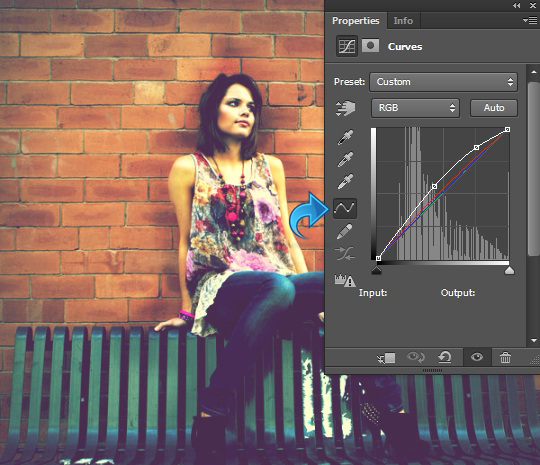
Click on “Layer” > “New adjustment layer” > “Curves.” Emulate the settings shown below.

Step 8
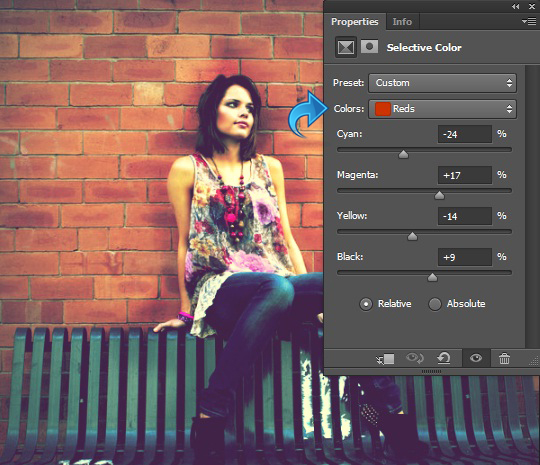
Now, click on “Layer” > “New adjustment layer” > “Selective color.”
Step 9
Click on “Layer” > “New adjustment layer” > “Brightness/Contrast.”

Step 10
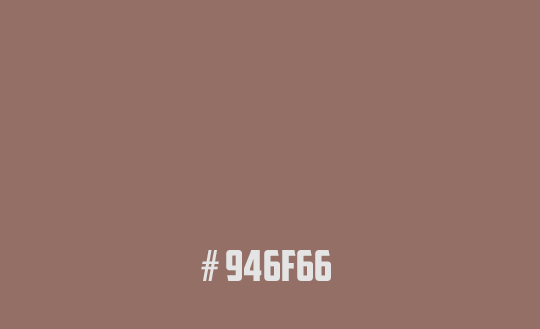
Create a new layer and fill it with color #946f66 using the paint bucket tool.
Step 11
Change the blending mode of the above layer to “Hue” and reduce the opacity to 50%.

Step 12
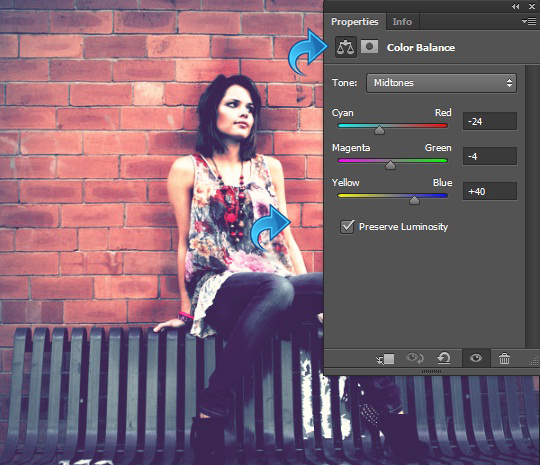
Now, click on “Layer” > “New adjustment layer” > “Color Balance.”
Step 13
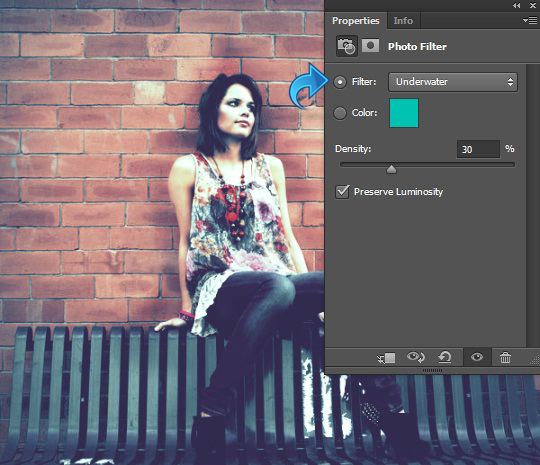
Click on “Layer” > “New adjustment layer” > “Photo Filter.”
Step 14
Now, click on “Layer” > “New Adjustment layer” > “Black & White.”

Step 15
Now, change the blending mode of the above layer to “Overlay.”

Step 16
Now, simply reduce the opacity of the above layer to 55%, and we are done.
I hope you guys enjoyed the tutorial. I’ll be back with some more tutorials. Let me know what you think!
 Anum Khan
Anum is Web and Graphic designer. Addicted to Photoshop and crazy for pixel perfection. She is also an active blogger, sharing her passions, skills and creative details on her blog Websoulz. She loves to connect with the community, sharing the latest design gossips and rolling her eyes on boring trends.