Before we discuss the WP REST API, it’s important to understand some terminology and background information. The acronym API stands for Application Programming Interface. An API is a programmatic way to interact with an application’s data. For example, Facebook’s API gives developers the ability to get all of the friends associated with a certain user. An API typically includes a specific set of instructions called documentation; to make it easy for any developer to work with it.
REST means Representational State Transfer. An API can be considered RESTful if its design/architecture subscribes to a specific set of constraints. You can look up what these constraints are here.
HTTP requests are often the way that you interact with a RESTful API (HTTP requests are also the primary way that data is transmitted across the Internet). HTTP means Hyper Text Transfer Protocol. This protocol allows information to be shared between a client (cell phone, tablet, laptop, desktop, etc.) and a web accessible server in a request-response protocol. As an example, in order to publish a status to a user’s Facebook timeline, a HTTP request targeting that action on behalf of that user would be sent from our JavaScript code to Facebook’s API (ie. a Facebook server). The client (JavaScript code) would receive a response from the Facebook server indicating that the user’s status was successfully published.
 1. A client makes a HTTP request to a server and 2. The server responds with an HTTP response.
In a HTTP request, you need to define the type of action that you want to perform against a resource. There are four primary actions associated with any HTTP request (commonly referred to as CRUD):
- POST (Create)
- GET (Retrieve)
- PUT (Update)
- DELETE (Delete)
A resource is a data object that can be accessed via a HTTP request. The WP REST API allows you to “access your WordPress site’s data (resources) through an easy-to-use HTTP REST API”. In the case of the most recent version of the WP API (version 2), the resources include the following 9 WordPress objects:
- Posts
- Pages
- Media
- Post meta
- Post revisions
- Comments
- Taxonomies
- Terms
- Users
With the WP API, you can perform any of the four CRUD actions against any of your WordPress site’s resources listed above. For example, you can use the WP API to create a post, retrieve a post, update a post or delete a post associated with your WordPress website.
It’s important to know that some HTTP requests don’t require authentication (anyone can make requests and the corresponding responses). In WP API, for example, certain GET requests like getting posts and getting media don’t require authentication. Other GET requests do require authentication though. For example, getting post revisions, getting users and getting post meta data require authentication. In addition, all POST, PUT and DELETE WP API actions require authentication.
In WP API’s case, authentication for on site actions (plugins or themes installed to the site) are handled by cookies. However, if you’re off site, authentication is handled by OAuth (You would need to download the OAuth plugin to your WordPress site and then any external site would need to go through the normal OAuth flow to gain access. There’s also a Basic Authentication plugin that you could use as well).
Creating, retrieving, updating or deleting WordPress site data “is as simple as sending a HTTP request.”
Now that you hopefully have a better understanding of what the WP API is, we’ll explore possible use cases as well as the APIs extensibility, limitations, installation instructions and making a couple example API calls.
Use Cases for the WP API
In a presentation at WordCamp San Francisco in 2014, Sam Hotchkiss said that the WP API could result in “plugins running solely against the REST API; without having to have any PHP installed on that site’s server.” He thinks that the WP API may be opening up the door “for a third party app store” for plugins.
On a May 27, 2015 WordPress Weekly episode, Matt Mullenweg, one of the co-founders of WordPress, said that the WP REST API is going to be “huge and revolutionary for developers”. Developers will be able to “build applications against it in a decoupled way”.
Matt made sure to emphasize that “it really gets amazing when it’s combined with something else. Imagine a future version of HappyTables… where they don’t modify WP admin at all. It just creates a custom interface that talks purely over the REST API. Instead of trying to hack everything in WP admin.”
Matt continued, saying “I think [the] REST API is the beginning of WP admin becoming just one of many clients for managing WordPress. Think of WP admin as PHP, plus HTML, plus JavaScript clients. I think that you will see native clients. I think you’ll see pure JavaScript clients. I think you’ll see other PHP, HTML, JS clients; perhaps in the [vein] of HappyTables or some other verticals that have sprung up around WordPress”. He thinks that it may “make the admin [dashboard] something that you can replace as easily as you can replace the themes.”
Highly Extensible
The WP API’s ability to access and manipulate a WordPress site’s resources remotely is cool enough in and of itself, but its extensibility makes it even more exciting. The WP API provides ways to both add additional fields to resources and to add endpoints to the API.
Adding Fields to Resources
Using the register_api_field function, you can add additional fields to be updated or retrieved when you make requests to certain WP API resources. You first need to run the add_action function and use rest_api_init as the hook (you would likely add this code via a WordPress plugin). The second parameter is the function name that is run when the hook is encountered. The function name in this instance is register_post_custom_field. custom_field is the field name, post is the resource and get_custom_field is the callback function that is run when a GET request is called on the post resource.function register_post_custom_field() {
register_api_field( 'post',
'custom_field',
array(
'get_callback' => 'get_custom_field',
'update_callback' => null,
'schema' => null,
)
);
}You then need to add the get_custom_field callback function to the same file. In this function (as you can see below), you get the value of the “custom_field” for the post resource and you return it. This is so that when a call is made to get the custom field value, you will receive the custom field value in response.
function get_custom_field( $object, $field_name, $request ) {
        return get_post_meta( $object[ 'id' ], $field_name, true );
    }
Adding Endpoints
According to wp-api.org, “endpoints are functions available through the API. This can be things like updating a post or deleting a comment. Endpoints perform a specific function, taking some number of parameters and returning data to the client. A route is the “name” you use to access endpoints, used in the URL. A route can have multiple endpoints associated with it, and which is used depends on the HTTP verb”.In addition to adding fields to default resources, you can register custom endpoints to be used with the WP API. In order to register custom endpoints, you need to call the add_action function and use the rest_api_init hook and the register_rest_route function (again you’d likely add this code in a WordPress plugin). In the example below, the author/{author_id} route is registered and the GET endpoint for that route is defined (the callback function is get_post_title_by_author).
add_action( 'rest_api_init', function () {
            register_rest_route( 'myplugin/v1', '/author/(?P\d+)', array(
                'methods' => 'GET',
                'callback' => 'get_post_title_by_author'
            ) );
        } );
The following is the callback function that gets called when the GET endpoint is accessed via the WP API. FYI, posts are retrieved by the post’s author id in this function and the latest post title is returned.
function get_post_title_by_author( $data ) {
            $posts = get_posts( array(
                'author' => $data['id'],
            ) );

            if ( empty( $posts ) ) {
                return null;
            }

            return $posts[0]->post_title;
        }
The ability to add endpoints and fields to the default WP API functionality makes it easier for developers to use the WP API on many different types of WordPress sites and provides more iterative opportunities in the future.
Limitations
There are some important limitations that you need to keep in mind before you begin working with the WP API. First off, any form of Serialized meta data is not allowed to be read or stored using the WP API. The creators of the API say that this is because “JSON can’t hold all formats of data stored in PHP” (for example, custom PHP objects cannot be represented), serialized data could also expose private data and serialized data has security problems (remote code execution vulnerabilities in particular).
In addition, protected meta cannot be accessed or saved via the WP API. A protected meta is any meta field that has a key that begins with the _ (underscore) character. These meta fields cannot be exposed via the API.
All other meta data is only available when “authenticated with permission to edit the post that the meta is attached to”. This is because any user can enter meta values via the Custom Fields metabox and they want to protect user privacy.
It’s also important to note that the current version two beta “does not guarantee forwards compatibility with future betas.” They continue saying that “while we believe the API is now stable enough for public testing, we may continue to break the API in the future as we improve it further. Only use the API in development, and do not use version 2 in production environments.” You could use version 1 of the WP API, but we would recommend sticking to version 2 and just waiting to use it in production until they say it’s ready for production.
Lastly, in the same WordPress Weekly episode mentioned previously (on May 27), Matt Mullenweg talked about the limitations of the WP REST API’s authentication flow. He said that “third party integrations out of the box will still not be as smooth as you might be used to, like logging in with Facebook or logging in with Twitter to integrate something. That will still be a multi step process or require the site’s owner to go through some extra steps.”
Installation Instructions
You should have a solid idea of what the WP API is capable of and what its limitations are. Let’s show you the steps involved in working with it. First off, you need to add the WP API plugin to your WordPress site.
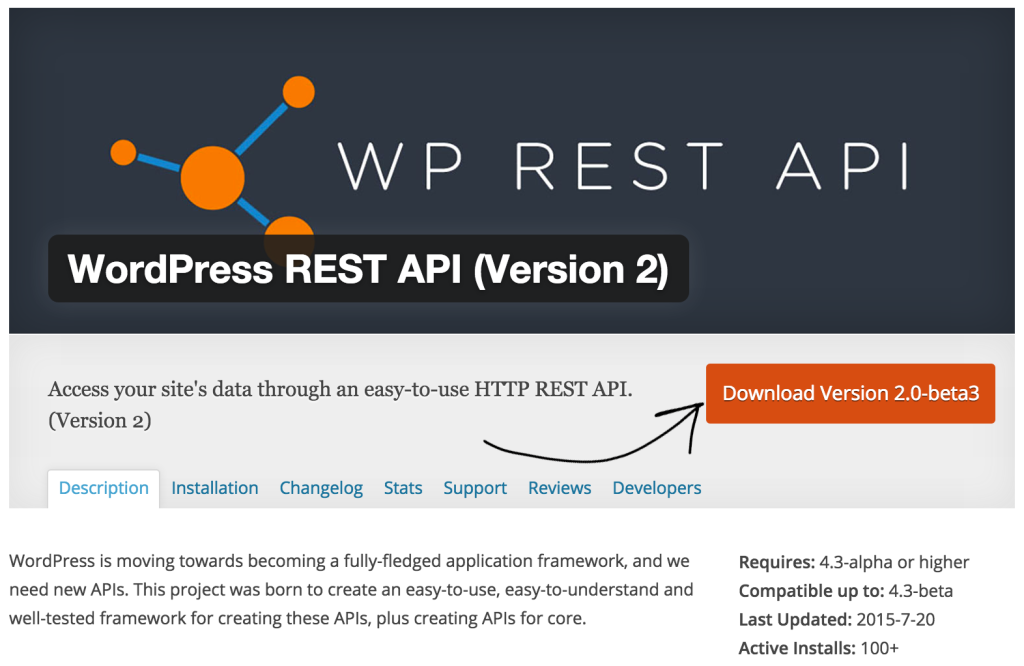
Go to https://wordpress.org/plugins/rest-api. Click the red Download button. This should download the latest version of the WP API plugin as a zip file.
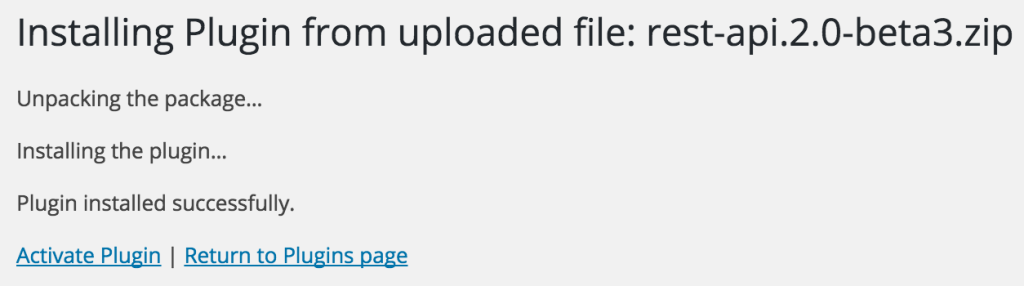
Then, login to your WordPress site (your-site-name.com/wp-login.php). Hover over plugins in the left sidebar and click on Add New. Click on the Upload Plugin button, click Choose File and select the compressed version of the WP API plugin and then click Install Now.

Now that it’s installed, click the ‘Activate Plugin’ link.
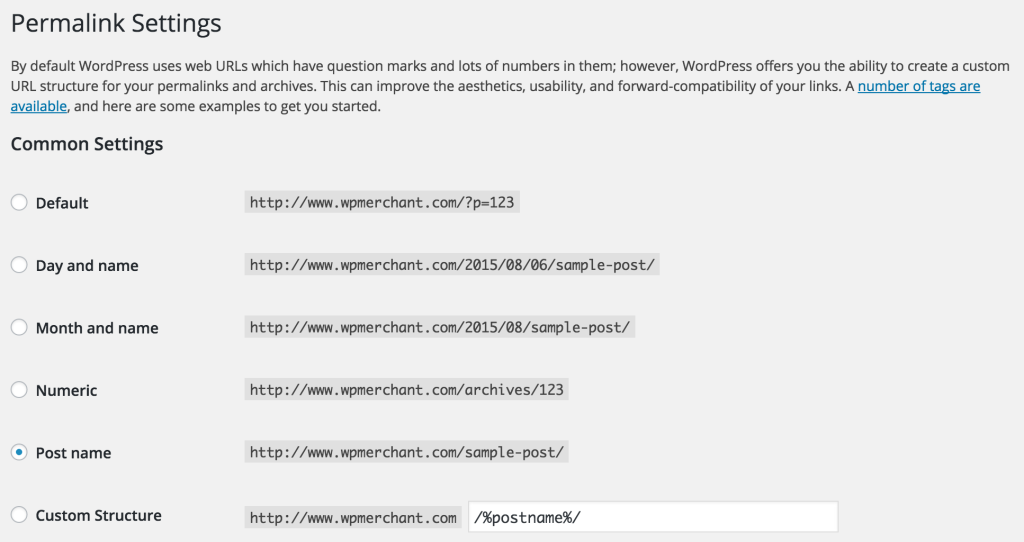
Change permalinks to something other than the default; we set ours to the Post name option.
That’s everything that’s involved with configuring the WP REST API. Now, we can get to the fun stuff and get some data from your WordPress website using the WP API.
Example WP REST API Requests
We’re going to show you examples of some unauthenticated WP API GET requests. So, there’s no need to worry about any authentication plugins or settings.
Start off by adding the Postman Chrome Extension. You could also install the REST Easy Add-On if you use Firefox.
Getting Posts
We’re going to show you how to get all of the posts that currently exist on your WordPress site. In order to do this, copy the following URL (route):http://www.your-web-site.com/wp-json/wp/v2/postsPaste that route into Postman’s Enter request URL here field (You could also do this by simply typing the route above in a web browser but the data won’t be formatted (so it’ll be more difficult to see the schema)). Replace ‘your-web-site.com’ with the website that you installed the WP API plugin on (in our case it was the website wpmerchant.com; as you can see from the image below). Select GET from the drop down and click ‘Send’.

This is sending a GET request to your WordPress site’s server and the server is sending back a response based on the route and the HTTP action that is set. You should see a JSON response similar to the one below.
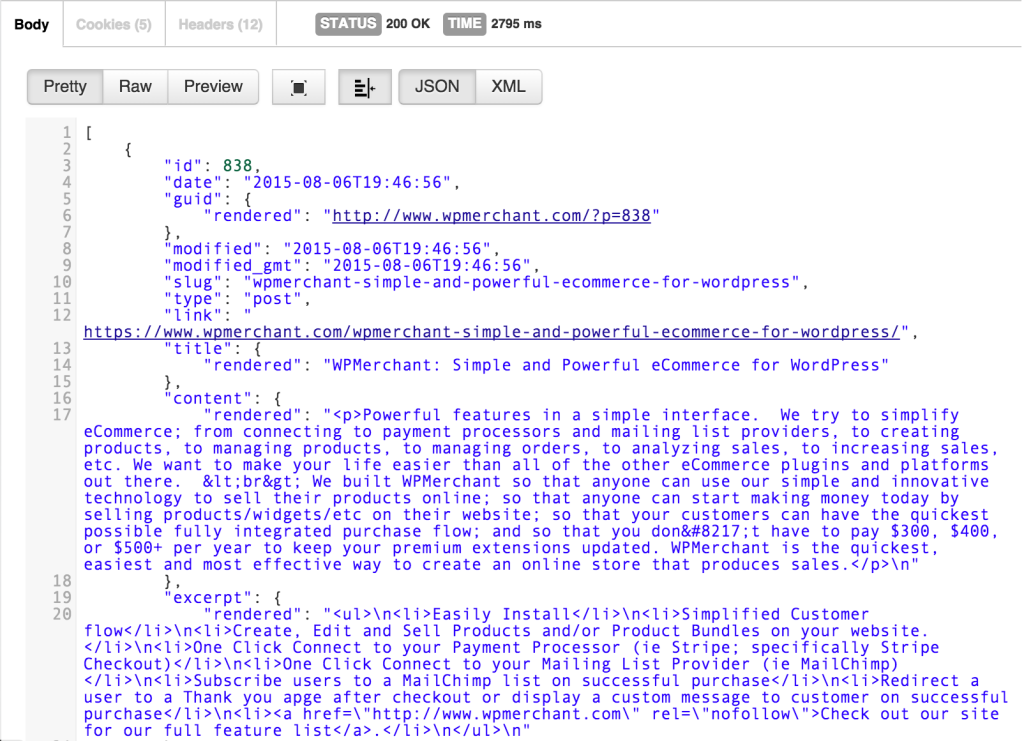
As you can see, this response is structured in a certain way so that you can easily and predictably access the data within it; this is called a schema. This structure is really important because knowing it, allows you to sift through the data programmatically. The response starts with a [ (left square bracket). This identifies the response as a JSON array. If you look at the response in more detail, you can find, amongst other information, that the first post in the array has a post ID of 838, a post title of WPMerchant: Simple and Powerful eCommerce for WordPress as well as the post content starting with <p>Powerful features in a simple interface.). This structure is carried out throughout all of the other posts that are returned in the response.
Get a Post
Now that you know how to get a list of the posts on your site, we’ll show you how to get a specific post from your WordPress site with the WP API plugin installed. Copy the route below.http://www.your-web-site.com/wp-json/wp/v2/posts/{id}Paste that into the Postman Enter request URL here field. Again, make sure you select GET from the drop down. Replace your-web-site.com with the website that you installed the WP API plugin on AND replace {id} with a Post ID that you know exists on the WordPress site.

Click on the blue Send button. You should see something similar to the following response:
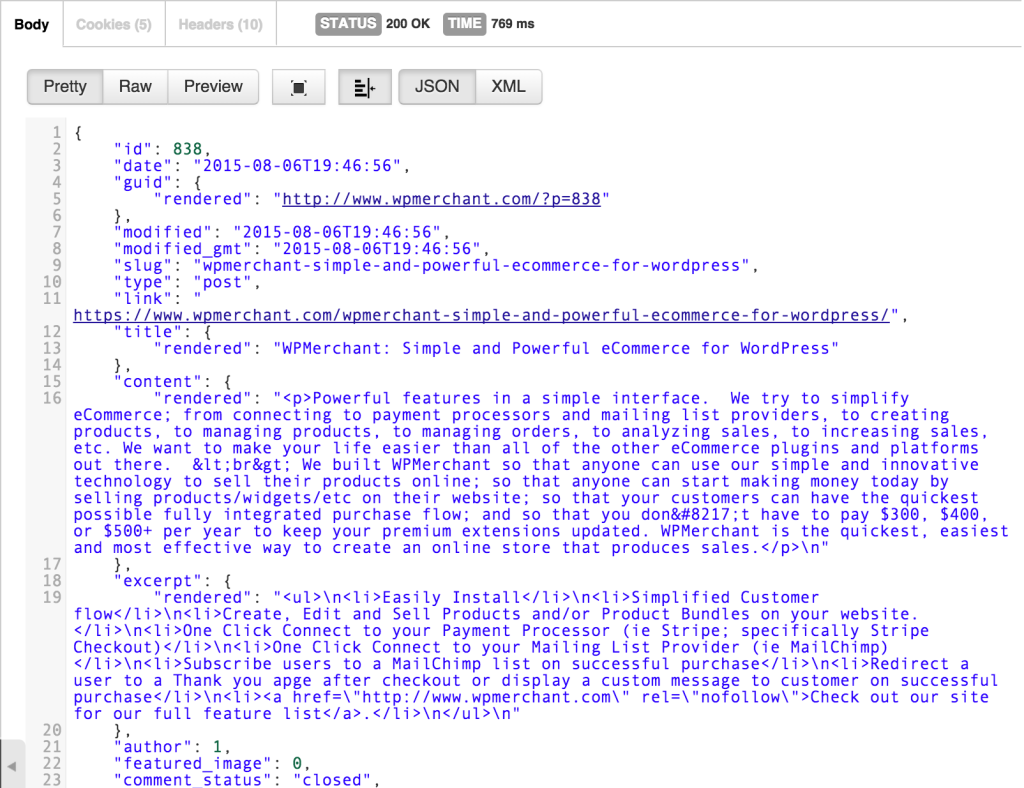
As you can see, there is no left square bracket to start off the response. This means that this response is an object NOT an array of objects. Specifically, this response includes all of the post data related to the post with a post ID of 838. The individual post data is in the same format as the list of posts above. You can again parse through the response and see the post id, post title, post content, post excerpt and many other post details.
Have fun and test out some other unauthenticated HTTP requests!
Conclusion
As you can tell, we’re really excited about using the WP API as well as the the implications of the WP REST API and the different functionality that will result from its use (and hopefully eventual incorporation into the WordPress core).
In a subsequent article, we’re going to create an external site that creates, retrieves, updates and deletes WordPress posts using the WP REST API. So, check out our Twitter feed to stay tuned!
Continue the Conversation
How do you plan on using the WP API? How do you foresee it being used? We would love to hear your thoughts below!
Frequently Asked Questions (FAQs) about WordPress REST API
What is the WordPress REST API and why is it important?
The WordPress REST API is a feature of WordPress that provides a standardized way of interacting with the content and features of a WordPress site programmatically, i.e., through code rather than through the WordPress admin interface. It is important because it opens up a wide range of possibilities for developers to create custom applications, plugins, and themes that interact with WordPress in new and innovative ways. It also makes WordPress more accessible to developers who are familiar with JavaScript and other programming languages, but not necessarily with PHP, the language that WordPress is built on.
How do I use the WordPress REST API?
To use the WordPress REST API, you need to send HTTP requests to specific endpoints, or URLs, that correspond to the data you want to interact with. For example, to retrieve a list of all posts on a WordPress site, you would send a GET request to the /wp-json/wp/v2/posts endpoint. The API will then return the requested data in JSON format, which you can manipulate and display in your application as needed.
What kind of data can I access with the WordPress REST API?
The WordPress REST API allows you to access almost all of the data stored in a WordPress site, including posts, pages, comments, media, users, settings, and more. You can also create, update, and delete this data through the API, provided you have the necessary permissions.
Can I use the WordPress REST API with a non-WordPress application?
Yes, one of the main advantages of the WordPress REST API is that it allows you to interact with a WordPress site from any application that can send HTTP requests and handle JSON data, regardless of the programming language or platform it is built on. This makes it possible to use WordPress as a headless CMS, with the front-end of your site or application built in any technology you choose.
Is the WordPress REST API secure?
The WordPress REST API includes several features to ensure the security of your data. For example, it uses nonces to prevent cross-site request forgery attacks, and it requires authentication for any requests that modify data. However, as with any API, it’s important to follow best practices for security, such as using HTTPS and carefully managing access permissions.
How can I customize the WordPress REST API?
The WordPress REST API is highly customizable. You can add your own custom endpoints, modify the data returned by existing endpoints, and even create entirely new APIs within your WordPress site. This is done through the use of hooks, filters, and other features of the WordPress plugin API.
What are some common use cases for the WordPress REST API?
The WordPress REST API can be used for a wide variety of purposes, from creating custom admin interfaces and mobile apps, to integrating with third-party services and building complex web applications. It’s also commonly used for headless CMS setups, where the front-end of the site is built with a technology like React or Vue.js, and WordPress is used solely for content management.
Do I need to know PHP to use the WordPress REST API?
While knowledge of PHP can be helpful for customizing the WordPress REST API and creating custom endpoints, it’s not strictly necessary for using the API. The API is designed to be language-agnostic, meaning you can interact with it using any programming language that can send HTTP requests and handle JSON data.
Can I use the WordPress REST API to create a mobile app?
Yes, the WordPress REST API is an excellent tool for creating mobile apps that interact with WordPress. By using the API, you can retrieve and manipulate WordPress data directly from your app, without needing to embed a web view or use other workarounds.
Where can I find more information about the WordPress REST API?
The official WordPress REST API Handbook is a comprehensive resource that covers all aspects of the API, from basic usage to advanced customization. There are also numerous tutorials, guides, and blog posts available online that can help you get started with the API.
 Ben Shadle
Ben cofounded a web development company with his brother Lee 5+ years ago. He luxuriates in building WordPress plugins. Ben and his brother built WPMerchant to make it cheap and easy for anyone to sell products/subscriptions on WordPress. Ben also enjoys learning about lead generation and the brothers relish helping others get more customers through their TemplateLauncher landing pages.