
It’s IoT Week at SitePoint! All week we’re publishing articles focused on the intersection of the internet and the physical world, so keep checking in for the latest updates.
relayr is an IoT platform as a service, aiming to help IoT developers centralize and aggregate the data generated by IoT connected devices. By installing their hardware and software SDKs you don’t need to worry about specific SDKs and data types generated by various devices, but instead code against the relayr APIs.
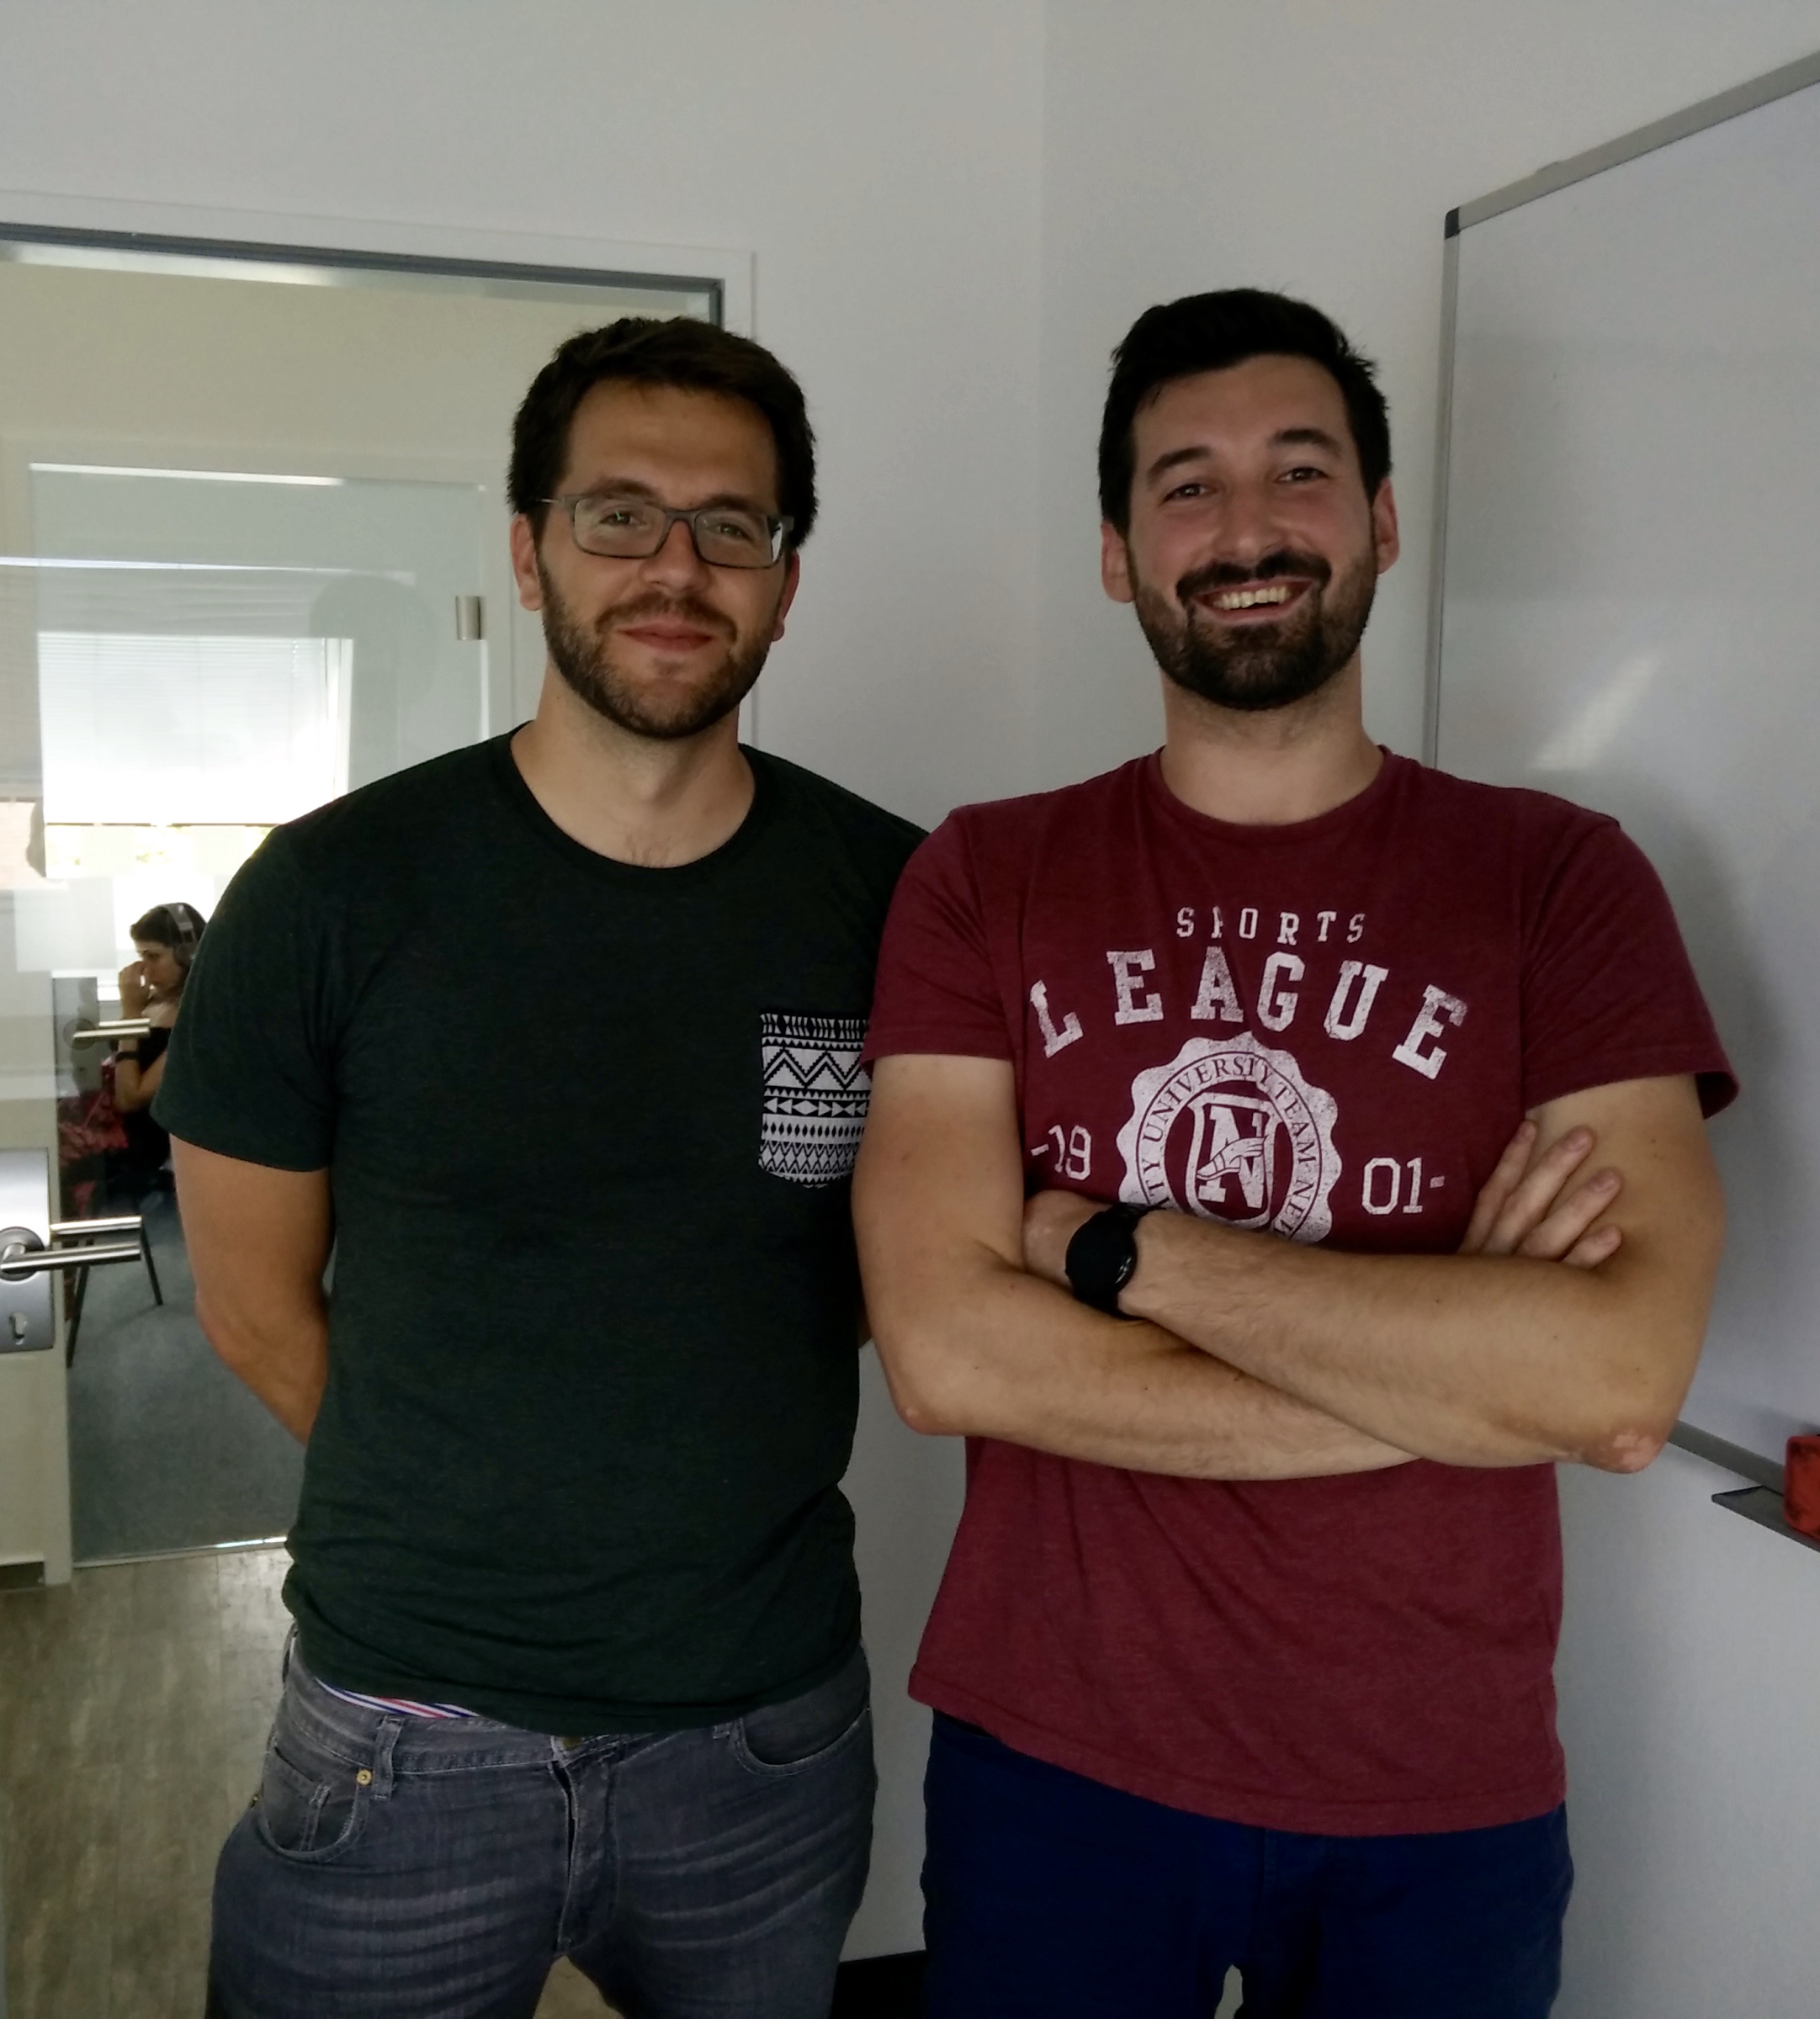
relayr began with the Wunderbar, a custom IoT prototyping tool that provides a multitude of sensors and adapters. In May, the company released the Proto IoT Android app and I met with two of their team (Bernard and Marcos) here in Berlin to discuss why they created the app and what developers can do with it.
Whilst the Wunderbar is a good device, the relayr team found that they weren’t reaching as many developers as they wanted. Custom hardware devices are still a high barrier to entry and need a multitude of cables and complex configuration to get working. The team realized that the sensors and measurements needed by those making IoT prototypes were already available in a device that pretty much everyone has access to. Their mobile phones.
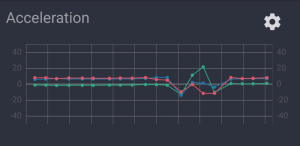
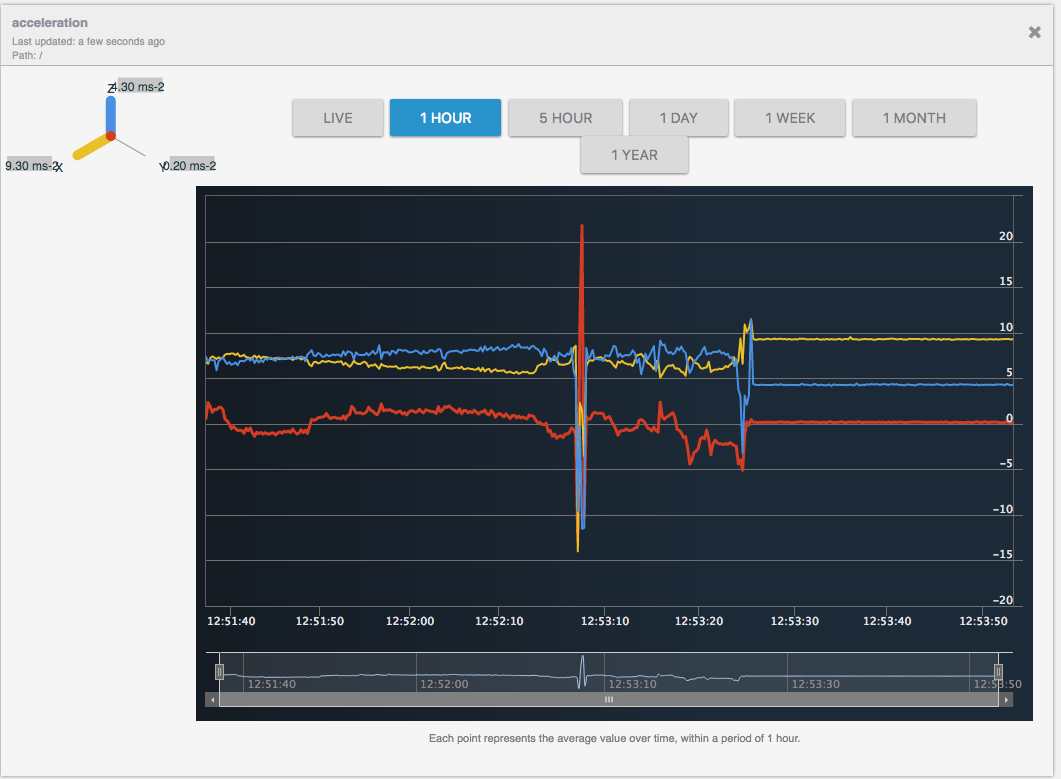
The App is available for Android and iOS is coming soon (trust me, I saw the beta version). The app let’s you track acceleration, gyroscope, luminosity, location, screen touches, battery level and wifi signal and all are logged automatically to relayr’s cloud dashboard.
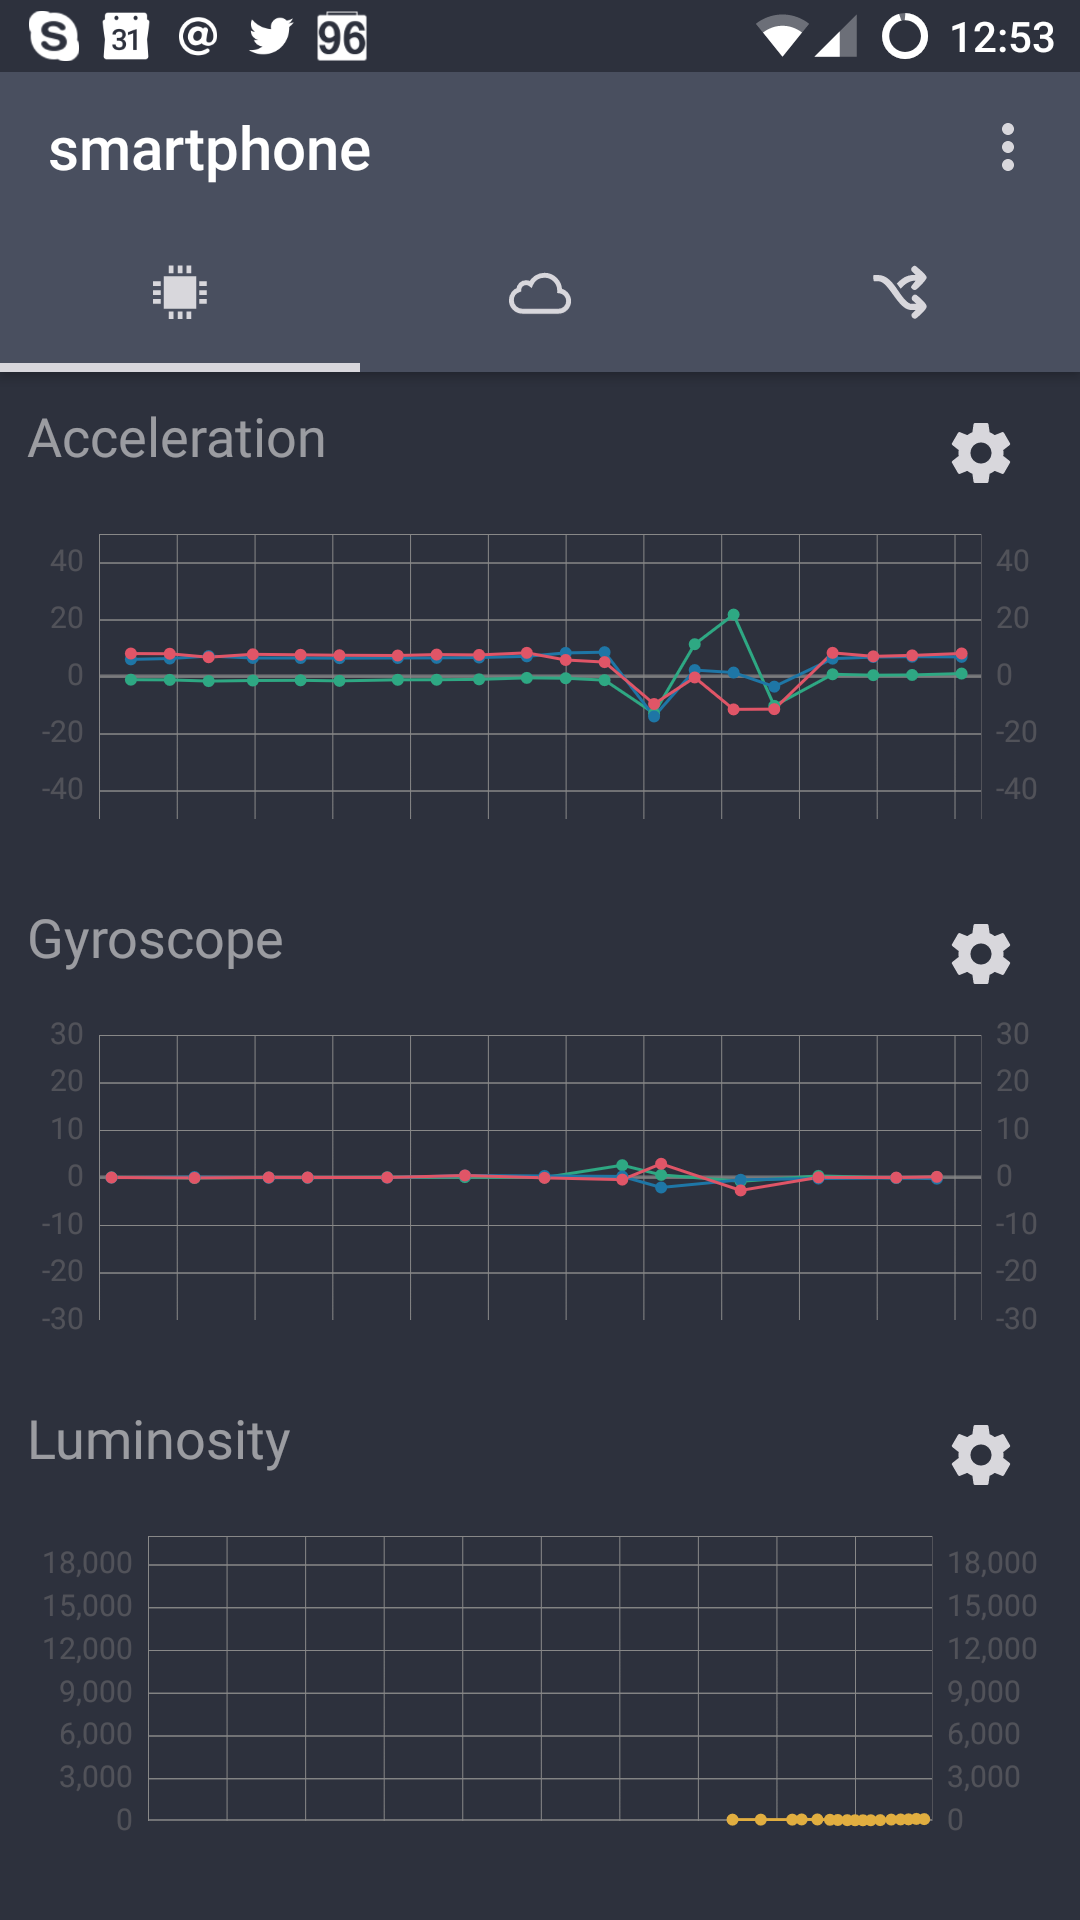
You can also jump into more long term history overview:
Creating a relayr Powered Cat Monitor
Time to build an app that makes use of the app and the relayr SDKs. I’m using a slightly modified version of a demo from the recent Droidcon here in Berlin. You can find the final project on GitHub.
Our cat Ginger hates having the lounge room door closed. It’s where she gets to scratch the rug, sit on my desk, and roll around in her Catnip. I frequently would like the door closed so she can’t do that. The problem is that she jumps up on the door handle to pull it down and let herself in.
In this example app, I will use the gyroscope of a phone to determine if the handle is downward (in this case a 90 degree change in orientation) because she is hanging on it. Then display the current outcome in an Android app. Of course, the output application could be in any of the languages that relayr supports, and in the ‘real world’ I would replace my phone with a proper sensor, I’m not leaving my phone taped to a door handle. The point of the Proto app is purely for testing.
Note: There is also a hardware folder in the project, this for the Wunderbar, but you might find it interesting to dig around. From now on, I will be referring to files found in the protoIoT folder.
Note: The code uses Butterknife for tidying code injections, SitePoint had an article in 2015 that covered the library in more detail.
When developing an Android app for the relayr platform, you actually use two different SDKs, the Java SDK contains a lot of underpinning code, with the Android SDK adding on specific APIs relevant for Android development.
Add these as dependencies in build.gradle (Module: ProtoIoT):
dependencies {
    ...
    compile 'io.relayr:android-sdk:1.0.3'
    compile 'io.relayr:java-sdk:1.2.1'
}
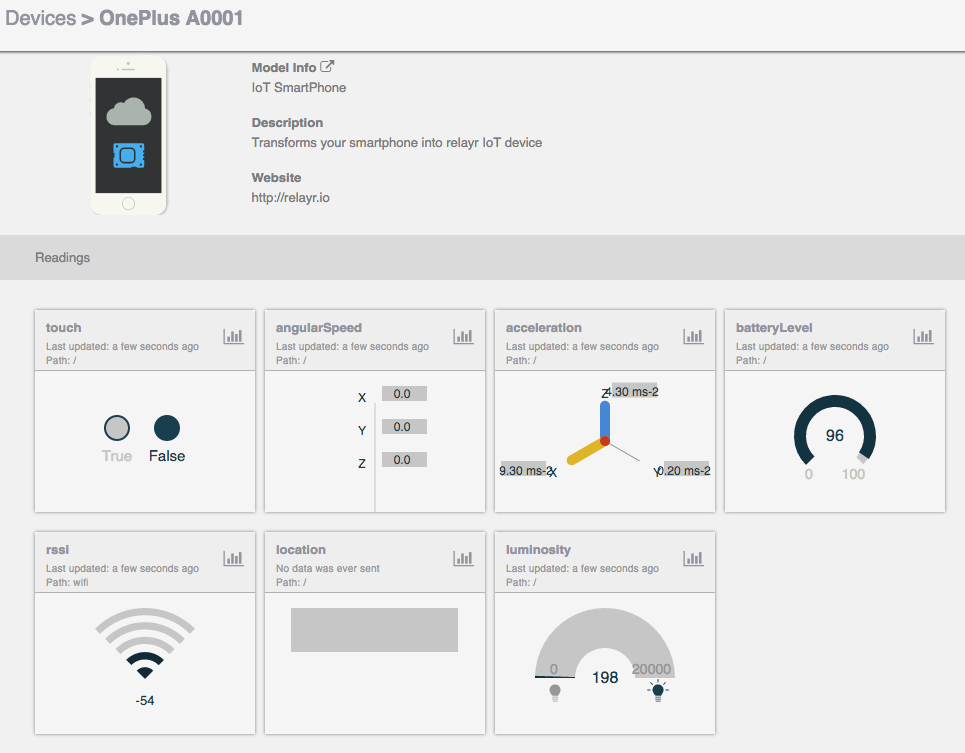
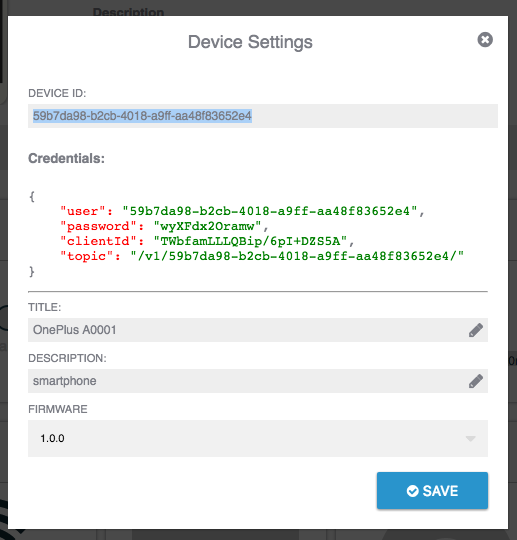
Open the Constants.java file and change the PROTO_IOT__DEVICE_ID constant to your device ID, you can find this ID by clicking the cog icon on the overview of your device:
public static final String PROTO_IOT__DEVICE_ID = "59b7da98-b2cb-4018-a9ff-aa48f83652e4";
Run the app. On first run you will need to login to your relayr account, this login screen is generated by using the SDK to check if a user is logged in, and if not, presents a login screen.
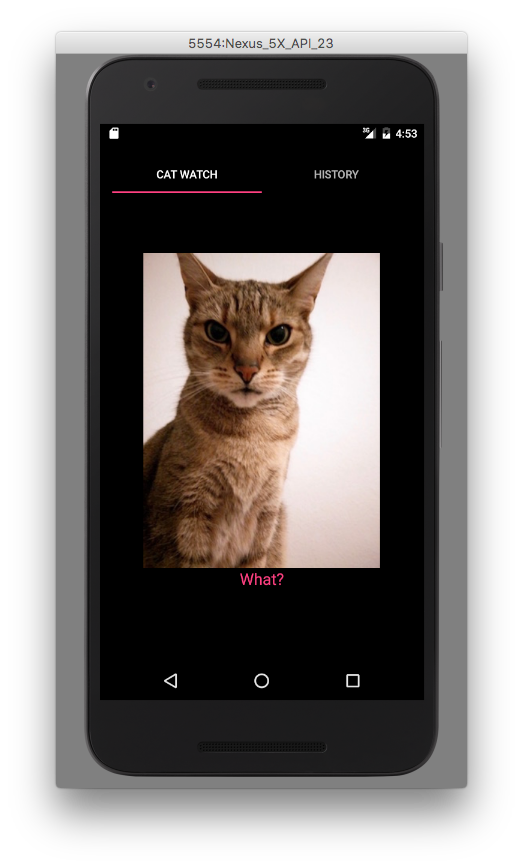
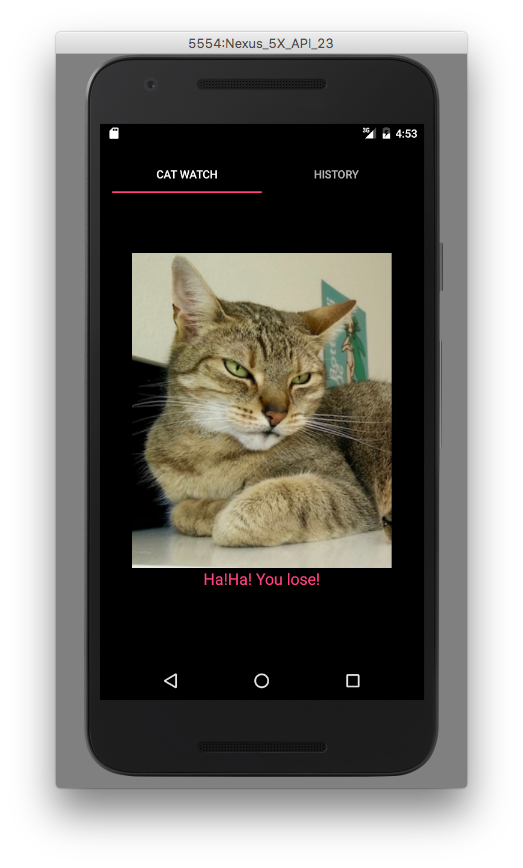
Flip your phone 90 degrees, you should see the images and text change to reflect the change in state. Flip it back and the original image returns.
Open TabCurrent.java. When you open this tab, it runs the loadUserInfo() function to load user data, and if successful, loads the smartphone device you added above to the app with the loadProtoIotDevice() function. If this function successfully loads, then it’s time to start listening for IoT data generated by the device with the subscribeToProtoIotData() function.
The SDK allows you to subscribe to the device and react to changes with the .subscribeToCloudReadings() function:
private void subscribeToProtoIotData() {
    if (mDevice == null) return;

    mDevice.subscribeToCloudReadings()
            .timeout(Constants.DEFAULT_TIMEOUT, TimeUnit.SECONDS)
            .observeOn(AndroidSchedulers.mainThread())
            .subscribe(new SimpleObserver<Reading>() {
                @Override public void error(Throwable e) {
                    Toast.makeText(getContext(), R.string.problem_loading_data, Toast.LENGTH_SHORT).show();
                    Log.e("TabCurrent", "subscribeToProtoIotData error");
                    e.printStackTrace();

                    if (e instanceof TimeoutException) subscribeToProtoIotData();
                }

                @Override public void success(Reading reading) {
                    if (reading.meaning.equals("acceleration")) {
                        final AccelGyroscope.Acceleration accel = mGson.fromJson(reading.value.toString(), AccelGyroscope.Acceleration.class);
                        showCatState(Math.abs(accel.x) > 6);
                    }
                }
            });
}
The function takes the timeout value defined in Constants.java, sets a thread to run on and creates a Reading object to extract values from if the subscribe method is successful.
Inside the overridden success method is where you can start reacting to reading types and values. Use reading.meaning.equals() to check for the type of reading this is from touch, angularSpeed, acceleration, batteryLevel, rssi, location and luminosity. Once you know what type the reading you are dealing with is, you can use the relevant Java classes (in this case io.relayr.java.model.AccelGyroscope) to extract the reading and react to it.
For this door lock application, this involves changing the image presented if the value on the x axis of the device’s accelerometer is greater than 6.
Checking for other types of reading and extracting the value is a similar process. For example, a gyroscope reading:
if (reading.meaning.equals("angularSpeed")) {
   final AccelGyroscope.AngularSpeed gyro = mGson.fromJson(reading.value.toString(), AccelGyroscope.AngularSpeed.class);
   showToiletState(Math.abs(gyro.x) > 1);
}
Test Your Ideas
I found it easy to experiment with the readings coming from my phone and see what I could trigger with them, great from a prototyping perspective. I had two main issues experimenting with the Proto IoT app and the relayr platform, network timeouts and documentation. The network timeouts might have been more due to our poor quality router, but it’s important to remember to handle these in your apps. Secondly, relayr’s documentation is messy. There seems to be plenty of it available, but finding what you’re looking for is hard, especially when you may not know what you’re looking for yet, I have been assured that getting this in order is a current priority.
If you’re looking for a way to prototype your IoT ideas, then I strongly recommend trying the Proto app and relayr SDKs in your language of choice. Let me know what you try and how it works for you.
 Chris Ward
Developer Relations, Technical Writing and Editing, (Board) Game Design, Education, Explanation and always more to come. English/Australian living in Berlin, Herzlich Willkommen!