Optimizing and Exporting
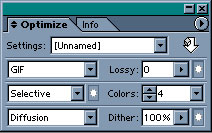
We are now going to optimize and export each slice. Use the “Slice Selection Tool” to select the slice called gray_bar Now, hold down the shift key, and click the blue_square slice. As these are both single-color images, we can optimize both at the same time. Use these settings to optimize the two slices as gifs:
Next, use the “Slice Selection Tool” to select the header, and then, holding down the shift key, click on the footer too. As these slices have complex color transitions it’s best to save them as jpegs. Uses these settings:
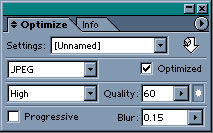
The reason that I’ve included a small amount of blur here is to smooth out some of the pixelation that’s often associated with jpeg images. This is not a common practice when optimizing photographs, however, because the photo will look out of focus.
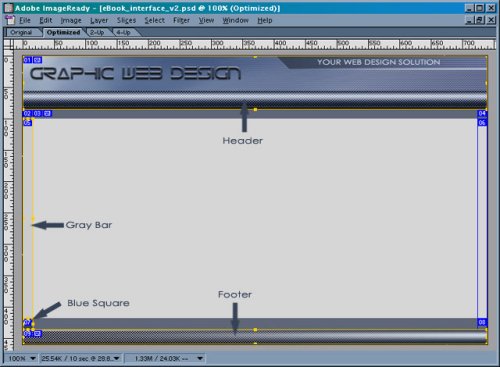
To export these images use the “Slice Selection Tool” to select the header, footer, blue_square and the gray_bar:
In the File menu choose “Save Optimized As”:
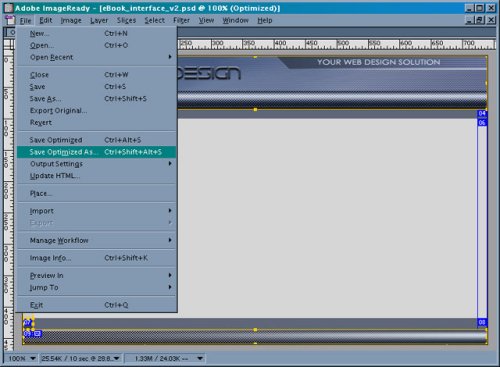
With this, you have a few options:
- you can choose the destination (where the images and code will be saved) and then click save, or
- you can choose to save the HTML only, and it will create an HTML page that will fit the layout you designed.
- The third option — saving only the images we’ve selected — is what we are going to do.
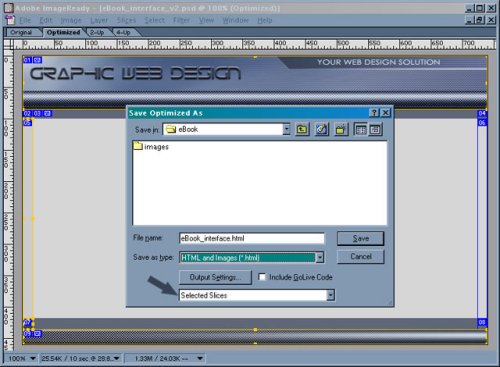
In the “Save as type” dialog box choose “Images Only”. Then, below that, choose “Selected Slices”. As a default, ImageReady will save all the selected images in an “images” folder. You can click on the “Output Settings” box, and in the lower part of this dialog deselect the “Put images in folder:” check box if you like. I generally create the folder structure of a new Website before I slice the image up — obviously you can save the files to any folder you like. Once you’ve selected the location, click save.
The next step is to create the HTML page we will later use as a template for the rest of the Website. If you’re wondering why we didn’t save the center slices of our original layout image, here’s why. The gray box in the center of the image will contain your content. The blue horizontal bars at top and bottom (ie. below and above the header and footer) similarly serve to designate the location of text links for your navigation.
 Adem Martin del Campo
Adem has been a Web Designer for over 5 years. Along with creating Websites for his clients he also makes pre-made Web templates.