Prototyping is essential when it comes to designing. Thanks to programs like Blender, Photoshop, and a host of other software, we can construct highly-detailed, easily-editable design concepts without the costs and commitments involved in building tangible models. Prototyping your package design not only allows you to explore various design possibilities, it also allows you to gather meaningful feedback very early in the design process. This is one way that companies determine the best branding choices and designs for their products. If you’ve ever wanted to test your hand at package designing you’re in luck. Today, we will be creating our own food package design in Photoshop using basic tools and techniques.
Building The Container
In most cases software like Cinema 4D or Blender would be used to create a wireframe and 3D model of the desired package shape before creating the wrapper or product label. Instead of using one of these programs, we will create our own 3D model in Photoshop; this will allow those who aren’t familiar with 3D software to follow along.Step 1: New File
As always, you want to start with a new PSD file. Create a new a canvas, make it 1000px by 700px, and press “OK.”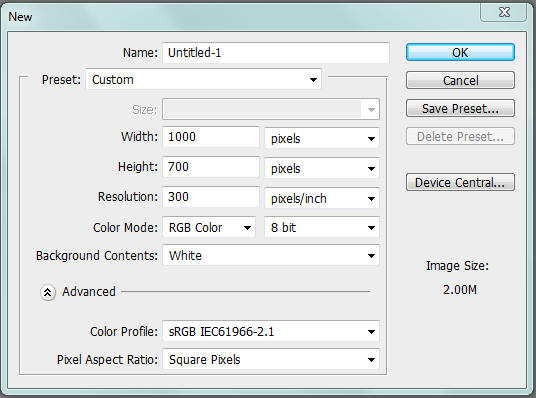
Step 2: Background
Switch the default foreground and background settings so that the foreground is now white and the background is black. Select the radial gradient tool and apply it to a new layer. Drop the opacity to 25%.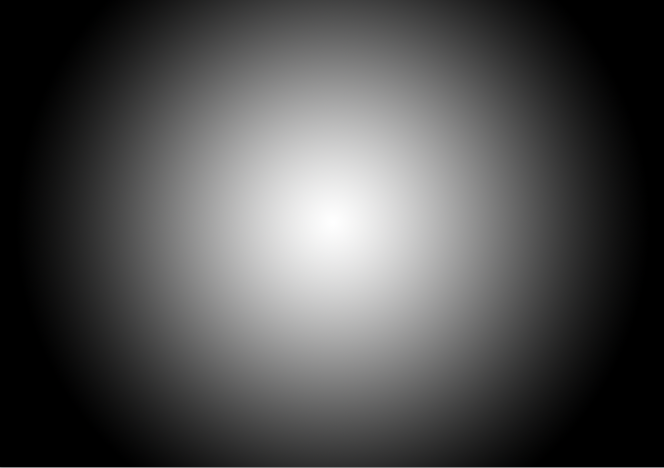
Step 3: Front and Side
Pick a color and create a tall rectangle. This will be the front of our package. Duplicate the front and pull your new duplicate to the side, hold shift to keep them aligned. Adjust the color by darkening it so that you can tell the difference between the two shapes. This will be the side of our package.

Step 4: Distort
Distort the darker rectangle to create the side of your package. Make sure the edge of the package front meet with edge of the package side.
Step 5: Top
Make a rectangle one-fourth of the height of the front rectangle. Change the color and place it above the front of the package. Note that the rectangle is the same width as the front. This will be our package top.
Step 6: Duplicate
Duplicate the newly-created layer and place it underneath the others. Darken the color to differentiate. Look below for guidance.
Step 7: Distort the Top
To manipulate the top of our package, you need to distort it by pulling the top corners towards each other.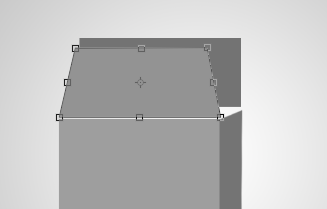
Step 8: Connect
Apply the same technique to the duplicated layer and bring the two tops together, as if you are creating the roof of a house.
Step 9: Mini Triangle
You will notice that the sides of the package “roof” are open. Create a mini triangle of a different color to fill in this missing piece.
Designing The Wrapper
Now that our container is fully constructed, we can move on to the wrapper itself. Instead of creating my exact same package design, I recommend that you create your own. This will get you into the habit of building prototypes creatively. I’ll show you how I got started with my design.Step 10: Color Your Wrapper
With the color #8bdadd, I created my wrapper template. To do this, you will need to make the wrapper have the same width as your front and sides combined. In other words, duplicate the front and sides of your package and place them side by side. The height will remain the same. Look below for clarity.
Step 11: Apply a Realistic Gradient
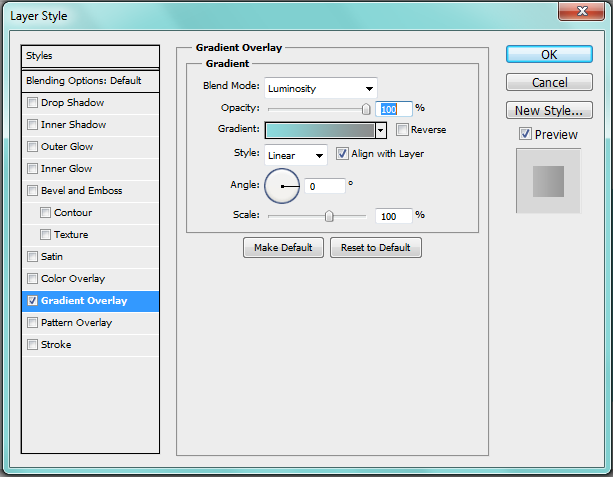
Make sure your foreground is #8bdadd and your background is #8c8c8c before continuing. Open the “Blending Options” panel and go to the “Gradient Editor,” located under “Gradient Overlay.” Change the preset so that it reflects your foreground and background colors. Look below for specific settings.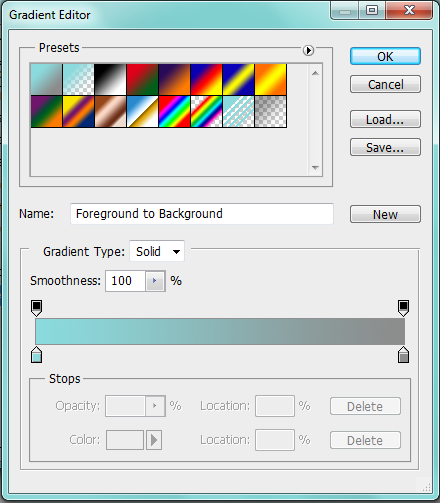 For the front and side, change the settings as shown below.
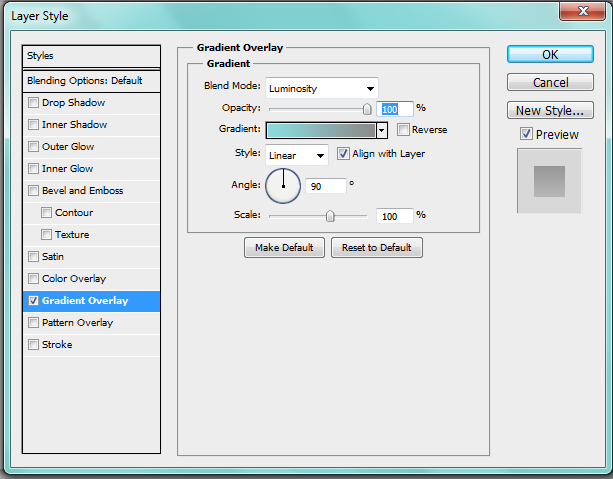
 For the top, change it as shown below.

Step 12: Design Details
Use the circular marquee tool to create a circle on the front of your wrapper. Add a 10 pixel pure white stroke to this newly-created circle.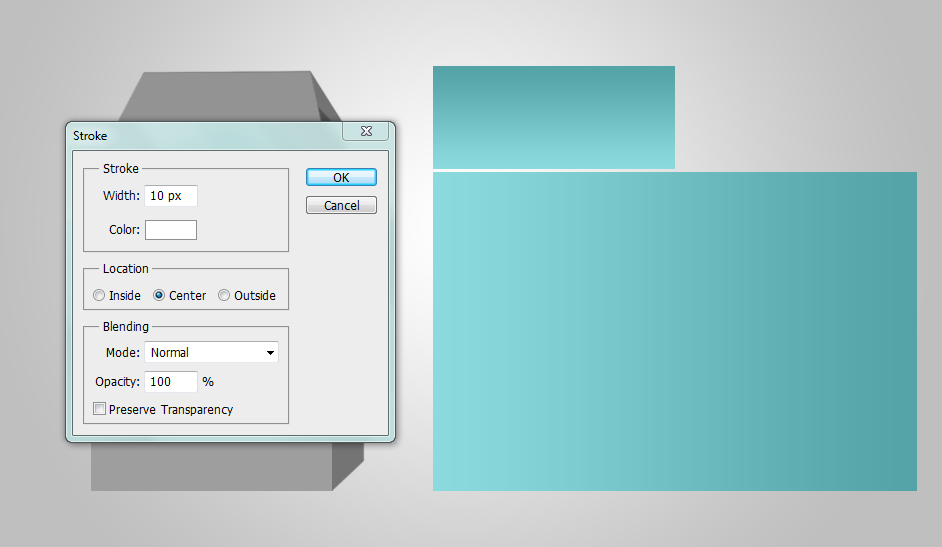 Add a skinny rectangular banner, as shown below.

Step 13: Logo Design
Be creative and create a logo design within the circle. I created a simple village skyline.


Step 14: Finish Your Package Design
Finish designing the wrapper of your package by adding some details, effects, and graphic enhancements. Here is the final outcome of my design.
Step 15: Combine Container and Wrapper
Select the area of the wrapper that will serve as the front of the package. If you are unsure, simply select the front of your container model and copy it. Place it over your wrapper you’ll see how much of the wrapper you need to select. Drag your selection and place it onto the desired area. Look below for clarity.
 Move the side wrapper design over to your container model and use the “Skew” transformation tool to properly position it. Temporarily lower the opacity of your wrapper so that you can see your container as you place the side design precisely.
 Continue placing your various pieces onto your package model until you are finished. Note that you can get rid of your wrapper once all of the pieces are in place.
 Step 16: Add a Package Flap
To add a flap to your package, simply use the lasso tool to create the shape.
Step 16: Add a Package Flap
To add a flap to your package, simply use the lasso tool to create the shape.
 Fill in this package tab and add some realistic shadow to it.

Step 17: Finishing Touches
Finish your design by adding final design enhancements such as shadows and perhaps other color variations of the package design. Here is the finished product.
Conclusion
Packages come in all different shapes and sizes, and prototyping is quick and easy, so don’t be afraid to experiment and try vastly different methods or designs. You may find that you don’t need to create a 3D container model or a tangible prototype to evaluate your design. When creating prototypes for your product package, don’t forget to consider color variations, as you may find that you prefer were color choice over another. Do you have any package designs to share? Have you designed product packaging for past clients?Frequently Asked Questions on Designing a Product Package Prototype in Photoshop
What are the key elements to consider when designing a product package prototype in Photoshop?
When designing a product package prototype in Photoshop, there are several key elements to consider. First, you need to understand the product and its target audience. This will help you to create a design that appeals to the right people. Second, consider the brand identity. The packaging should reflect the brand’s personality and values. Third, think about the practical aspects. The package should be functional, easy to open, and protect the product. Lastly, consider the aesthetics. The design should be visually appealing, with a good balance of colors, images, and typography.
How can I make my product package design stand out?
To make your product package design stand out, you need to think creatively and innovatively. Use bold colors and unique shapes to catch the eye. Experiment with different textures and materials. Incorporate unique design elements that reflect the product or brand. Also, consider using interactive elements, such as QR codes or augmented reality features, to engage consumers and provide additional information about the product.
What are some common mistakes to avoid when designing a product package prototype in Photoshop?
Some common mistakes to avoid when designing a product package prototype in Photoshop include not considering the practical aspects of the package, such as how it will be opened and how it will protect the product. Also, avoid using too many different fonts or colors, as this can make the design look cluttered and confusing. Lastly, make sure the design aligns with the brand’s identity and appeals to the target audience.
How can I use Photoshop to create a 3D mockup of my product package design?
Photoshop has several tools that can be used to create a 3D mockup of your product package design. You can use the 3D tools to create a 3D model of your package, and then apply your design to it using the texture mapping feature. You can also use the lighting and rendering tools to create a realistic representation of how the package will look in real life.
How can I ensure that my product package design is print-ready?
To ensure that your product package design is print-ready, you need to check several things. First, make sure the design is in CMYK color mode, as this is the mode used for printing. Second, check the resolution. It should be at least 300 dpi for high-quality printing. Third, make sure all the fonts and images are embedded in the file. Lastly, check the bleed and trim marks to ensure that the design will print correctly.
How can I incorporate sustainability into my product package design?
Incorporating sustainability into your product package design can be achieved in several ways. You can use eco-friendly materials, such as recycled paper or biodegradable plastics. You can also design the package to be reusable or recyclable. Additionally, consider the size and shape of the package. A smaller, more compact package will use less material and take up less space during transportation, reducing its environmental impact.
How can I use color psychology in my product package design?
Color psychology can be a powerful tool in product package design. Different colors can evoke different emotions and associations. For example, red can evoke feelings of excitement and passion, while blue can evoke feelings of trust and reliability. Consider the emotions and associations you want to evoke with your product, and choose your colors accordingly.
How can I test my product package design before it goes to print?
Testing your product package design before it goes to print is crucial. You can create a 3D mockup in Photoshop and print it out to see how it looks in real life. You can also conduct user testing, where you ask people from your target audience to interact with the mockup and provide feedback. This can help you identify any issues or areas for improvement before the design goes to print.
How can I use typography effectively in my product package design?
Typography is a crucial element of product package design. It can convey important information about the product, and also contribute to the overall aesthetic of the design. Choose a font that aligns with the brand’s personality and is easy to read. Consider the size and placement of the text, and make sure it doesn’t overwhelm the design. Also, ensure there is a good contrast between the text and the background to enhance readability.
How can I design a product package that appeals to a global audience?
Designing a product package that appeals to a global audience can be challenging, as different cultures have different tastes and preferences. However, there are some universal principles you can follow. Keep the design simple and clear, with a strong focus on the product. Use universal symbols and imagery that can be understood across cultures. Also, consider using multiple languages on the package to cater to different markets.
 Gabrielle Gosha
Gabrielle is a creative type who specializes in graphic design, animation and photography.