Push the Web Forward
SitePoint has partnered with Windows Azure to give away $16,000 in cash prizes via the “Push the Web Forward and Win!” competition.
There are three separate challenges to the competition:
- Deploy a simple WordPress site to Windows Azure and write a short entry about the process to win up to $500 in cash
- Deploy a new or existing website or app to Windows Azure for a chance at $3,000 in cash
- Build that cool website or app you’re been thinking about, deploy it to Windows Azure, and you could win $5,000 in cash
Only $8,500 total, you say? There are second and third place cash awards as well.
Check it out here: https://www.sitepoint.com/community/t/push-the-web-forward-and-win/36018
About Windows Azure
Introduced at the PDC in 2008, Windows Azure is Microsoft’s broad-based foray into the Cloud space. I first came across it at the MVP Global Summit in 2009. I immediately thought about how it would be useful to me, a typical designer/developer.
The ability to publish sites on high-reliability and high quality servers was what interested me most, but that’s nowhere near the limit of the service offering. Here’s a link to the Windows Azure Documentation.
Deploying WordPress on Windows Azure
In the following steps you will learn to deploy a WordPress website, database, and domain so that you will have an operational public-facing website in two minutes or less.
This will require that you have an account on Windows Azure, so you’ll have to do that before you begin. Windows Azure accounts can range from completely free to pre-paid subscriptions or pay-as-you-go. You can find out about them here, as well as sign up for a free trial here.
Follow these steps to get a public-facing WordPress site up and running on Windows Azure in less than 2 minutes!
- Log into the Windows Azure Management Portal.
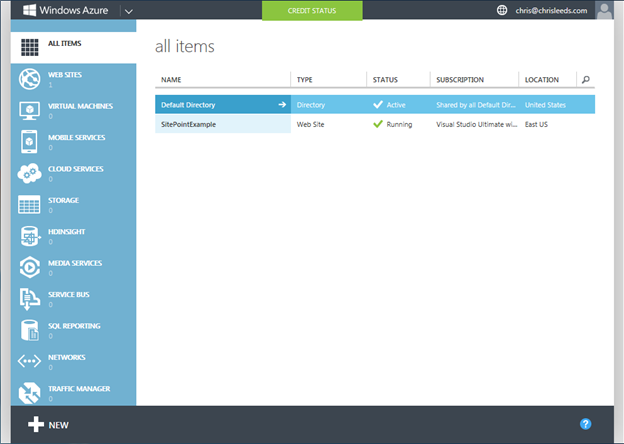
From the All Items view of your Management Portal you can do almost anything you can think of. For instance, you could create a virtual machine, running Ubuntu (seriously), or create a cloud based application for mobile devices, set up VPNs, Media Services, and more. You can learn all about Windows Azure capabilities here.
- Click the Web Sites tab on the left side of the screen and at the bottom left of the screen click the +New button.
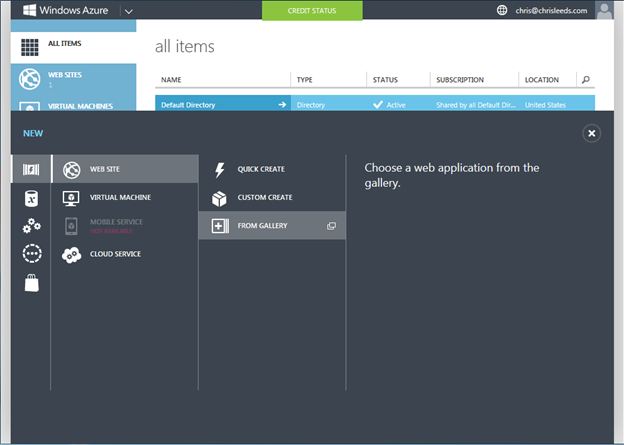
- Point to Web Site, and then click From Gallery. You’ll be presented with the Add Web App dialog.
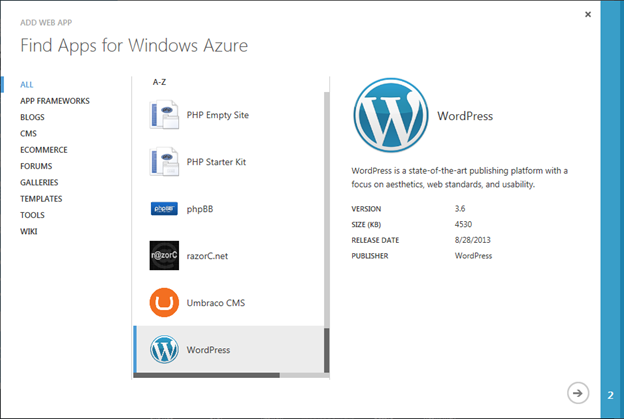
The Windows Azure App Gallery contains a variety of open source sites and applications that you can deploy rapidly with just a few clicks. The MSDN blog for the Windows Azure App Gallery is an excellent resource to get familiarized with it. - Scroll down the list to the WordPress application. Select it and then click the Proceed arrow at the bottom of the dialog.
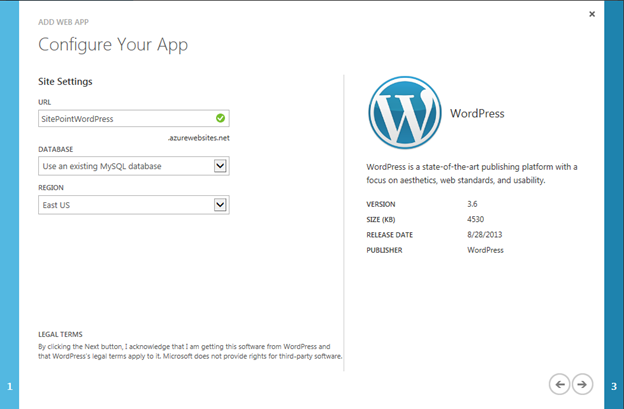
- On the site Settings dialog assign the new site a URL, make sure Create a new MySQL database is selected in the Database field, and that the Region entry reflects the geographical location of your choice, and then click the Next button.
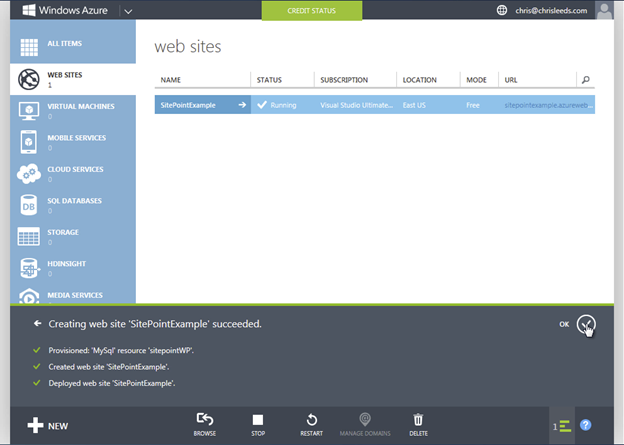
Your selections begin the provisioning and creation process on Windows Azure. If you click the Running Tasks button on the lower right of your screen you can see the individual tasks as they occur. You will also see an entry for the new web site you just created in the content area of your view. - Click the new web site’s link below the URL field.
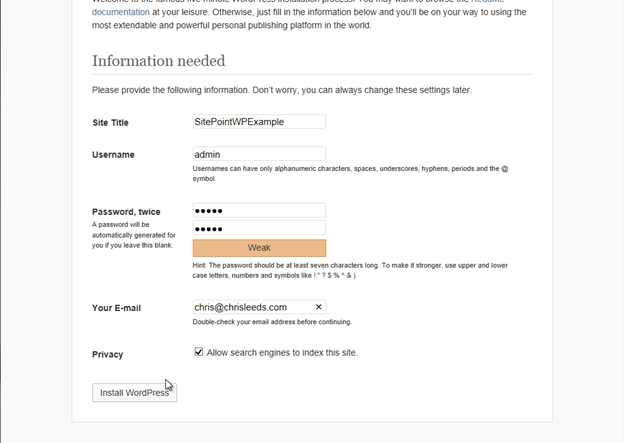
Your new site opens in a browser and the WordPress installation process prompts you to fill in the remainder of the required information. - Enter a descriptive Title in the Site Title field and then enter a Username, Password, and Password confirmation, and your Email Address in their respective fields. Choose whether or not to have the site indexed by search engines beside the Privacy field and then click the Install WordPress Button.
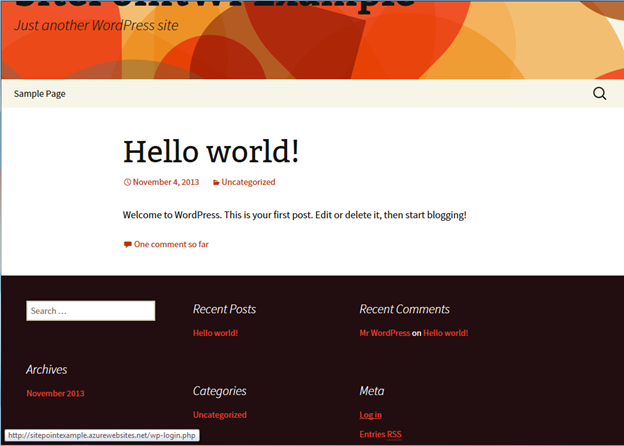
The installation is now complete for both Windows Azure, and internally, at the domain you configured in step 5. - Scroll to the bottom of your new Site’s default page and click the log in link. Log in with the Username and Password you created in step 7.
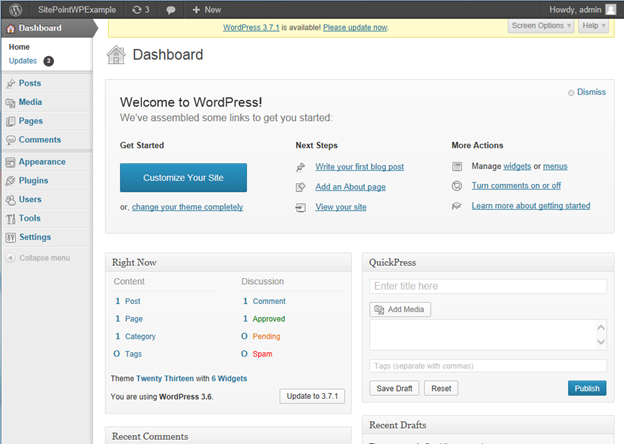
You can configure a myriad of options as well as perform various development tasks such as adding plugins and so on from the WordPress Dashboard. WordPress is a community developed platform that was first released in 2003 and now serves more than 60 million sites. There are thousands of plugins and themes available to transform your site into almost anything you can imagine.
Taking it a Step Further
Logically, the next step you will likely want to take is to get a copy of the site files from the Windows Azure servers down to your local computer so that you can proceed with development and customization.
You can easily set up FTP for your Windows Azure sites to do this. If you’re on a windows machine you might want to check out the WebMatrix button on the lower right of the Web Sites view in the Windows Azure Management Portal.
![]()
The Web Matrix button will copy the entire site to your local machine, resulting in a fully-functional WordPress site on your personal computer. You can then publish changes from your local copy to the cloud, just click Publish in Web Matrix and it deploys it right back to Windows Azure.
So there’s your two minute deployment of WordPress to Windows Azure. You should now be all fired up and ready to enter our Push the Web Forward contest.
Look out on SitePoint in the near future for my tutorials that dig deeper into Web Matrix.
 Christian Leeds
Christian is highly experienced in web design and development, web business and marketing. He provides consultancy services through MediaCarbon focusing on media strategy.