- Step 1: Choose your Subject
- Step 2: Getting Started
- Step 3: Set Up the Canvas
- Step 4: Choose the Right Brush Setting
- Step 5: Paint in Large Areas of Base Color
- Step 6: Beard Details
- Step 7: Paint Shadows for Definition
- Step 8: Blending Skin
- Step 9: Use A Softer Brush for the Hair
- Step 10: Individual Strands of Hair
- Step 11: Blending Pupil Colors
- Step 12: Be Careful With the Details
- Step 13: Rounding out the Eyes
- Step 14: Loosely Brush in Areas Without Excess Blending
- Step 15: Important Shadows and Wrinkles
- Step 16: Loosely Brush the Background to Imperfection
- Step 17: Blend Away Some of the Fabric Texture
- Step 18: Important Skin Shadows
- Conclusion
- Frequently Asked Questions (FAQs) about Turning a Portrait into a Digital Painting Using the Mixer Brush
Photoshop has always had a brush tool, and it has been mainly used for blending effects and masks. It’s difficult for any software program to mimic the realistic effect of painting. However, the mixer brush is a fantastic tool that you can use to turn an existing photograph into a digital painting. It is relatively easy, but there are some details that will make a difference in how realistic your painting appears. I have an older model Wacom drawing tablet, which works well with Photoshop and the mixer brush tool, because Wacom tablets have pressure sensitivity that detects how hard you are pressing down on the tablet. The harder you push, the stronger your brush strokes will be. Conversely, the lighter you brush, the lighter and softer your brush strokes will be. This makes painting much easier and more natural than it would be with a typical mouse. You have more control, and your work looks more natural. The mixer brush tool is found as a sub-tool within the brush tool. When you click on the brush tool, you will see a new set of options in the top menu bar. These options control the different brush settings that simulate different strokes and brush techniques. Besides using different brush tools, you can also use different brush presets. These simulate different types of common brushes that traditional painters use to create different objects and textures.
Step 1: Choose your Subject
Your subject is one of the most important choices that you will make during this process. Your choice of subject will determine which brushes you use to simulate the painted portrait effect. Another thing to consider is the type of effect that you want to achieve. Looking at different painting styles can help you determine which one fits your desired end result. If you want to include a lot of detail, then you will want to use small brushes, and certain brush types over others. If you are instead going for a loose or abstract style, then larger, “wet” brushes will be your choice. The subject for this tutorial is going to be a portrait of an elderly gentleman.
Step 2: Getting Started
The subject has a lot of hair, and his beard gives him a lot of character. Because we don’t want to lose a lot of detail in his beard, we need to use a smaller brush. I am going to choose the fan brush from the mixer brush presets. When you are working on hair, especially hair with a lot of texture, it’s best to use a small or thin brush.
Step 3: Set Up the Canvas
When using the mixer brush, make sure to have “sample all layers” checked. On a regular basis, you can add new layers that build upon previous layers, much like a real painting on a real canvas. Adding layers at regular intervals also gives you some room for mistakes, because if you get too far off course, or your image isn’t going in the direction that you want it to, you can scrap the latest layer and start a section over again without losing much of your work.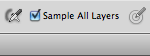
Step 4: Choose the Right Brush Setting
A good method to simulate an oil painting is to use a mixer brush with a wet setting. There are many different settings, but a wet, heavy mix will give you a nice mix of colors. When you use wet brushes on an area of color, it takes the color that you pinpointed and blends it with the colors of surrounding pixels, which is a realistic technique for portrait painting.
Step 5: Paint in Large Areas of Base Color
In this example, the best place to start is the subject’s beard. We want to create a soft base color and add some details later. To add a smooth area of color with variations, choose the fan brush and sample a light area of his beard by alt/option clicking on it. Lightly brush in the base color; don’t worry about detail just yet. Follow the overall flow of his beard hair. Make sure to work in highlights and dark areas, but don’t bring this area of base color beyond the outermost strands of beard hair.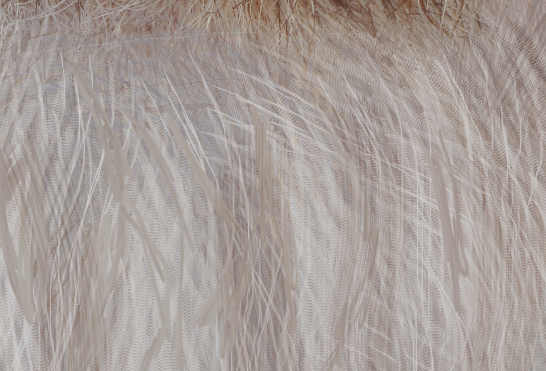
Step 6: Beard Details
A good brush for a wiry beard is the Round Point Stiff brush at a very smallest setting. Create a new blank layer above the background layer and make sure that “sample all layers” is still checked in the top menu bar. Option/alt click on the beard area to sample the light silver area of his beard and begin brushing along the same contours as his beard hairs. Follow the same direction that his beard curls and the beard details will slowly blend together with the base layer.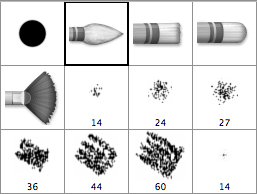
Step 7: Paint Shadows for Definition
Make sure to sample the light and dark portions of his beard to maintain realistic coloring. The subject also has a brown section of his beard around his mouth. Brush in these areas using short strokes, sampling different areas of the brown portion of his beard for different shades. If you go too far, or if you aren’t happy with your latest layer, you can always go back and paint the surrounding areas back in. Using this progressive, layer-by-layer process, it is really hard to make a mistake that you can’t quickly correct.
Step 8: Blending Skin
Create a new layer and sample the subject’s skin around his cheeks or forehead. Lightly brush this area in using the fan brush. The fan brush is good for blocking in color while having a realistic brush stroke effect. Be careful not to brush away all of his wrinkles; that is what gives him character. Work your way around the skin areas of his face, alt/option clicking to sample slight variations of skin color.
Step 9: Use A Softer Brush for the Hair
Using the flat point medium stiff brush at a small size, apply the same techniques that we employed on the beard to the rest of the subject’s hair. Brush in the areas of hair on the left side of his head, sampling different shades of his hair to add some variation to each stroke.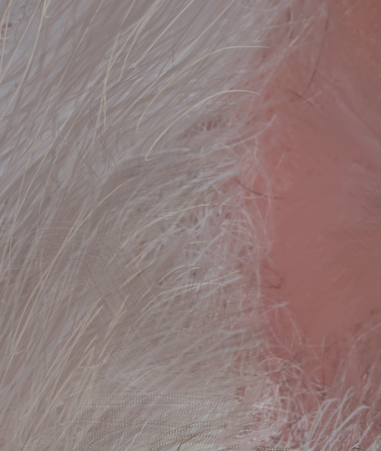
Step 10: Individual Strands of Hair
Lower the size of your brush to very small — around 5px — and sample a medium shade of the subject’s hair to paint in the thin strands of hair across the top of his head. Sample lighter and darker areas and paint in a few light and dark shades, overlapping each other as you go.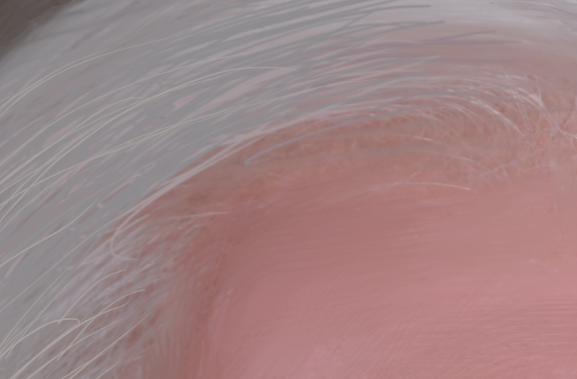
Step 11: Blending Pupil Colors
Move on to the eyes. You will want to zoom in very close for smaller areas like the pupils. Lower your brush size to around 1-3 pixels, and make sure that it is set to wet, heavy mix so that colors will blend easily. Use small, controlled strokes to blend in the eye color. The point of this is to keep the mixture of color, but to lose some of the photographic detail while maintaining the general look of the eye.
Step 12: Be Careful With the Details
Work separately on each colored part of the eyes, lightly blending and adding brush strokes to each distinct area. Blend the color of the iris, but do not let it bleed into the white areas of the eye or the eye lids themselves.
Step 13: Rounding out the Eyes
Blend and work around the eyelids, keeping the dark area of detail that makes the eye look round, while giving the area a brush-stroked look.
Step 14: Loosely Brush in Areas Without Excess Blending
Any area that you can make to look sketchy or heavily brushed will help with the illusion of making a digital painting. Notice the area around the hand has an artistic look without compromising the general form of the hand. The natural brush strokes are what makes it look like a realistic painting.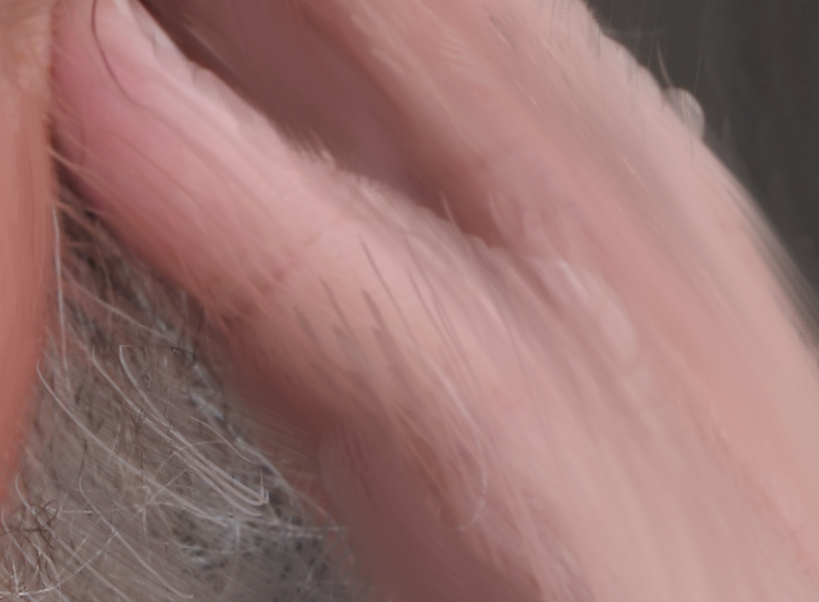 You can move around your canvas in Photoshop while remaining zoomed in by holding your space bar key and clicking and dragging your mouse in the direction that you want to go. In Photoshop CS5, if you click and pull the mouse, it will simulate a flipping motion and bounce you further across the canvas.
Step 15: Important Shadows and Wrinkles
If you notice his cheeks, there are shadows and creases in the skin. These details are important to preserve, but they don’t have to be perfect. As a matter of fact, they shouldn’t be. (If we wanted extreme realism we would simply use the photograph.) Sample some dark skin tones and make a few harsh brush strokes.
Step 16: Loosely Brush the Background to Imperfection
Move to the background area with the brick texture, and use a small brush to work your way around each block, brushing and adding texture as you move down the wall. Try to keep everything in line, but losing some of the linear perfection of the photo will make your painting look more realistic. The shadows under the eye are important, because they help to make the eye appear to be more round in shape, giving it more dimension.
Step 17: Blend Away Some of the Fabric Texture
Apply the same technique to the subject’s shirt texture. Use a fan brush at a smaller size to blend the colors of his shirt, while keeping some of the edges and the shirt texture. Be sure not to mix in his beard hairs. If needed, lower the size of your brush in order to work around his beard.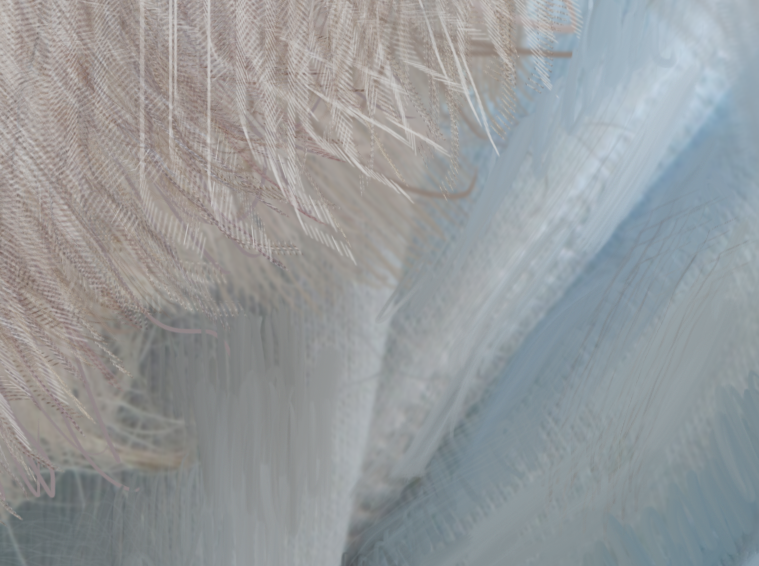
Step 18: Important Skin Shadows
The left area of the forehead has a shadow that adds dimension to the man’s head. Use a wide, sweeping stroke, keeping the motion close together as you follow the angle of his temple. This creates a nice brush stroke effect that looks very similar to oil paint.
Conclusion
Painting with a wet mixer brush will give you very realistic painting results within Photoshop. Using layers to build up your painting can keep the work quick and efficient, especially compared to using real oil paints, canvases and brushes. This method gives you much more realistic results than filters, and the techniques give your images a touch of your own personal style. The end result should closely resemble the one shown below.
Frequently Asked Questions (FAQs) about Turning a Portrait into a Digital Painting Using the Mixer Brush
What is the Mixer Brush tool in Photoshop and how does it work?
The Mixer Brush tool in Photoshop is a versatile tool that allows you to blend colors on the canvas in a way that mimics real-life brush strokes. It works by picking up color from the image you are working on and mixing it with the color already on the brush. This tool is particularly useful for creating digital paintings as it allows for a more natural and realistic blending of colors.
How can I adjust the settings of the Mixer Brush for different effects?
The settings of the Mixer Brush can be adjusted in the options bar at the top of the Photoshop interface. Here, you can change the brush size, hardness, and spacing, as well as the wetness, load, and mix of the brush. Adjusting these settings will allow you to achieve different effects in your digital painting. For example, a higher wetness setting will result in more blending of colors, while a lower setting will keep the colors more distinct.
Can I use the Mixer Brush tool to create a digital painting from a photograph?
Yes, the Mixer Brush tool is an excellent tool for turning a photograph into a digital painting. By using the tool to blend the colors in the photograph, you can create the effect of a painted portrait. This can be a great way to add a creative touch to your photos or to create unique digital art.
What are some tips for using the Mixer Brush tool effectively?
One tip for using the Mixer Brush tool effectively is to start with a smaller brush size and gradually increase it as you become more comfortable with the tool. This will allow you to have more control over the blending of colors. Another tip is to experiment with different settings to see what effects they produce. Finally, remember to clean your brush regularly to prevent colors from becoming muddy.
Are there any recommended brushes for digital art in Photoshop?
There are many different brushes available for digital art in Photoshop, and the best one for you will depend on your personal style and the effect you are trying to achieve. Some popular choices include the basic round brush, the chalk brush, and the splatter brush. There are also many custom brushes available for download online.
How can I create my own custom brushes in Photoshop?
Creating your own custom brushes in Photoshop is a great way to add a personal touch to your digital art. To do this, simply create a new document, draw your brush shape, and then go to Edit > Define Brush Preset. You can then adjust the settings of your brush as desired.
Can I use the Mixer Brush tool in other Adobe programs?
The Mixer Brush tool is specific to Adobe Photoshop. However, other Adobe programs such as Illustrator and Fresco also have their own brush tools that allow for similar effects.
What is the difference between the Mixer Brush tool and the Brush tool in Photoshop?
The main difference between the Mixer Brush tool and the Brush tool in Photoshop is that the Mixer Brush tool allows for the blending of colors on the canvas, while the Brush tool does not. This makes the Mixer Brush tool particularly useful for creating digital paintings.
Can I use the Mixer Brush tool to create a digital painting from scratch?
Yes, you can use the Mixer Brush tool to create a digital painting from scratch. However, it can be helpful to start with a base image or sketch to guide your painting.
How can I improve my digital painting skills in Photoshop?
Improving your digital painting skills in Photoshop takes practice. Start by experimenting with different tools and settings, and don’t be afraid to make mistakes. You can also find many tutorials and resources online to help you learn new techniques.
 James George
James George is a professional web developer and graphic designer. James is an expert in design, and a professional web developer, with a special interest in WordPress. Founder of Design Crawl, James has been a professional designer since 2005.