
By now, we’ve all encountered captcha images in online forms. Captchas are a necessary evil, and this article will teach you how they’re made.
Please note that while there are better, automatic third party solutions for captchas out there such as ReCaptcha, this tutorial aims merely to explain and demonstrate how such technology actually works. We won’t be explaining what captchas actually are, as it’s assumed to be common knowledge and already covered in greater detail elsewhere.
Drawing captchas
You must have the GD(Graphics Draw) library installed before proceeding. This library enables drawing of graphics and images through built-in PHP functions. To install it, run sudo apt-get install php5-gd or if on non-Ubuntu-based operating systems, follow instructions.
Captchas are usually made up of 3 things – shape, distortion, and the text.
We’ll follow the steps mentioned below:
- Display an empty image on the browser.
- Create a shape.
- Generate random lines.
- Generate random dots.
- Generate random text.
The procedural style used in this article is present only because this is a proof of concept, and to keep the final file as simple as possible. In a real project, you would go OOP.
Display an empty image
The image will be treated by HTML as if an external image is being displayed using the “img” tag. Two functions are used – one for creating the image and another for displaying.
<?php
session_start();
?>
<title>demo.php</title>
<body style="background-color:#ddd; ">
<?php
create_image();
display();
/***** definition of functions *****/
function display()
{
?>
<div style="text-align:center;">
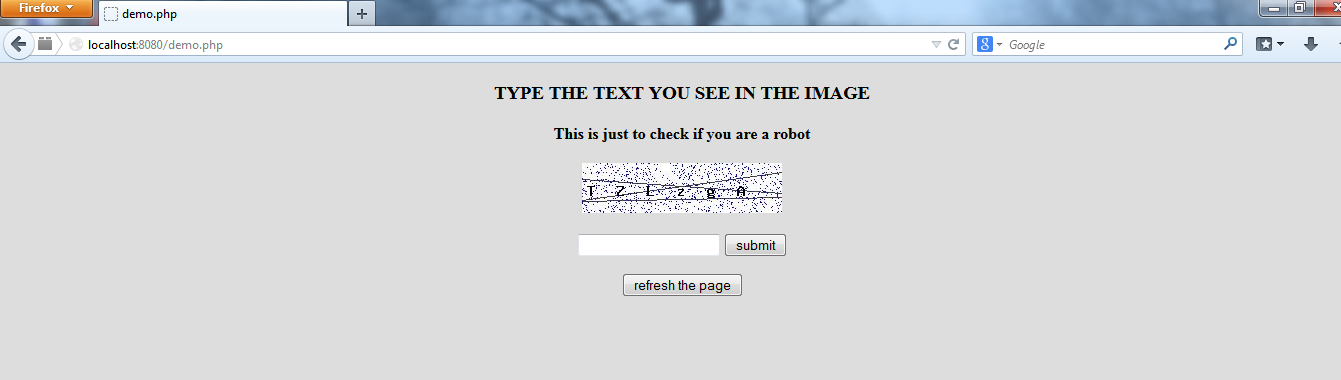
<h3>TYPE THE TEXT YOU SEE IN THE IMAGE</h3>
<b>This is just to check if you are a robot</b>
<div style="display:block;margin-bottom:20px;margin-top:20px;">
<img src="image.png">
</div>
//div1 ends
</div> //div2 ends
<?php
}
function create_image()
{
$image = imagecreatetruecolor(200, 50);
imagepng($image, "image.png");
}
?>
</body>
<?php
?>The first line indicates the start of the user’s session on our page.
The display() function has nothing other than a normal HTML code that displays an image in the browser. Other than that, only styling is done for the output to look presentable.
Inside the create_image() function, a variable is used to refer the image returned by the imagecreatetruecolor() function which takes the width and length of the image as its arguments. imagepng() creates a png image of the specified name and path (in the same directory).
A black image will be the output after our first step.
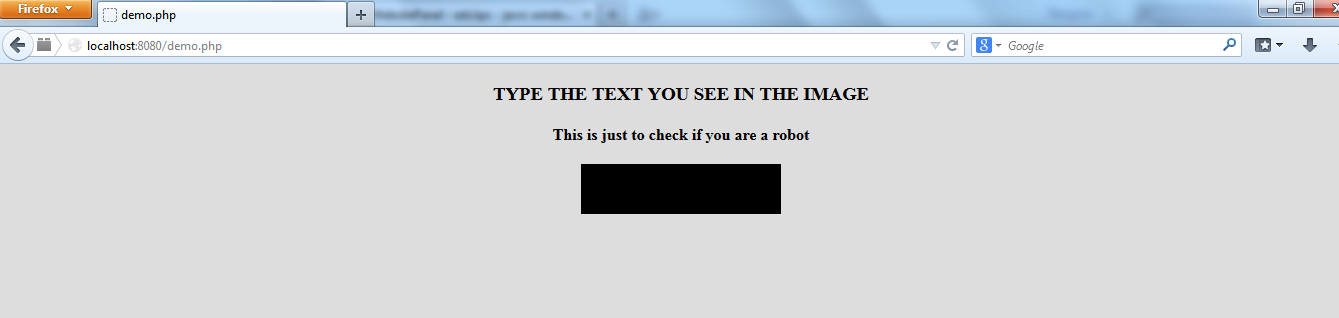
Note that the function imagepng() will be the last line of our function and all the following steps are to be inserted in the create_image() function before this function call only, else they would not take effect.
Create a shape
Any shape can be chosen for the captcha. We’ll choose a rectangle by using the function imagefilledrectangle(). It takes five arguments – image reference, starting x-pos, starting y-pos, ending x-pos, ending y-pos, and the background color. You may use the corresponding function for an ellipse for generating elliptical captcha.
The imagecolorallocate() function allocates a color to a variable as it takes the RGB combination of the color as arguments. The following code is to be appended in the create() function.
$background_color = imagecolorallocate($image, 255, 255, 255);
imagefilledrectangle($image,0,0,200,50,$background_color);
The previous image will be white after this step.

Generate random lines.
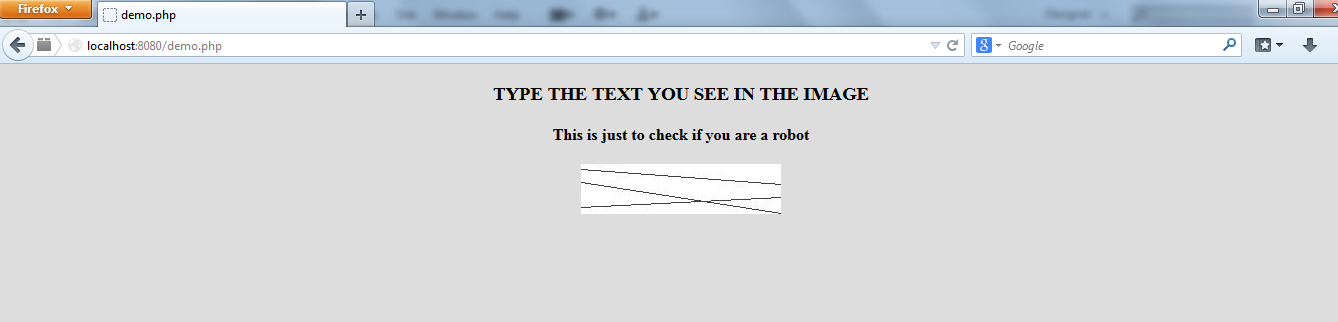
Now, we actually start with making the distortion part of the captcha. In PHP, the lines are generated from the starting point(x1,y1) to the end point(x2,y2). Now as we want our lines to touch both ends of the box, we will keep the <x1,x2> coordinates as <0,200> i.e., the complete width of our box. The <y1,y2> coordinates will be randomly generated. This will create just one random line. We will generate multiple lines by putting this functionality inside a for loop.
$line_color = imagecolorallocate($image, 64,64,64);
for($i=0;$i<10;$i++) {
    imageline($image,0,rand()%50,200,rand()%50,$line_color);
}
The imageline() function takes the x1,x2,y1,y2 coordinates as arguments in that order apart from the image reference and color of the line. The line color has been allocated just as the background color had been allocated in the previous step.
The y-coordinate is given as rand()*%50 because this is the height of our box and will always return a value under 50. You may alternatively use rand(0,50). They will yield the same output range.
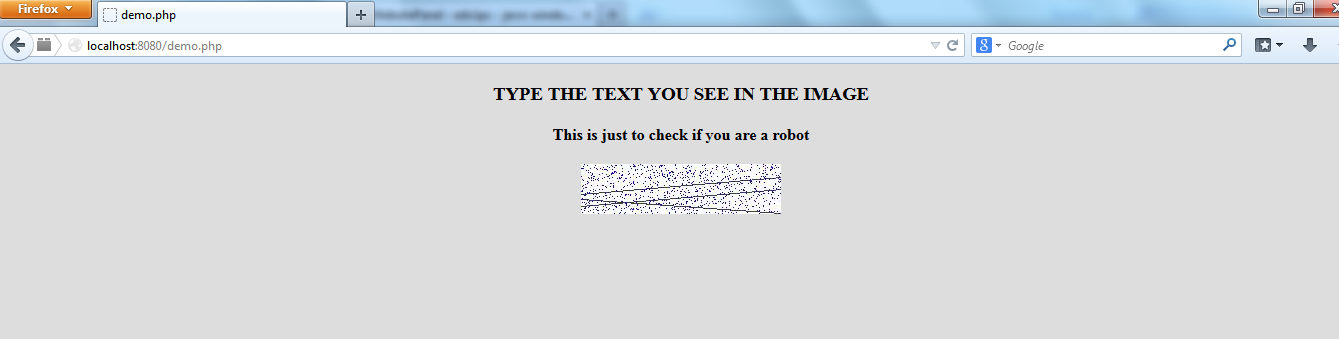
Generate random dots.
Random dots will be generated in the same way as random lines. The function used is imagesetpixel(). This function takes the value of coordinates where the dot will be placed in the box.
$pixel_color = imagecolorallocate($image, 0,0,255);
for($i=0;$i<1000;$i++) {
    imagesetpixel($image,rand()%200,rand()%50,$pixel_color);
}
The x-coordinate is randomly generated by using rand()*%200 as this is the width of our box and this will always return a value under 200. You may alternatively use rand(0,200). They will yield the same output range. The y coordinate is generated as in the lines step.
Generate random text
We will randomly point to a position in the string (which contains the alphabet in both lower and upper case) and assign it to the variable $letter
$letters = 'ABCDEFGHIJKLMNOPQRSTUVWXYZabcdefghijklmnopqrstuvwxyz';
$len = strlen($letters);
$letter = $letters[rand(0, $len-1)];

$text_color = imagecolorallocate($image, 0,0,0);
When put inside a loop, it looks like this-
for ($i = 0; $i< 6;$i++) {
    $letter = $letters[rand(0, $len-1)];
    imagestring($image, 5,  5+($i*30), 20, $letter, $text_color);
    $word.=$letter;
}
$_SESSION['captcha_string'] = $word;
We will explain the lines
$word.=$letter;
$_SESSION['captcha_string'] = $word;
in the next section.
The function imagestring() writes the text in our image. It has 6 arguments:
- Image reference.
- Font-size of the text (it can be 5 at most).
- x-coordinate (changing proportionally for every alphabet).
- y-coordinate (kept the same, although we could change this randomly too).
- Actual string to be written.
- Font-color of the text.
You can also use the function imagettftext() if you wish to have a bigger font and different font style. It takes 2 additional arguments for angle and font style of the text.
Calculation of x-coordinate is done by inspection. Roughly, the letters are spaced about 35 pixels (5+($i*30)) where $i=0,1,2,3,4,5,6. This is because if we had kept this value around 15-20px, there would have been a possibility of two letters overlapping. If the value had been more than 40px, the letters altogether would have not fit into the box.
This will generate a 6 alphabet captcha text. We can always create more randomness by changing the aspects that have been kept constant due to simplicity, like color, y-coordinates etc.
The final captcha will look like this
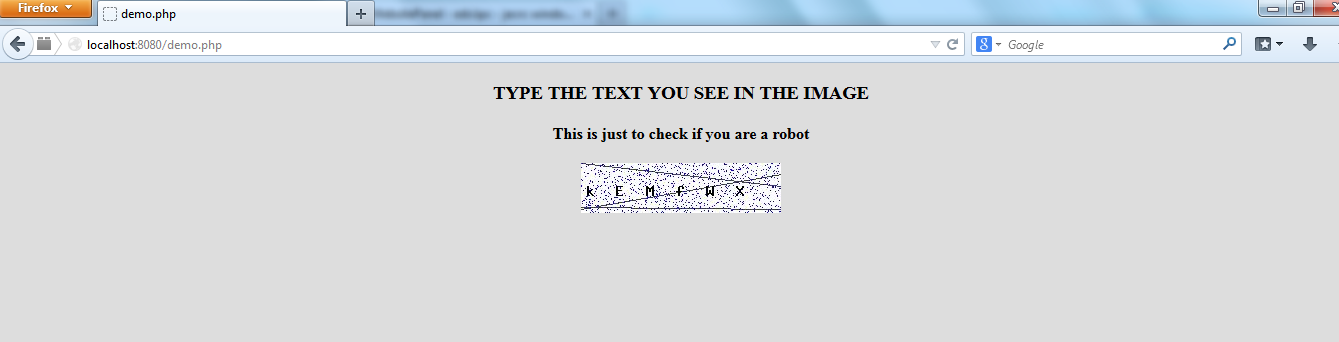
The text written in the captcha will change every time you refresh the page.
More randomness can be achieved by creating designs with the pixels or by changing the color or size.
Validating
It is here that the user’s response is taken and after processing it, he/she receives a reply. At first, a simple form is made with an input textbox and a submit button. There can be many ways of processing a captcha as per the requirements of complex web applications. But keeping it simple for the sake of this example, we’ll process it on the same page.
The two lines left unexplained in the previous code snippets come into play now:
$word.=$letter;– the concatenation operator.is used to append all the individual letters one after another, generating the 6-letter word.$_SESSION['captcha_string'] = $word;Our captcha string is stored in a session variable which will be used for validation purposes.
We’ll change the definition of display() to add a form-like structure.
Two submit buttons will be used, one to submit the string and another other to refresh the page.
The following lines will be added in between the two closing div tags (see comments in the previous display() function)
function display()
{
    ?>

    <div style="text-align:center;">
        <h3>TYPE THE TEXT YOU SEE IN THE IMAGE</h3>
        <b>This is just to check if you are a robot</b>

        <div style="display:block;margin-bottom:20px;margin-top:20px;">
            <img src="image<?php echo $_SESSION['count'] ?>.png">
        </div>
        <form action=" <?php echo $_SERVER['PHP_SELF']; ?>" method="POST"
        / >
        <input type="text" name="input"/>
        <input type="hidden" name="flag" value="1"/>
        <input type="submit" value="submit" name="submit"/>
        </form>

        <form action=" <?php echo $_SERVER['PHP_SELF']; ?>" method="POST">
            <input type="submit" value="refresh the page">
        </form>
    </div>

<?php
}
Before moving further we must know when to display and when not to display the input box. It will be displayed only
- if the page has just loaded.
- if the user’s answer was incorrect.
The first condition is met by using a $flag which is set to ‘1’ each time the submit button is clicked. Initially, it has been set to any other value. The second condition is achieved by checking if the value stored in our session variable is the same as user input (see the code below).
To achieve this, we will replace the following lines of our starting step at the beginning of the article:
    create_image();
    display();
with:
$flag = 5;
if (isset($_POST["flag"])) // check that POST variable is not empty
{
$input = $_POST["input"];
$flag = $_POST["flag"];
}
if ($flag == 1) // submit has been clicked
{
if (isset($_SESSION['captcha_string']) && $input == $_SESSION['captcha_string']) // user input and captcha string are same
{
?>
<div style="text-align:center;">
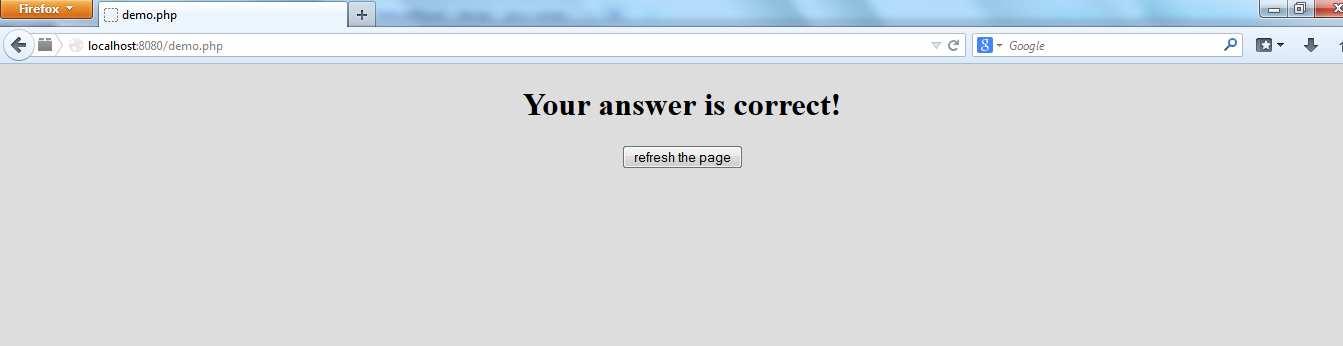
<h1>Your answer is correct!</h1>
<form action=" <?php echo $_SERVER['PHP_SELF']; ?>" method="POST"> // refresh the page
<input type="submit" value="refresh the page">
</form>
</div>
<?php
} else // incorrect answer, captcha shown again
{
?>
<div style="text-align:center;">
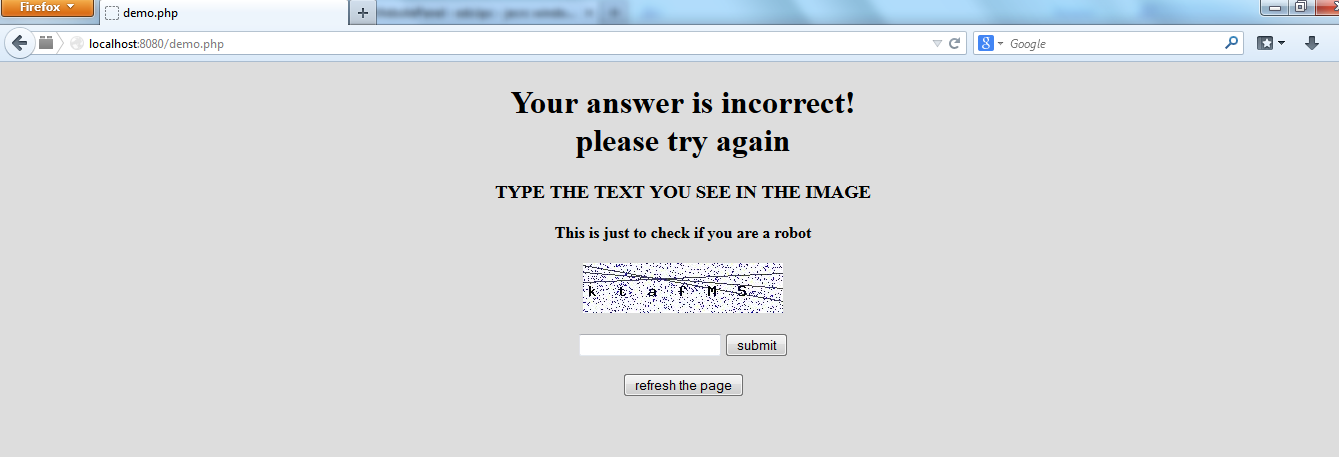
<h1>Your answer is incorrect!<br>please try again </h1>
</div>
<?php
create_image();
display();
}
} else // page has just been loaded
{
create_image();
display();
}Note that the functions create_image() and display() are called only as per the 2 conditions discussed above.
We’ll need the session variable from the previous page, so the session is not destroyed here. The session will be automatically destroyed once the browser window is closed.
The captcha will look like this-
If the input is incorrect, only then user will be prompted again.
If the input is correct, user will be shown a message.
There is a minor caveat – when the user presses the back button, any image already present in the cache of the browser will not reload, while the page does. In a POST request, browser back button will show a “document expired” page, but when the request is GET, the image does not regenerate.
The solution is simple – creating unique names of images every time, so that the browser doesn’t find them in cache. We will append a unique string returned to us by the built-in time() function to the image name while creating and while displaying in the browser.
Add this line just below where you started your session:
$_SESSION['count']=time(); // unique string storedReplace the img src tag in the display() function with
<img src="image<?php echo $_SESSION['count']?>.png">And the part where we created the png image in create_image() function will also be replaced with
imagepng($image,"image".$_SESSION['count'].".png");The images will now be called something like image39342015.png. This procedure will create images as many times as the page is refreshed which can waste huge amounts of disk space, so we’ll make sure that before creating an image, all other images of the png extension are deleted. Add the following just before the imagepng() function is called.
$images = glob("*.png");
foreach($images as $image_to_delete)
{
    unlink($image_to_delete);
}
In a production app, just make sure that you isolate the folder where captcha images are being stored else other useful images may get deleted too.
Download the full code here.
Conclusion
Making various types of captchas in PHP is very easy. This article covered the three basic things used for creating a standard captcha – shape, distortion, and text. This article was a proof of concept, and the code presented herein should not be used in production – especially since excellent alternatives such as ReCaptcha exist, which also supports sound output to help people with hearing impairments. We hope you found this article interesting. Leave your comments and feedback below!
Frequently Asked Questions (FAQs) about Simple CAPTCHAs with PHP GD
How Can I Customize the Appearance of My CAPTCHA?
Customizing the appearance of your CAPTCHA can be done by modifying the PHP code. You can change the font, color, size, and even the background of the CAPTCHA. For instance, to change the font, you can use the imagettftext() function and specify the font file in the parameters. To change the color, you can use the imagecolorallocate() function and specify the RGB values for the color you want. Remember, customization not only makes your CAPTCHA more aesthetically pleasing but also more secure against bots.
How Can I Make My CAPTCHA More Secure?
There are several ways to make your CAPTCHA more secure. One way is to use a mix of alphanumeric characters, both upper and lower case. This increases the number of possible combinations, making it harder for bots to guess. You can also increase the length of the CAPTCHA. Another method is to add noise, such as lines or dots, to the CAPTCHA image. This can be done using the imageline() and imageellipse() functions in PHP.
Why Isn’t My CAPTCHA Showing Up?
If your CAPTCHA isn’t showing up, there could be several reasons. One common reason is that the GD library isn’t installed or enabled in your PHP installation. You can check this by using the function_exists(‘gd_info’) function. If it returns false, then GD isn’t enabled. Another reason could be errors in your PHP code. Make sure to check your error logs for any clues.
How Can I Implement a Refresh CAPTCHA Functionality?
Implementing a refresh CAPTCHA functionality can be done using AJAX. You would need to create a JavaScript function that sends a request to the server to generate a new CAPTCHA. The server then responds with the new CAPTCHA image which is then updated on the webpage without a full page reload.
Can I Use CAPTCHA Without GD Library?
While the GD library is commonly used for creating CAPTCHAs in PHP, it’s not the only way. You can also use other libraries like ImageMagick or even create a text-based CAPTCHA. However, these methods may not provide the same level of security and customization as the GD library.
How Can I Add CAPTCHA to My Contact Form?
Adding CAPTCHA to your contact form involves modifying the form’s HTML and PHP code. In the HTML, you would need to add an image tag for the CAPTCHA and an input field for the user to enter the CAPTCHA. In the PHP, you would need to generate the CAPTCHA and validate the user’s input.
Why Is My CAPTCHA Validation Not Working?
If your CAPTCHA validation isn’t working, it could be due to several reasons. One common reason is that the session variables aren’t being set or retrieved correctly. Make sure that session_start() is called before any output is sent to the browser and that the session variables are being used correctly. Another reason could be that the user’s input isn’t being compared correctly with the CAPTCHA. Make sure to use a case-insensitive comparison if your CAPTCHA includes both upper and lower case characters.
How Can I Make My CAPTCHA Accessible to Visually Impaired Users?
Making your CAPTCHA accessible to visually impaired users can be challenging, but there are several methods. One method is to provide an audio CAPTCHA option. This involves generating an audio file with the CAPTCHA characters spoken out loud. Another method is to use an alternative question-based CAPTCHA, where the user is asked a simple question that a bot would have difficulty answering.
Can Bots Still Bypass My CAPTCHA?
While CAPTCHAs are designed to prevent bots, they are not foolproof. Advanced bots can use OCR (Optical Character Recognition) to read the CAPTCHA characters. However, by making your CAPTCHA more complex, such as using a mix of characters, adding noise, and regularly changing the CAPTCHA, you can make it harder for bots to bypass.
Is CAPTCHA the Only Way to Prevent Spam?
CAPTCHA is a common method to prevent spam, but it’s not the only way. Other methods include using a honeypot, which is a hidden form field that bots will fill out but humans won’t, checking the user’s behavior, such as the time taken to fill out the form, and using a service like Akismet, which filters out spam based on a database of known spam.
 Mehul Jain
Mehul Jain is a web- designer-developer-author from India. He has a deep interest in the field of web development, loves to experiment with php, css and javascript and wants to share his experiences and thoughts with the world.


