This article was sponsored by AppFog. Thank you for supporting the sponsors who make SitePoint possible.
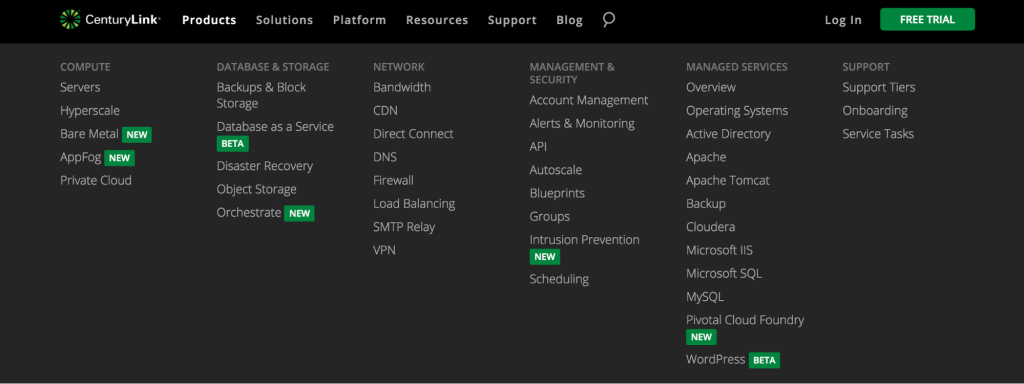
There are many cloud platform providers out there. One of the most complete and vast offerings is the CenturyLink Cloud platform. For scope, just take a look at the menu on the CenturyLink site:
CenturyLink constantly looks for new services to add to the platform, and recently released Bare Metal servers. Previously, I wrote a tutorial on provisioning a Bare Metal server and deploying a simple Rails app on that server. Bare Metal servers fit into the gap between shared virtual machines and dedicated servers. They have the isolation of a physical box, but scale and provision more like a shared VM. I recommend you read that article to get an idea of how Bare Metal servers fit into the picture.
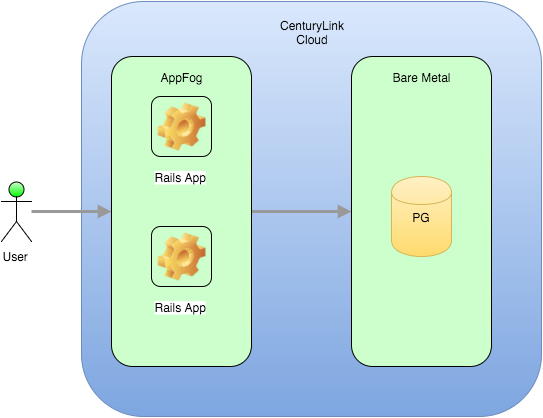
In this article, I am going to take the application from the previous article to the next architectural step, namely, separate repository and application servers. CenturyLink offers AppFog, which is a Platform as a Service (PaaS) like Heroku, so it makes sense to move the Rails application there. The application database will be moved from SQLite to PostgreSQL. The PostgreSQL instance will be created on a Bare Metal server, so this application is going to grow up, just a bit.
Here’s a simple image that shows the new architecture:
CenturyLink Setup
Refer to the first post to sign up with CenturyLink and make sure Bare Metal is enabled.
Bare Metal Database Server: PostgreSQL
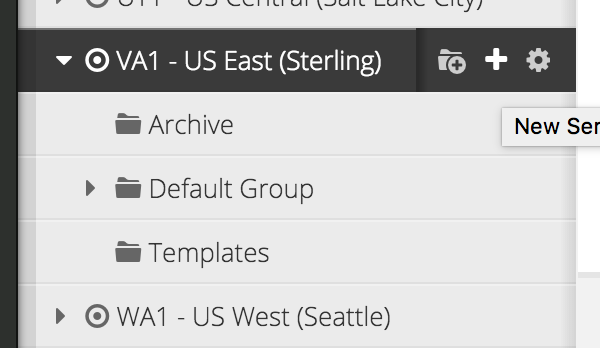
If you’ve followed the first tutorial, then you know how to deploy a Bare Metal server. Here, I’m going to deploy a new one for our PostgreSQL database. I want to add the new server to the existing VA1 – US East deployment (created in the first article), so I click the hamburger icon for that region:

Which then shows:
From this point forward, it’s really just a matter of picking some basic options:
- Choose ‘Bare Metal’ for the server type
- I went with the smallest configuration (4GB)
- For the OS, I chose Ubuntu 14
It takes a few minutes for the provisioning to complete. Again, this is the same process described in the first tutorial, so refer to it if needed.
Looking at the dashboard, I now have a new Bare Metal server called VA1SPGGSPPG202. Your server will have a different name. Let’s get PostgreSQL installed on it. We’ll need to SSH into the box for the installation, which means assigning a public IP address and opening the appropriate ports. The default port for SSH is 22, as we all know. Remember that PostgreSQL is going to be on this machine, which uses port 5432 by default.
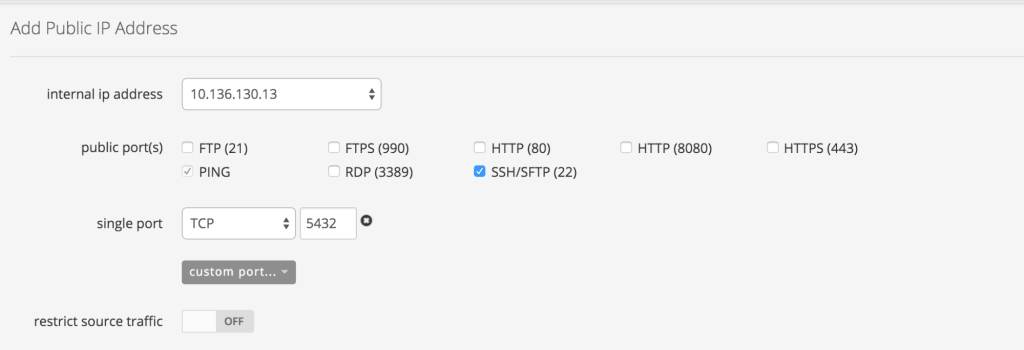
The provisioning of the public IP takes a few minutes. Adding a public IP is not a security best practice. Do not do this in a real production scenario. You’d at least want to restrict the source IP to your application servers for this box. More likely, a private virtual network is merited where only your servers can see your servers and the application server is the single point of entry. Even when following tutorials, you should get in the habit of using the VPN that is provided for you when you create the server. For the sake of keeping the tutorial succinct, I’ll refer you to CenturyLink’s instructions on setting up a client VPN.
CenturyLink offers many options for securing network access, so check the documentation for more or contact CenturyLink support for assistance with these options.
Once the public IP address has been added, SSH into the box using the username and password (available on the dashboard entry of the server).
ssh root@<your public ip>

root@<public ip>'s password:
Welcome to Ubuntu 14.04.3 LTS (GNU/Linux 3.13.0-68-generic x86_64)

 * Documentation:  https://help.ubuntu.com/
 *
 * The programs included with the Ubuntu system are free software;
 * the exact distribution terms for each program are described in the
 * individual files in /usr/share/doc/*/copyright.
 *
 * Ubuntu comes with ABSOLUTELY NO WARRANTY, to the extent permitted by
 * applicable law.

root@VA1SPGGSPPG202:~#
Excellent, we’re in. Installing PostgreSQL really is pretty simple:
apt-get update
...lots of updates...

sudo apt-get install postgresql postgresql-contrib
....lots of installation fodder...
You can verify that PostgreSQL is working by switching to the postgres user and running psql:
root@VA1SPGGSPPG202:~# sudo -i -u postgres
postgres@VA1SPGGSPPG202:~$ psql
psql (9.3.10)
Type "help" for help.

postgres=#
Yup, all good. However, the postgres role is associated with the postgres Linux user (this is called “peer authentication”) and is somewhat privileged. As such, let’s create a role that we can use for our application. Exit psql by typing \q so you’re back at the Ubuntu command prompt and then type:
vi /etc/postgresql/9.3/main/pg_hba.confThis opens the file in vi. By default, PostgreSQL is configured to use Peer Authentication only, but we want to use Password Authentication. Find the following line:
local all postgres peerChange it to:
local all postgres md5Also, add the following line to the file:
host all all all md5This enables PostgreSQL to accept incoming connections from remote hosts.
Save and exit the file (:wq).
Next, PostgreSQL needs to be configured to listen for remote connections. This is done in the main configuration file:
vi /etc/postgresql/9.3/main/postgresql.confFind the line with listen_addresses, uncomment it, and change it to:
listen_addresses='*'Note: These are not recommended security practices for a production PostgreSQL instance. This is intended purely as an illustration of a dev PostgreSQL environment.
Back at the command prompt:
postgres@VA1SPGGSPPG202:~$ createuser --interactive
Enter name of role to add: thingsuser
Shall the new role be a superuser? (y/n) n
Shall the new role be allowed to create databases? (y/n) y
Shall the new role be allowed to create more new roles? (y/n) n
Password:
postgres@VA1SPGGSPPG202:~$
You should now be able to login using that user and psql:
psql -U thingsuser -d postgres
Password for user thingsuser:
psql (9.3.10)
Type "help" for help.

postgres=>
We’re ready to set up our Rails application on AppFog.
Rails Application
The GitHub repository for the Rails application is here. I have created a branch called appfog-application for the changes needed in this article. There aren’t too many.
AppFog Requirements
- Make sure AppFog is enabled on your account and select a region.
- Install the CloudFoundry CLI (Can use the download link: https://github.com/cloudfoundry/cli/blob/master/README.md#downloads or homebrew — I am using homebrew).
brew tap pivotal/tap
brew install cloudfoundry-cli

cf -v
cf version 6.13.0-e68ce0f-2015-10-15T22:53:29+00:00
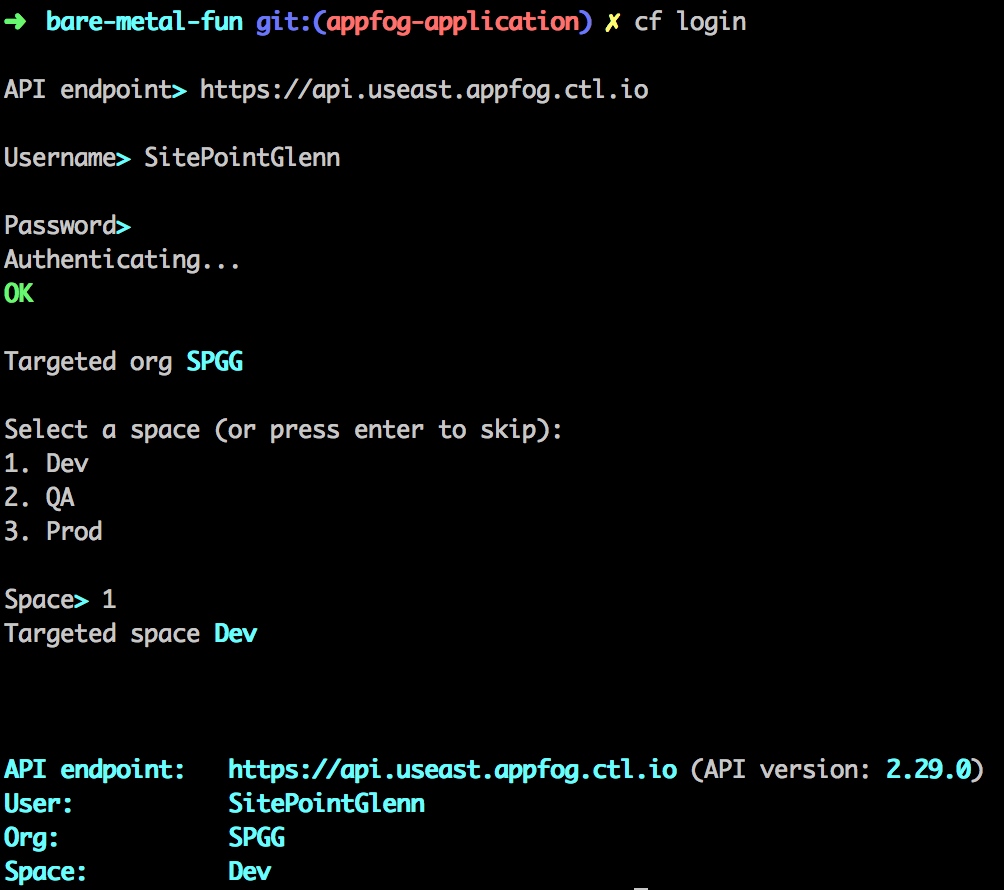
Login to AppFog with the CLI. You’ll need the URL from the region where you enabled AppFog. Mine was in US East, and looks like:
Changes in Gemfile
Since the app is moving from SQLite to PostgreSQL, remove the sqlite gem and add the pq gem. Also, capistrano is no longer being used, so remove all those gems.
Database Config
Let’s configure the application to point to our newly-minted PostgreSQL instance.
# config/database.yml
default: &default
  adapter: postgresql
  pool: 5
  timeout: 5000
  host: 206.128.135.30
  port: 5432
  user: thingsuser
  password: <%=ENV["DB_PASS"] %>

development:
  <<: *default
  database: things_development

# Warning: The database defined as "test" will be erased and
# re-generated from your development database when you run "rake".
# Do not set this db to the same as development or production.
test:
  <<: *default
  database: things_test

production:
  <<: *default
  database: things_production
For the sake of this example, I am using the Bare Metal database server for all environments. If you’re following along, you’ll need to set an environment variable called DB_PASS to your database password. Once you’ve added this configuration, you can create and migrate the databases:
rake db:create
rake db:migrate
== 20150928152221 CreateThings: migrating =====================================
-- create_table(:things)
   -> 0.0360s
== 20150928152221 CreateThings: migrated (0.0361s) ============================
You should now have a things_development database in your PostgreSQL instance.
File Changes
The deployment files are no longer required, so delete config/deploy.rb and the config/deploy directory.
Other AppFog Considerations
Environment Variables
It’s a good idea to add the database connection string as an environment variable to our app. One way to do that is to use the cf set-env command:
cf set-env sitepoint-things DATABASE_URL postgres://thingsuser:password@<bm-pg-ip>/things_productionMigrate the Database
There are a few options when migrating the database. One way is to call cf push with a different “start” command, like so:
cf push sitepoint-things -c 'rake db:create && rake db:migrate' -i 1This will create and migrate the database.
Deploy to AppFog
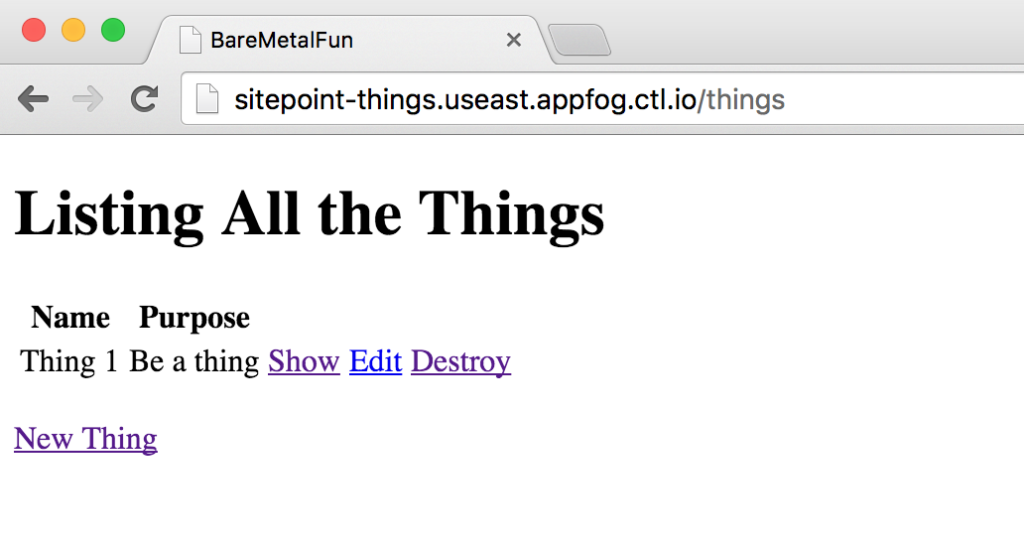
cf push sitepoint-thingsOpen your app URL in the browser and see your Things Server in action.
Excellent. We now have a Rails application hosted on AppFog using a PostgreSQL database that is, in turn, hosted on a Bare Metal server.
Next Steps
Admittedly, this tutorial is foundational in nature. It exposes only a part of what the CenturyLink Cloud Platform has to offer. In fact, it only really shows bits of AppFog and Bare Metal. There are a number of next steps you can take from this point:
Bare Metal
- Implement a backup strategy for the database.
- Investigate the CenturyLink API, specifically how to provision and manipulate Bare Metal servers.
- Add servers for background workers.
AppFog
- Learn how to use a manifest to migrate a database on every deploy.
- Add a custom domain.
- Use a Procfile to declare and control the applications start up command.
Other
- Investigate other CenturyLink offerings, such as Database as a Service, which is currently in Beta and will soon be in General Availability.
Conclusion
The CenturyLink Cloud Platform is a vast offering of cloud-based hosting and services. It is certainly worth investigating if you want a solid platform that can control all your application and infrastructure needs under one umbrella. Also, Bare Metal servers are a new and intelligent approach to VMs that need isolation but can be provisioned quickly.
 Glenn Goodrich
Glenn works for Skookum Digital Works by day and manages the SitePoint Ruby channel at night. He likes to pretend he has a secret identity, but can't come up with a good superhero name. He's settling for "Roob", for now.


