In a world where we all want to control our gadgets via movements that make us feel like wizards, the Myo armband is a blessing. It brings some very neat gesture control to applications in an impressively simple way. Whilst you can implement the Myo API in iOS and Android, I’m a JavaScript developer at heart and love connecting this sort of thing to Node servers – so in this article we’ll be doing just that! We will be looking at using the Myo npm package to bring this functionality to a Node server.
What You’ll Need
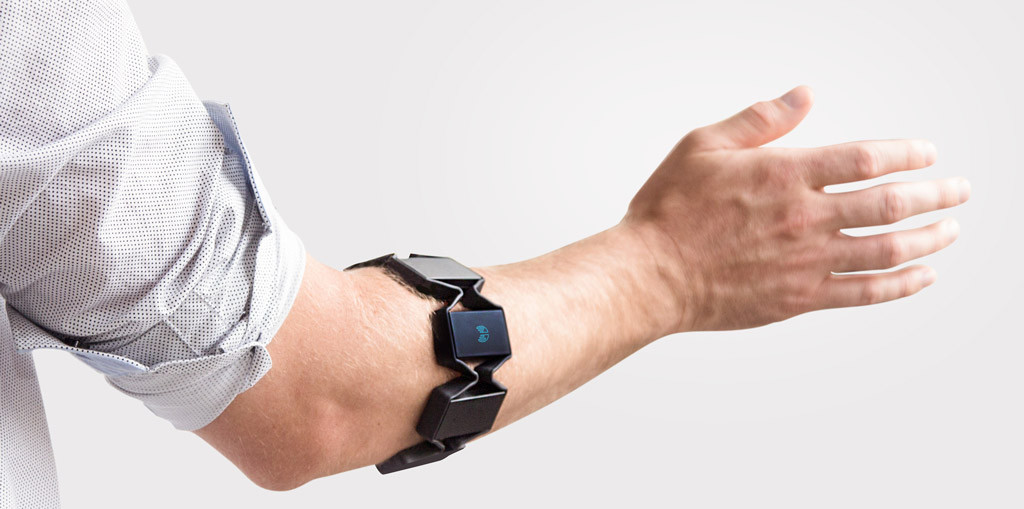
- A Myo Armband
- Myo Connect – This will need to be installed and running on your computer.
- Windows or Mac OSX – Myo does not currently seem to have Myo Connect available for Linux.
- A basic understanding of using Node – Peter Dierx at SitePoint has written a pretty comphrensive guide on starting with npm.
Getting Started
Before going any further, ensure that:
- You are wearing your Myo armband and it is charged up and ready to go!
- You’ve got your Myo armband’s Bluetooth adapter plugged into the USB port closest to the arm wearing your Myo armband (a new requirement for later versions of the Myo software).
- You’ve got Myo Connect running on your PC
- You remember how to unlock your Myo armband so that it detects your gestures (tap your thumb and middle finger).
If you have all of that sorted, we can begin!
Starting Your Project
Create a new npm enabled project on your computer via the usual npm init (or by making your own package.json file). Install the npm module via npm install myo --save and create a file called index.js (or whatever you’d prefer your Node’s main file to be) for your code. When you want to run the server, run the usual node index.js command.
You could use the same concepts on the front end via Browserify too – however we won’t be covering Browserify in this article.
Start your index.js file with a require statement to bring in the Myo npm module
var Myo = require("myo");Then, run Myo.connect() with a namespace you come up with (e.g. com.yourCompany.yourProject):
Myo.connect("com.sitepoint.myoarmbandcontroller");Detecting Myo Connections
In order to detect when a Myo Armband connects, we can use the "connected" event. It provides a data variable and a timestamp variable upon success:
Myo.on("connected", function(data, timestamp) {
  console.log("Myo successfully connected. Data: " + JSON.stringify(data) + ". Timestamp: " + timestamp + ".");
});
The data variable provides a JSON object that looks like so:
{
  "mac_address" : "2b-or-n0-2b-QQ-QQ",
  "myo" : 0,
  "name" : "Stark",
  "timestamp" : "35259097032",
  "type" : "connected",
  "version" : [1,5,1970,2]
}
It provides the MAC address of the Myo, the index of the Myo (if you have more than one), the name you gave that Myo, the timestamp of when it connected (exactly the same as the timestamp variable also available in the callback above), the type of event which triggered this data and the version of Myo Connect you are using.
There is a much better way of retrieving data about your Myo armband from event calls like this one which we will look at later in this article (the version number seems to come through as an array above, it comes through as a version number separated by dots in the other version of the call).
Detecting Poses
The most common thing every developer wants to use the Myo Armband for is to detect when the user makes certain poses. “Poses” are what Myo calls the specific gestures which Myo understands. These include fist, fingers_spread, wave_in, wave_out and double_tap.
To detect poses, we watch for them using the on() function. Here is an example of detecting fingers spread out:
Myo.on("fingers_spread", function() {
  console.log("Fingers spread!");
});
Detecting all other poses works exactly the same way, just switch out fingers_spread for one of the other events listed earlier (fist, fingers_spread, wave_in, wave_out, double_tap).
Another way you can detect poses is by watching for the generic pose event and then reading the data sent out. The pose event fires on every pose the Myo recognises:
Myo.on("pose", function(pose_name) {
  console.log("Myo pose detected! Pose was: " + pose_name + ".");
});
This method is useful if you’d like to respond to multiple types of poses in the same way:
Myo.on("pose", function(pose_name) {
  switch (pose_name) {
    case "wave_in":
    case "wave_out":
      console.log("You are waving!");
      break;
  }
});
Retrieving Myo Data Within Events
One thing you’ll notice when you start using events, if you continue via the structure of the connected event, is that retrieving the data about the armband doesn’t work. For example, this will not work:
Myo.on("pose", function(data, timestamp) {
  // Note for those copying this code - it is an example of what not to do! Don't copy paste this into your code!
});
That data variable now returns the pose name, as you might recall from the example before. So, what do we do if we want to find out about the Myo armband that caused the event to fire? There is a much better way to retrieve Myo armband data – the this keyword. For example:
Myo.on("fingers_spread", function() {
  console.log("Fingers spread!");
  console.log(this);
});
This will log a whole bunch of details about the Myo Armband that just sent through a fingers_spread event. That data looks like so:
{
  "macAddress": "2b-or-n0-2b-QQ-QQ",
  "name": "Stark",
  "connectIndex": 0,
  "locked": false,
  "connected": true,
  "synced": true,
  "batteryLevel": 0,
  "lastIMU": {
    "orientation": {
      "w": -0.54913330078125,
      "x": -0.4156494140625,
      "y": -0.362060546875,
      "z": -0.6282958984375
    },
    "accelerometer": {
      "x": 0.1279296875,
      "y": 0.8095703125,
      "z": 0.40673828125
    },
    "gyroscope": {
      "x": -3.8125,
      "y": -12.625,
      "z": 10.9375
    }
  },
  "arm": "left",
  "direction": "toward_elbow",
  "warmupState": "warm",
  "orientationOffset": {
    "x": 0,
    "y": 0,
    "z": 0,
    "w": 1
  },
  "events": [],
  "connectVersion": "1.5.1970.2",
  "lastQuant": {
    "w": -0.54913330078125,
    "x": -0.4156494140625,
    "y": -0.362060546875,
    "z": -0.6282958984375
  },
  "lastPose": null
}
Whilst I won’t cover everything that is coming through here in detail, there’s plenty to tinker with! We have the MAC address and name of the armband, whether it is locked, the battery level (though it doesn’t appear to be coming through correctly), last IMU (Inertial Measurement Unit) data (the 9-axis IMU tracks the movement of the armband’s gyroscope, accelerometer and orientation – possibilities are endless with the data this can provide) and more.
Other Possibilities
There are a tonne of more advanced tracking options you can explore with the Myo by using the EMG and IMU data it provides to detect completely custom gestures, this is something we’ll be exploring in a future article!
Conclusion
As you can see, setting up Myo gesture functionality within a Node server is actually nice and simple to do – yet it brings a lot of really fascinating possibilities. Within these callback functions on each gesture, you can run anything that works with Node and npm – connect up your IoT devices, send off some IFTTT triggers, control an Arduino based NodeBot or absolutely anything else!
If you do magically control a Node or JavaScript based app using the Myo armband and these code examples above, please share it in the comments or get in touch with me on Twitter (@thatpatrickguy). I love seeing what developers in the community get up to!
Frequently Asked Questions (FAQs) about Myo Armband Gesture Control in Node.js
How does the Myo armband work with Node.js?
The Myo armband works with Node.js through the use of a special library called ‘myo’. This library allows Node.js to communicate with the Myo armband and interpret the gestures it detects. The Myo armband uses a combination of motion sensors and muscle activity sensors to detect the user’s arm movements and translate them into commands. These commands can then be used to control various applications or devices.
What kind of gestures can the Myo armband detect?
The Myo armband can detect a variety of gestures, including but not limited to: fist, fingers spread, wave in, wave out, and double tap. These gestures can be used to perform different actions in the applications or devices controlled by the Myo armband. The armband can also detect the orientation of the user’s arm, which can be used for more complex control schemes.
How accurate is the Myo armband’s gesture detection?
The Myo armband’s gesture detection is quite accurate, thanks to its combination of motion sensors and muscle activity sensors. However, it may take some time for the user to get used to the armband and learn how to perform the gestures in a way that the armband can reliably detect. The accuracy of the gesture detection can also be affected by the fit of the armband on the user’s arm.
Can the Myo armband be used with other programming languages besides Node.js?
Yes, the Myo armband can be used with other programming languages besides Node.js. There are libraries available for several other languages, including Python, Java, and C#. This makes the Myo armband a versatile tool for developers who want to incorporate gesture control into their applications.
How can I troubleshoot issues with the Myo armband?
If you’re having issues with the Myo armband, there are several steps you can take to troubleshoot. First, make sure the armband is properly fitted on your arm. If it’s too loose or too tight, it may not be able to accurately detect your gestures. Second, make sure the armband is properly connected to your computer and that the ‘myo’ library is correctly installed in your Node.js environment. If you’re still having issues, you may need to contact the manufacturer for further assistance.
Can I customize the gestures that the Myo armband detects?
Yes, you can customize the gestures that the Myo armband detects. This can be done by modifying the ‘myo’ library in your Node.js environment. However, this requires a good understanding of both the Myo armband’s technology and the Node.js programming language.
Is the Myo armband comfortable to wear?
The Myo armband is designed to be comfortable to wear, with a lightweight and adjustable design. However, comfort can vary from person to person, and some users may find the armband more comfortable than others. If you find the armband uncomfortable, you may need to adjust the fit or wear it for shorter periods of time.
How long does the Myo armband’s battery last?
The Myo armband’s battery can last for several hours of continuous use. However, the exact battery life can vary depending on how the armband is used. For example, using the armband to control more complex applications or devices may drain the battery faster.
Can the Myo armband be used to control any application or device?
The Myo armband can be used to control a wide range of applications and devices, but not all. The application or device must be compatible with the Myo armband and the ‘myo’ library in Node.js. Additionally, the developer of the application or device must have implemented support for the Myo armband.
Is the Myo armband still being manufactured and supported?
As of 2018, the Myo armband is no longer being manufactured, and official support for the device has ended. However, the ‘myo’ library in Node.js and other programming languages is still available, and the armband can still be used with applications and devices that support it.
 Patrick Catanzariti
PatCat is the founder of Dev Diner, a site that explores developing for emerging tech such as virtual and augmented reality, the Internet of Things, artificial intelligence and wearables. He is a SitePoint contributing editor for emerging tech, an instructor at SitePoint Premium and O'Reilly, a Meta Pioneer and freelance developer who loves every opportunity to tinker with something new in a tech demo.