This is a simple but elegant technique for finishing your images for display online or even in a PDF and should be useful for web designers and photographers. It lets you create the effect of a matte and frame around your image.
1. Open up the photograph that you want to frame. Set your Foreground and Background colors to black and white respectively by pressing D on the keyboard.

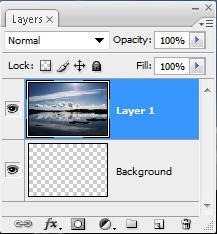
2. Press Ctrl + A (Windows) or Cmd + A (Mac) to put a selection around the whole image, then press Shift + Ctrl + J (Windows) or Shift + Cmd + J (Mac) to put your selection on its own layer.
3. Choose Image > Canvas Size and when the dialog box opens turn on the Relative checkbox and set the Canvas Extension Color to white. Now set the Width and Height for the size of your frame and matte. This is something you might need to try out a few different values with. For the image that I’m working on here, I set the Width and Height to 10 cm.
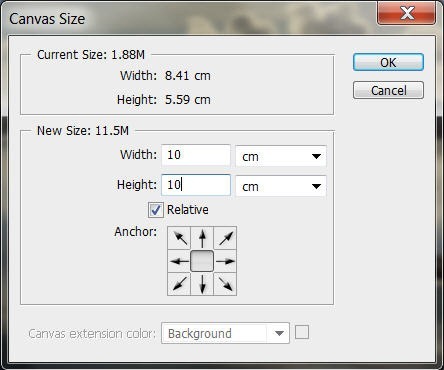
Click OK to add white space around your photo.
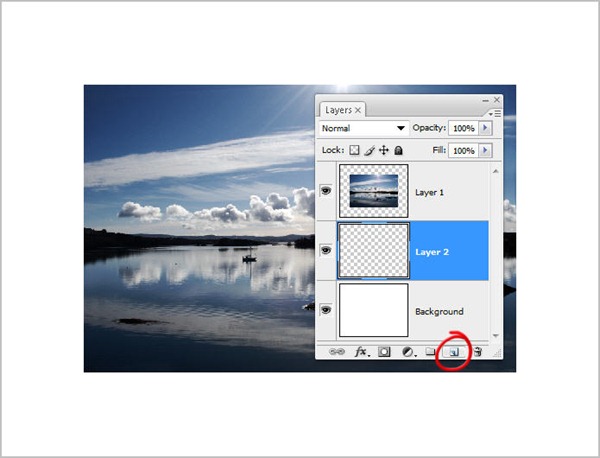
4. Create a new layer below your photo layer.
(Note the light gray border in these images is used to denote the edge of the Canvas and will not appear in your images.)
5. Now you’ll draw a selection larger than the photo and this will be the edge of the frame. Select the Rectangular Marquee tool (M) and drag out a rectangular selection as large as you would like your frame to be.
Note: If you want to move your marquee while you’re dragging it, just hold down the space bar. When you’ve moved it to where you want it, release the Space Bar and continue dragging.

6. Press X on the keyboard to set your Foreground color to white, and press Alt-Backspace (Windows) or Option-Delete (Mac) to fill this selection with white. Now press Control-D / Command-D to deselect.
Ok, so nothing appears to change at this point because you’ve added a white rectangle on top of a white background, but if you look at your layers palette, you’ll see the middle layer thumbnail has changed.
7. Now you’ll add a stroke to the edge of the middle rectangle. Click on the Layer Styles button on the bottom of the Layers Palette and choose Stroke from the drop down menu.

When the Layer Style dialog box opens, set the Size to 15 pixels, set the Position to Inside (by choosing Inside the edges stay nice and sharp) and choose a dark gray in the Color Picker.
Note: You may have some trial and error with the Size value. It really depends on how large your image is and how thick you want the stroke to be.

Don’t click OK yet.
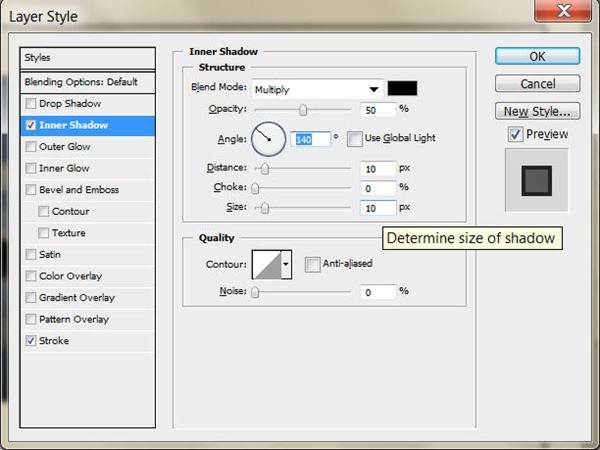
8. You’ll add some depth now by creating a very subtle inner shadow in the upper left corner of the middle rectangle, so click on the words Inner Shadow on the left hand side of the Layer Style dialog box.
Set the Opacity to 50% and uncheck the Use Global Light checkbox. Set the angle to approximately 140 degrees and set Distance and Size to 10.
Click OK to add the Stroke and the Inner Shadow.
9. On the Layers palette, click on the Create a New Layer icon. This time you’re creating a small matte between your photograph and your frame. Select the Rectangular Marquee tool again and draw a marquee slightly bigger than your photograph.

10. Now you’ll fill this selection with white by pressing Alt + Backspace / Option + Delete. The press Ctrl + D / Cmd + D to deselect everything. Once again, there is nothing new to see in the image because you have added a white box over a white background.
11. Click on the Add A Layer Style icon on the Layers palette and choose Inner Glow from the drop down menu.
When the dialog box opens, change the Blend Mode pop-up menu to Normal, lower the Opacity to about 30%, then click on the color swatch and change the glow color to black in the Color Picker.

When you click OK, a soft shadow is added to the layer giving the impression of an inner matte.

Now to finish up, you’ll add a soft drop shadow to the frame (the layer with the stroke and inner shadow already on it). Click on that layer and then choose Drop Shadow from the Add a Layer Style pop-up menu.
Set the Opacity to about 30%, turn off the Use Global Light checkbox, increase the Size (which is the softness of the shadow) to 70 pixels, and then click OK. (Note: If you’re working with low resolution images, decrease the Size setting.)

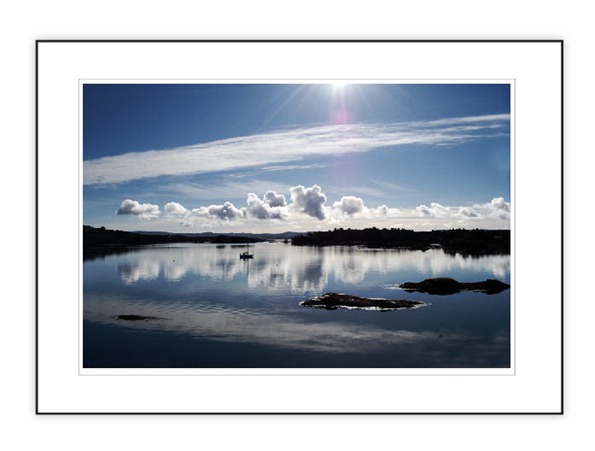
Your final image should look something like this:
You can of course play around with the size of the frame, the size of the inner matte and the colors to get different effects for your online portfolio, gallery or images on your website.
 Jennifer Farley
Jennifer Farley is a designer, illustrator and design instructor based in Ireland. She writes about design and illustration on her blog at Laughing Lion Design.