Whether you’re working on a new site or redesigning an old one, a stylish “Coming Soon” page is a great way to keep your loyal followers informed. Without such a page, visitors might interpret your site as broken, down, unfinished, or even permanently gone. Make it known that you’re not neglecting your website, in fact, you’re actually investing even more time and energy into it. Designing a temporary page with information about your future plans (including a countdown that keeps you on schedule) is a perfect way to distinguish between a dormant, inactive website and a very active one with lots of plans in the works.
Of course, if you want your “Coming Soon” page to leave a great impression on your visitors, then your design has to be thoughtful and appealing. So, today we are going to create an appealing, effective “Coming Soon” page. In this tutorial we will use a variety of interesting patterns and blending options to get the desired result.
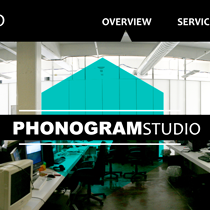
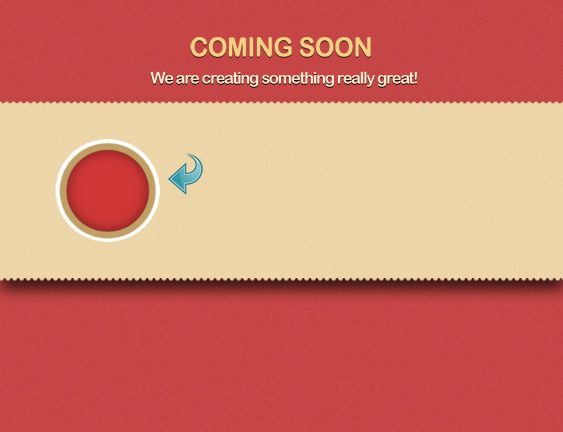
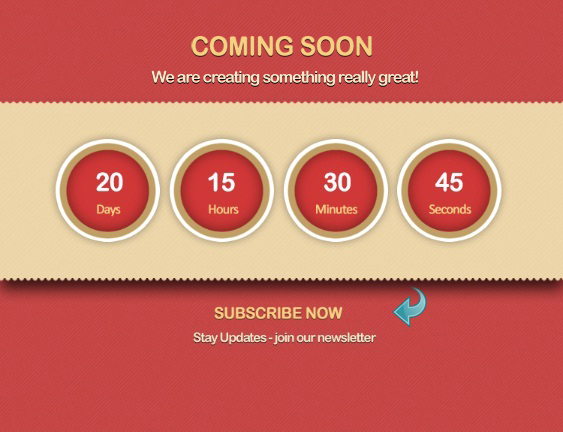
Let’s have a look at our final design before we start. (Download the finished, layered design file.)

Step 1
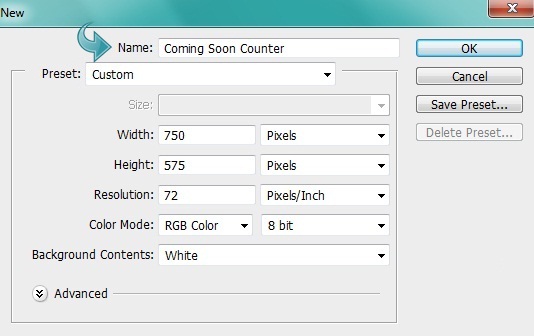
Open Photoshop and create a new file with a 750px width and a 575px height.
Step 2
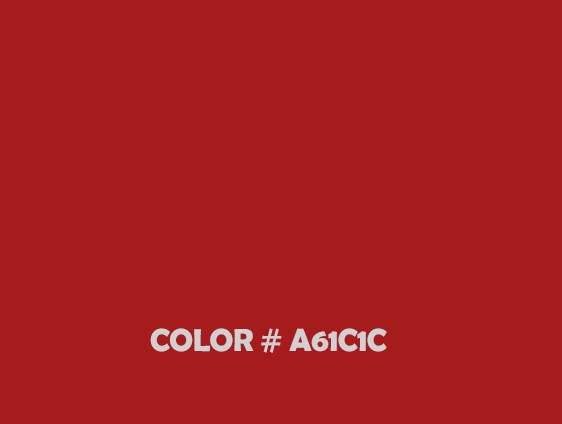
Create a new layer and fill it with color #a61c1c using the paint bucket tool.
Step 3
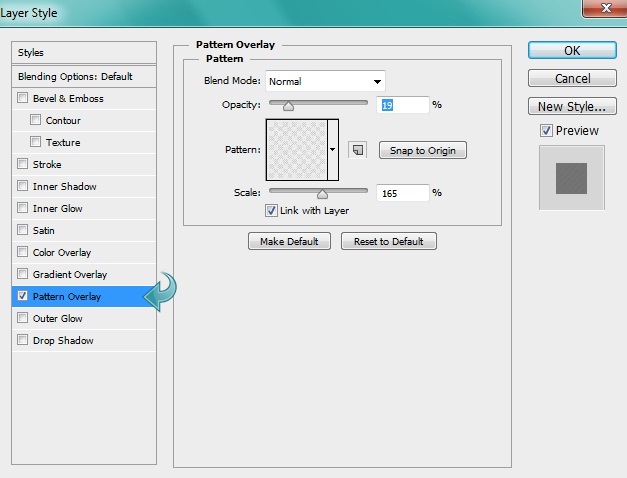
Add a pattern to the background layer by clicking on “Layer Styles” > “Pattern overlay.”

Step 4
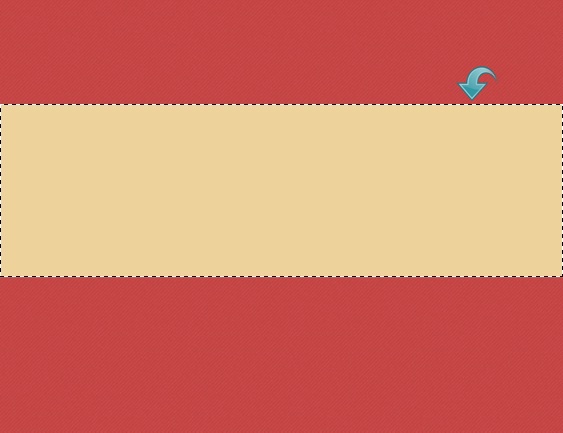
Create a new layer and select a rectangular area using the rectangular marquee tool. Fill it with color #eed29b.
Step 5
Select a hard round brush and adjust the settings within brush panel using the settings below. Then, use the brush on the above rectangle to create a pattern on the sides.

Step 6
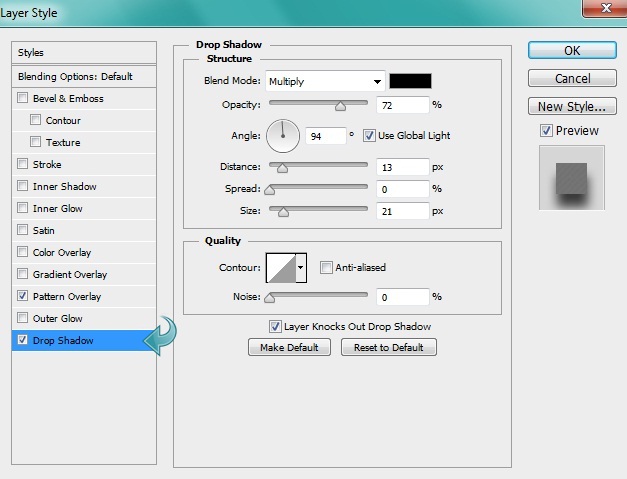
Now, click on “Layer styles” to add a pattern and drop shadow using the following settings.
Step 7
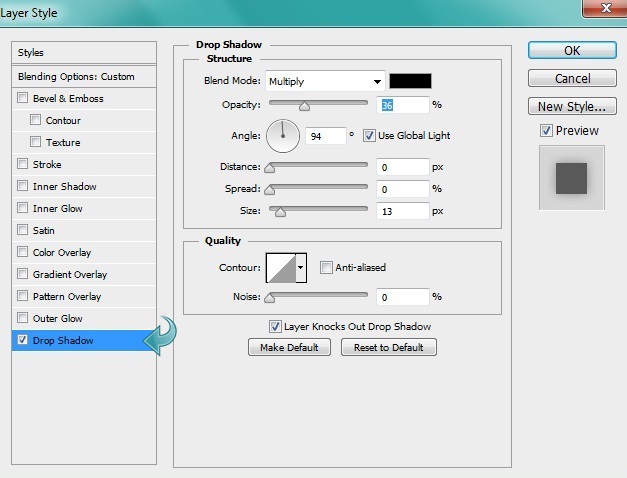
Select the type tool to add the desired title text. Then, click on “Layer styles” to add a drop shadow with the following values.

Step 8
Repeat the same process and add some additional text.

Step 9
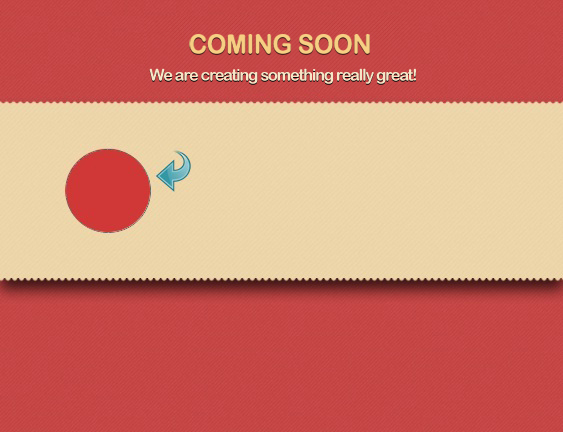
Now, let’s start with the countdown. Select the ellipse tool and create a small circle using color #d03737.
Step 10
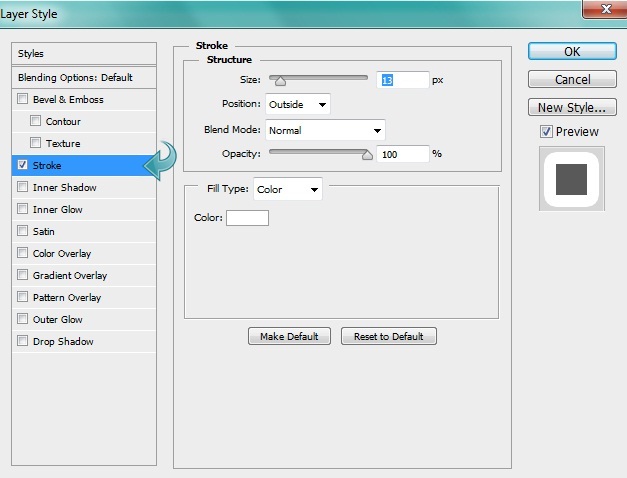
Click on the “Layer styles” and add a stroke and an inner shadow to the above circle. Use the settings below.

Step 11
Select the hard round brush with a 9px size and set the foreground color to #bf9f63. Now, click on the ellipse tool and change the tool mode to “path.” Then create a small circle, right-click on it, and select “Stroke Path.”
Step 12
Now, click on “Layer styles” and add a drop shadow to the circle using the following values.
Step 13
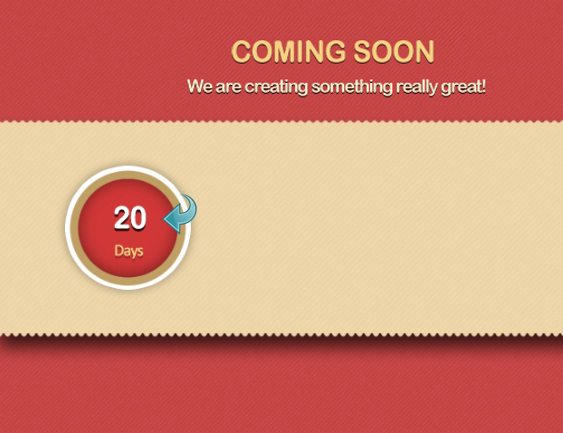
Select the type tool and add the countdown text using colors #ffffff and #f7cf83. Then, click on “Layer styles” and add a drop shadow to the text.
Step 14
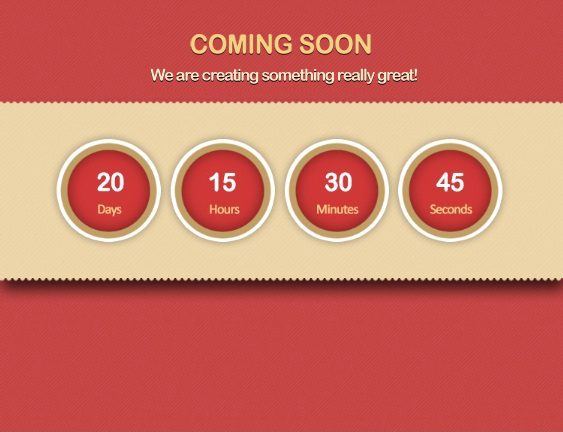
Repeat the same process and complete the other three counters. Alter the next as needed.
Step 15
Now, let’s move on to the subscribe section of our “Coming Soon” page design. First, select the type tool and add some text using the same methods that we used for the title.
Step 16
Now, select the rounded rectangle tool and create a rectangle using color #f2e6ce.
Step 17
Add a stroke and drop shadow to the new rectangle using the following settings.


Step 18
For the email field, select the rectangle tool to create a rectangle using color #36302e. Then, add a stroke using the following settings.

Step 19
For the button, select the rounded rectangle tool and create a small rectangle using color #d03737. Now, click on “Layer styles” to add bevel & emboss and a gradient. Use the settings below.
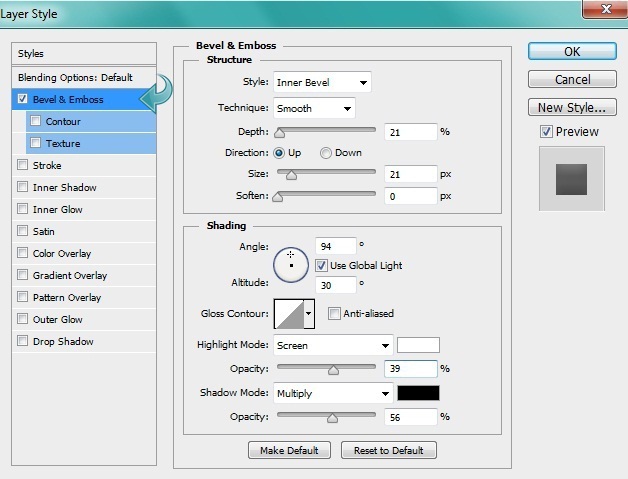
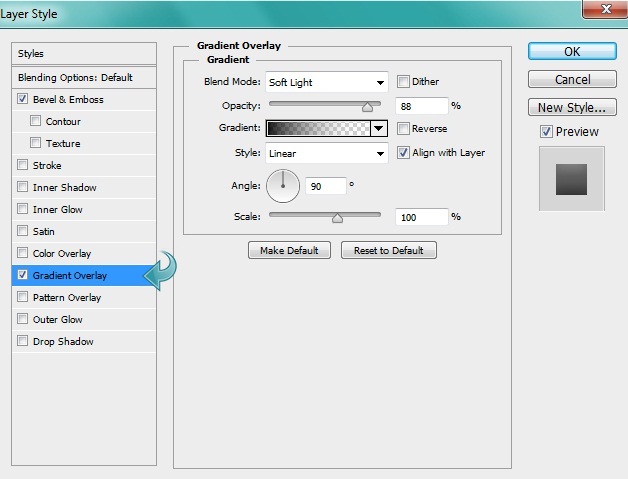
Step 20
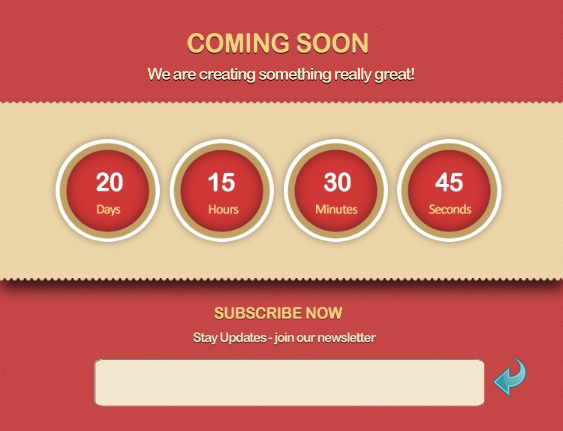
Select the type tool to add your desired text to our form field and submit button.

Our “Coming Soon” page design is ready. I hope all of you enjoyed the tutorial. Let us know what you think!
 Anum Khan
Anum is Web and Graphic designer. Addicted to Photoshop and crazy for pixel perfection. She is also an active blogger, sharing her passions, skills and creative details on her blog Websoulz. She loves to connect with the community, sharing the latest design gossips and rolling her eyes on boring trends.