In this tutorial, we’ll take a look at how to deploy a PHP application with Dploy Deploybot, a tool that’s free (and full-featured) for a single application, which makes for a perfect test case on whether or not it’s worth paying for. Before continuing, go ahead and sign up for a free account.
Specifically, we’ll deploy a simple app I made on DigitalOcean.
Configuring the Droplet
Before proceeding, we should make sure we have a DigitalOcean droplet created and configured (here’s my DigitalOcean referral link if you’d like a head start with some credits). You should also have the API key at the ready (can be obtained here).
In order to be compatible with the app in question, we need to have Nginx and PHP installed on the Droplet, and the virtual host pointing to a folder that will hold subfolders for various releases, like current etc. As per Deploybot documentation:
| Description | Path | Shell Var |
| Active version link | /data/myapp/current | — |
| Release being deployed | /data/myapp/releases/1434307860 | $RELEASE |
| Application base | /data/myapp | $BASE |
| Shared files | /data/myapp/shared | $SHARED |
| All releases | /data/myapp/releases | $RELEASES |
So, first order of business: create an Ubuntu 14.04 x64 Droplet in a location near you. It is recommended you tune it up, security wise. A good tutorial is here.
Next, let’s connect to the Droplet and install Nginx. Connect either via the HTML5 console under “Access” in the Droplet’s GUI, or via your own machine’s terminal and then (partially as per this tutorial) execute:
sudo add-apt-repository ppa:ondrej/php5-5.6
sudo apt-get update
sudo apt-get install nginx php5-fpm
curl -sS https://getcomposer.org/installer | php
mv composer.phar /usr/local/bin/composer
Note that I’m skipping the MySQL step because I don’t need it for this particular app. I’m also importing the PHP 5.6 repository, because Ubuntu installs an older version of PHP by default. Finally, I install Composer so it becomes globally available on the Droplet.
The app we’re deploying has a typical setup of having a public subfolder with an entry file called index.php in there. A default Nginx setup will look for files to serve in /usr/share/nginx/html. Let’s make a new folder for our app:
sudo mkdir /usr/share/nginx/spsearchThen, let’s set up the virtual host. Edit the file /etc/nginx/sites-available/default
server {
    listen 80 default_server;
    listen [::]:80 default_server ipv6only=on;

    root /usr/share/nginx/spsearch;
    index index.php;

    server_name search.sitepoint.tools;

    location / {
        try_files $uri $uri/ =404;
    }

    error_page 404 /404.html;
    error_page 500 502 503 504 /50x.html;

    location ~ \.php$ {
        try_files $uri =404;
        fastcgi_split_path_info ^(.+\.php)(/.+)$;
        fastcgi_pass unix:/var/run/php5-fpm.sock;
        fastcgi_index index.php;
        fastcgi_param SCRIPT_FILENAME $document_root$fastcgi_script_name;
        include fastcgi_params;
    }
}
After restarting Nginx with sudo service nginx restart, the server should be successfully configured. If you try to put a phpinfo file into usr/share/nginx/spsearch/current, you should see the PHP information printed on screen if you visit the Droplet’s IP address in your browser.
Basic DeployBot Setup
I’ll assume you have a repository on Github with an app ready for deployment, like mine. If not, just make one and put a phpinfo file in there if you’d like to follow along and test. You can always change the app’s contents later and deploy a proper app.
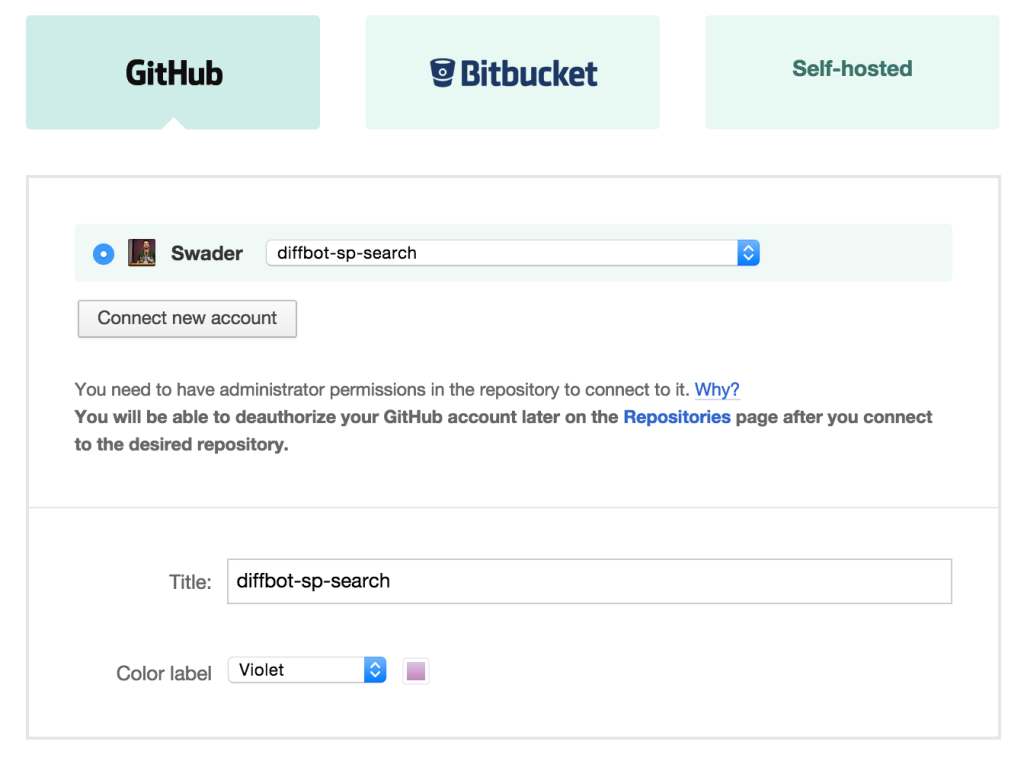
Next, connect a repo.
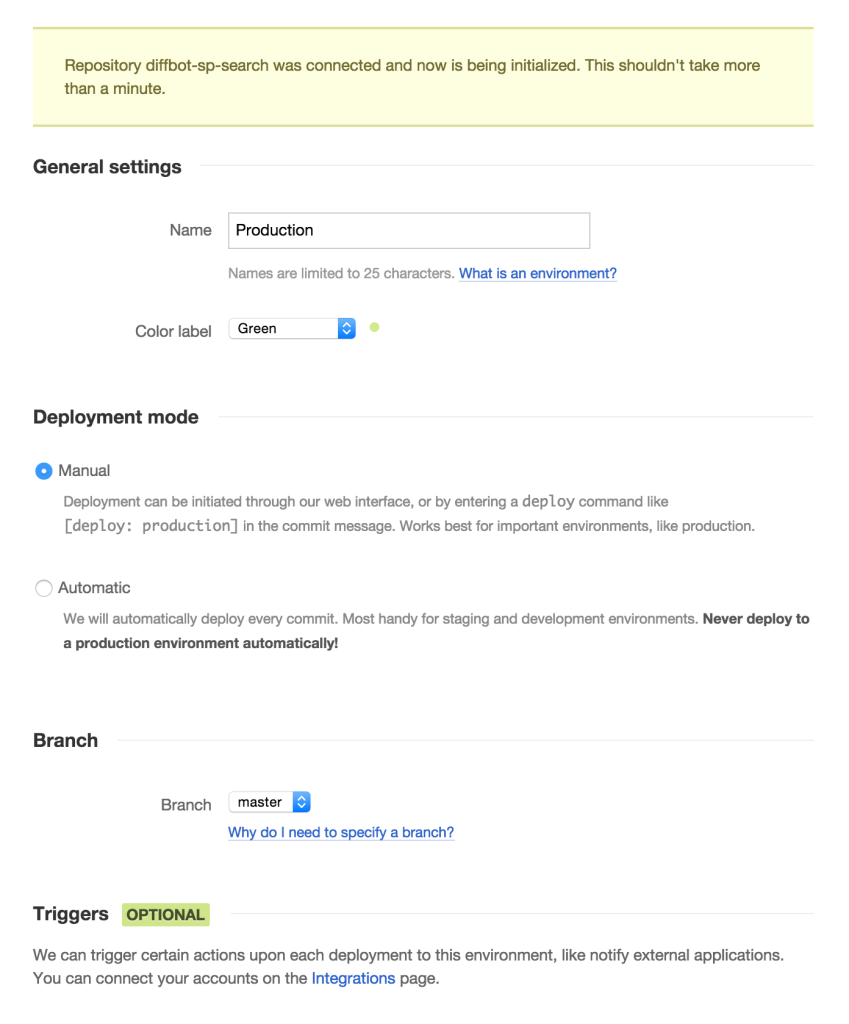
Then, we add an environment. Since we’re making a production environment, we’ll leave it at the default values – manual deployment.
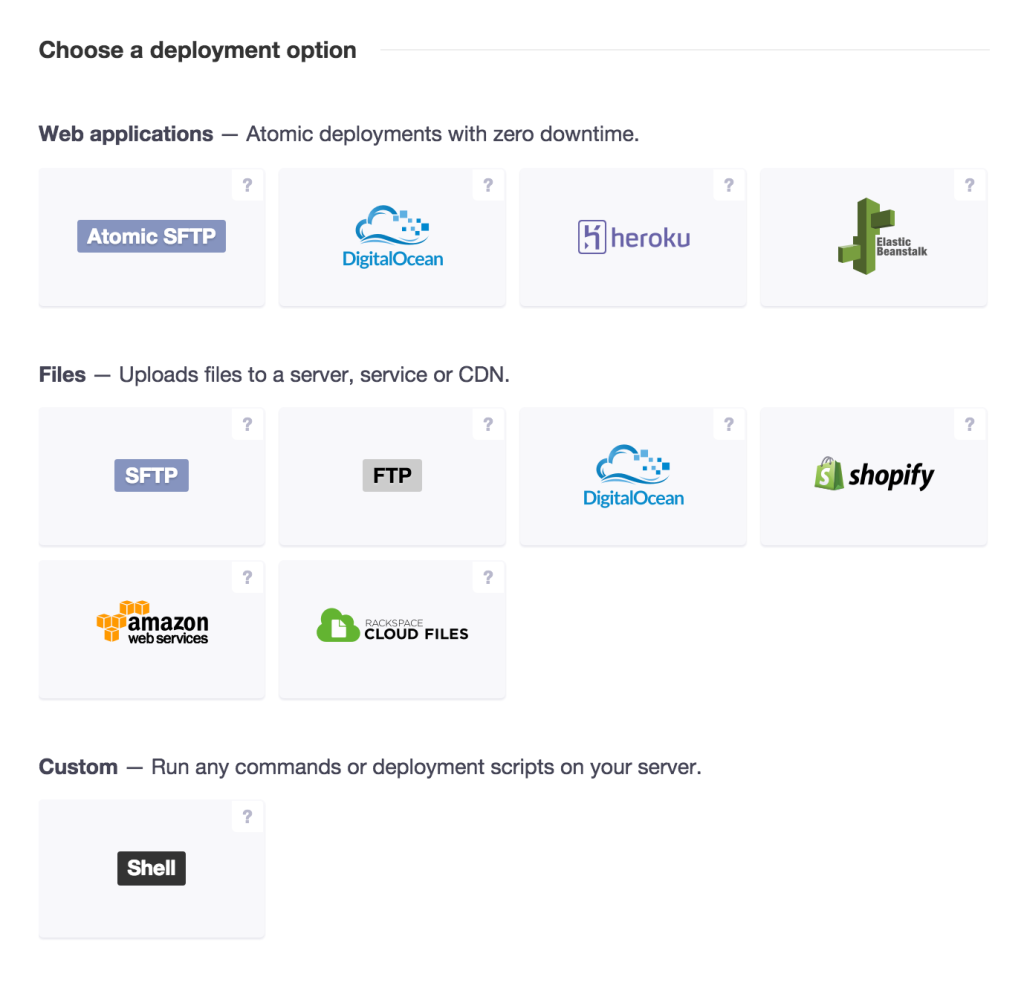
Under deployment, we choose DigitalOcean under Web Applications. Give those question marks a read if you’re interested in what’s what.
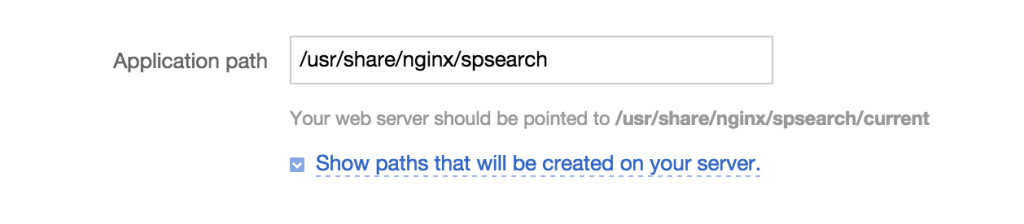
On the next setup screen, we have some additional fields to fill out. Most importantly:
- we need to set the application path to
/usr/share/nginx/spsearch.
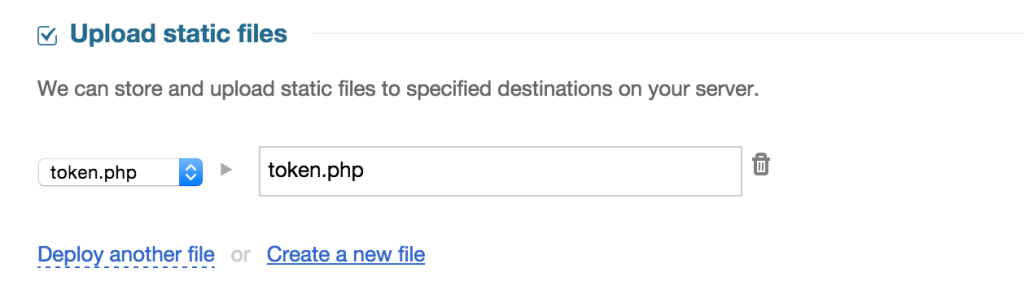
- we need to provide a static file, because the application in question uses a
token.phpfile to provide a Diffbot token, but this file is not in version control as to prevent leakage and theft.
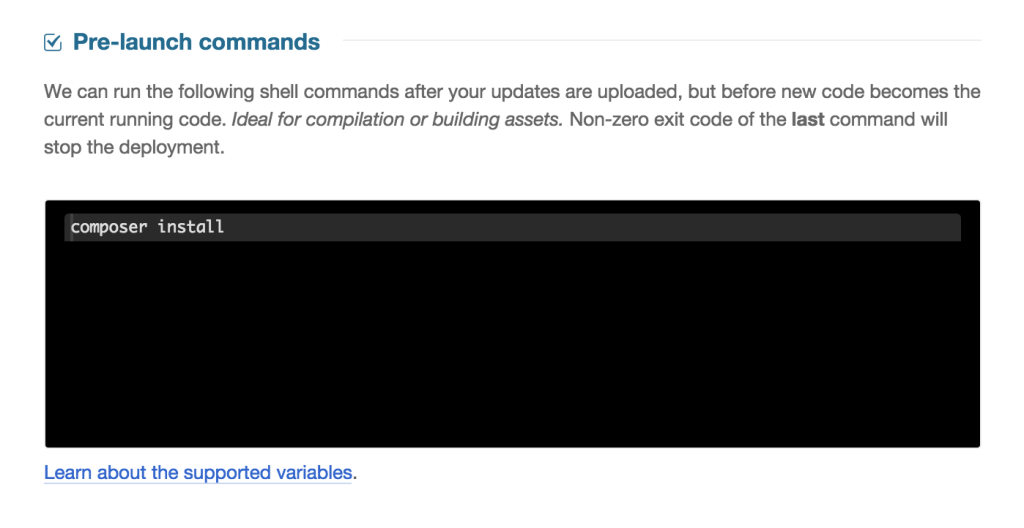
- we need to tell DeployBot to launch
composer installonce the deployment is complete. We do this with the pre-launch script because we want the app ready when a new release is symlinked into the current release, rather than suffering downtime post-launch while Composer finishes installing. This is done by just puttingcomposer installinto thepre-launchwindow:
Permissions
We also need to change the deployment user from root (which is no longer allowed, if you followed the security instructions I linked to above) to our newly made one (in my case swader), but we know swader has no access to write in /usr/share/nginx. We need to fix that first.
In the droplet run su - root to log in as root, and then:
usermod -a -G www-data swader
chown -R root:www-data /usr/share/nginx
chmod -R g+rwX /usr/share/nginx
exit
This adds the user to the www-data group, then makes the group own the folder in question, and then allows the group to perform necessary actions on said folder. Finally, we exit back into the regular user, out of root. If you’d like to test this, you need to log out with exit and log back in for group membership to take effect.
We’re now ready to deploy.
Deployment
To deploy, click one of the many suggested Deploy buttons around the DeployBot GUI.
On the next screen, you get the chance to write a deployment note – just in case you want to let your team know something, or want to put down a reminder for yourself in the future.
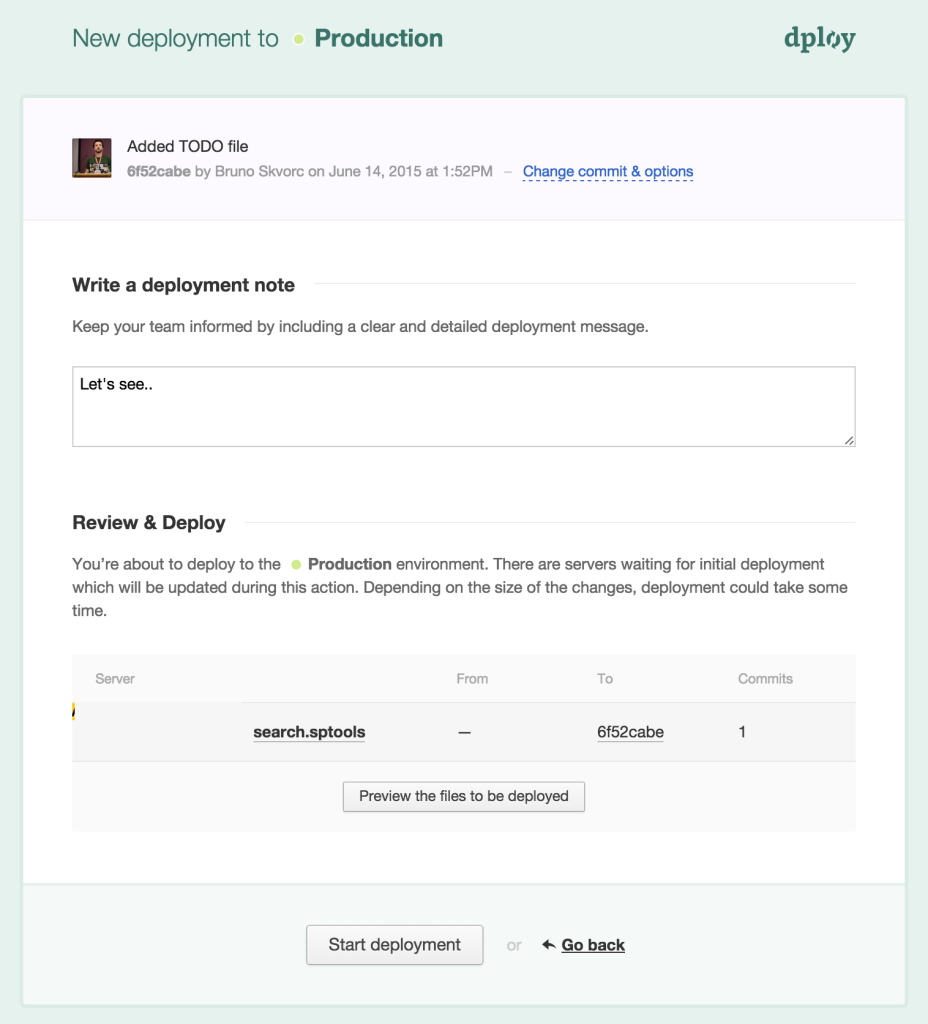
Once you hit “Start Deployment”, DeployBot will get down to business.
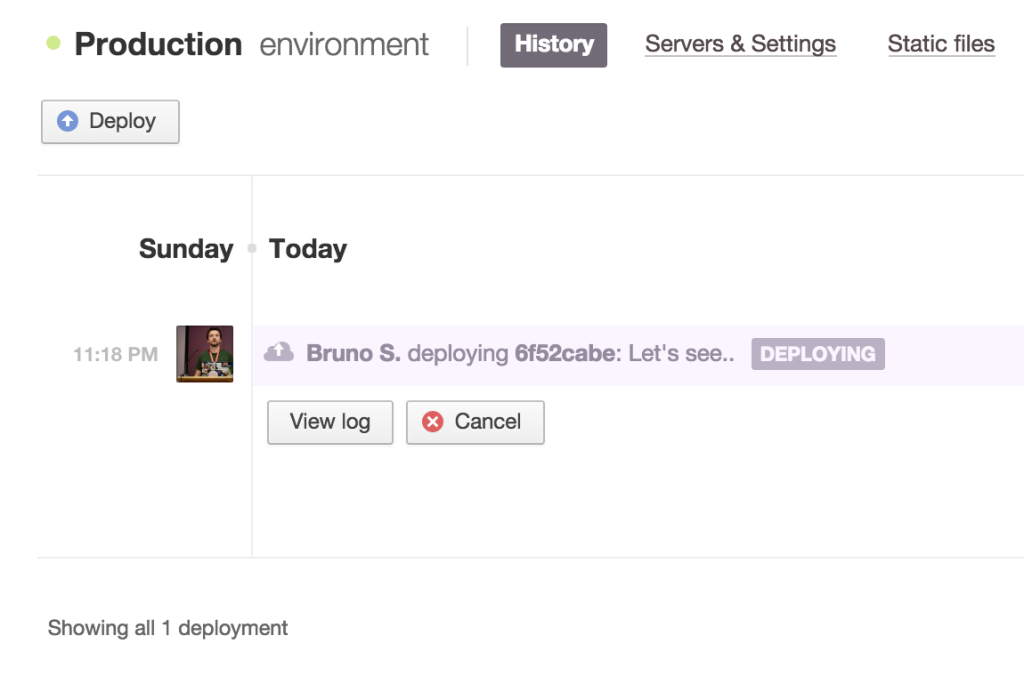
Depending on the size of your application and possible binary files it contains, this process might take a while, but once it’s done you should be able to notice the files are all where you want them to be:
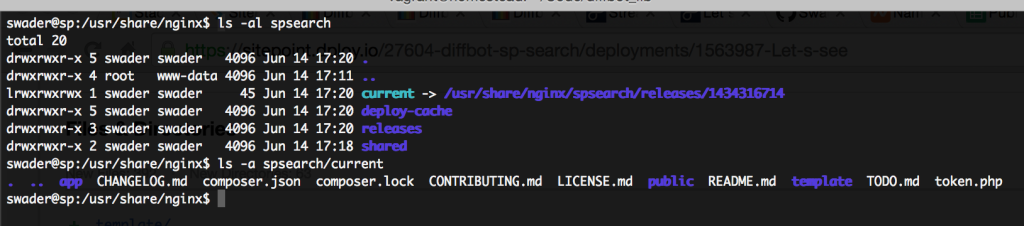
Let’s see if it works in the browser.
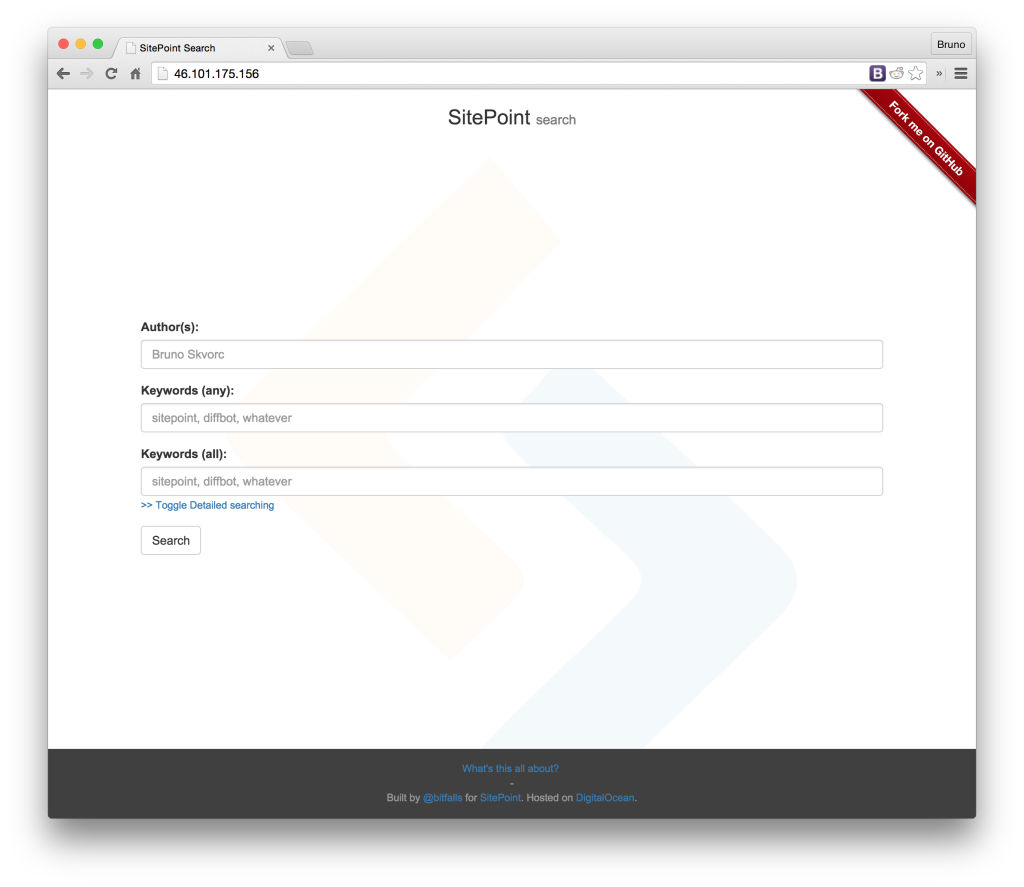
Sure enough, it works like a charm!
Updating / redeploying
It wouldn’t be much of an efficient deploy process if we had to go into the GUI every single time we want to make an update to the site and trigger the deploy process manually. That’s why there’s the trigger phrase in commit messages. If we make a new commit the message of which contains [deploy: production], this will force DeployBot to deploy to the environment called “production”. Let’s try it out.
I’m making a change to the about page of my app, and committing.
git add -A
git commit -m "Made some changes to the about page. [deploy: production]"
git push origin master
Before I could reload the live site, the DeployBot dashboard already claimed it was done. The deployment was impressively fast due to the minor differences between the two releases.
Conclusion
In this tutorial, we saw what a straightforward tool Deploybot was. While it may not be up there in popularity with the hottest deployment tools, it’s an underdog possibly worth considering. Coupled with reports from tools like Scrutinizer and Travis in the pre-launch scripts, it can be turned into a truly powerful and safe workflow.
Have you tried it? Will you? What tools do you use for your deploy chain? Let us know in the comments!
Frequently Asked Questions (FAQs) about Deploying PHP Apps on DigitalOcean with Dploy.io
How does Dploy.io work with DigitalOcean to deploy PHP apps?
Dploy.io is a deployment tool that works seamlessly with DigitalOcean to deploy PHP apps. It connects to your DigitalOcean account, accesses your repositories, and deploys your code to the server. It supports both manual and automatic deployments. Dploy.io also offers features like atomic deployments and parallel uploads, which make the deployment process faster and more efficient.
What are the prerequisites for deploying PHP apps on DigitalOcean using Dploy.io?
Before you can deploy PHP apps on DigitalOcean using Dploy.io, you need to have a DigitalOcean account, a Dploy.io account, and a repository with your PHP app code. You also need to have a server on DigitalOcean where you want to deploy your app.
How do I connect my Dploy.io account to my DigitalOcean account?
To connect your Dploy.io account to your DigitalOcean account, you need to provide your DigitalOcean API key in Dploy.io. This allows Dploy.io to access your DigitalOcean account and deploy your code to your server.
How do I configure my server on DigitalOcean for PHP app deployment?
Configuring your server on DigitalOcean for PHP app deployment involves setting up the necessary software, such as PHP, MySQL, and Apache or Nginx. You also need to configure your server’s firewall to allow traffic to your app.
Can I automate the deployment process with Dploy.io?
Yes, Dploy.io supports automatic deployments. You can configure Dploy.io to automatically deploy your code whenever you push to your repository. This makes the deployment process faster and more efficient.
What is atomic deployment in Dploy.io?
Atomic deployment is a feature in Dploy.io that ensures that your app is always available during the deployment process. It does this by creating a copy of your app, deploying your code to the copy, and then switching the live app to the copy once the deployment is complete.
How do I troubleshoot deployment issues in Dploy.io?
Dploy.io provides detailed logs of each deployment, which can help you troubleshoot any issues. You can also contact Dploy.io support for assistance.
Can I use Dploy.io with other cloud providers besides DigitalOcean?
Yes, Dploy.io supports several other cloud providers besides DigitalOcean, including AWS, Google Cloud, and Azure. You can connect your Dploy.io account to these providers in the same way as you would with DigitalOcean.
How secure is Dploy.io?
Dploy.io uses industry-standard security measures to protect your code and your deployment process. This includes encryption of your data in transit and at rest, and secure access controls.
How much does it cost to use Dploy.io with DigitalOcean?
Dploy.io offers several pricing plans, starting from a free plan. The cost depends on the number of servers and deployments you need. DigitalOcean also has its own pricing for its servers.
 Bruno Skvorc
Bruno is a blockchain developer and technical educator at the Web3 Foundation, the foundation that's building the next generation of the free people's internet. He runs two newsletters you should subscribe to if you're interested in Web3.0: Dot Leap covers ecosystem and tech development of Web3, and NFT Review covers the evolution of the non-fungible token (digital collectibles) ecosystem inside this emerging new web. His current passion project is RMRK.app, the most advanced NFT system in the world, which allows NFTs to own other NFTs, NFTs to react to emotion, NFTs to be governed democratically, and NFTs to be multiple things at once.