The vast majority of events are designed to be festive, positive, enlightening, uplifting, and fun. If your event’s printed promotional materials don’t reflect those same qualities and objectives, they’re missing the mark, and you’re setting the wrong expectations as a designer. The right approach to printed promotions involves skillful embodiment of the theme and concept into a design that compels the viewer to look twice and seriously consider attendance.
So today, I am going to design a bright geometric event flyer for an “Awesome Event” in Photoshop. In this tutorial, we will use some interesting styles, patterns, techniques, and blending options to achieve the desired outcome and tantalize our viewers.
Resources:
Mosaic Patterns
Subtle Patterns
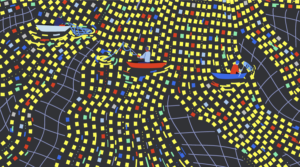
So let’s have a good look at our final design before we start:

(Download the completed, layered PDF file.)
Step 1:
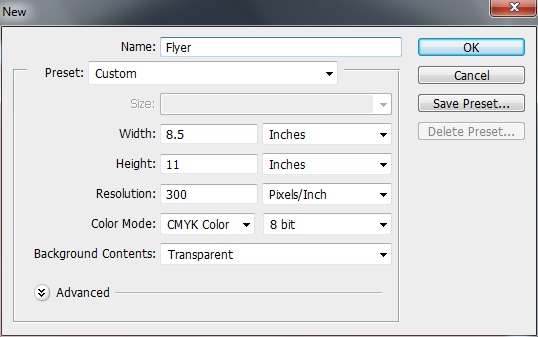
Open Photoshop and create a new file. The flyer’s size can vary; you can choose whatever size you prefer. I’m going with a standard 8.5in width and 11in height and CMYK as my color mode.
Step 2:
Now, set the bleed to 0.25in, and create some guides by clicking on “View” > “New guide”.

Step 3:
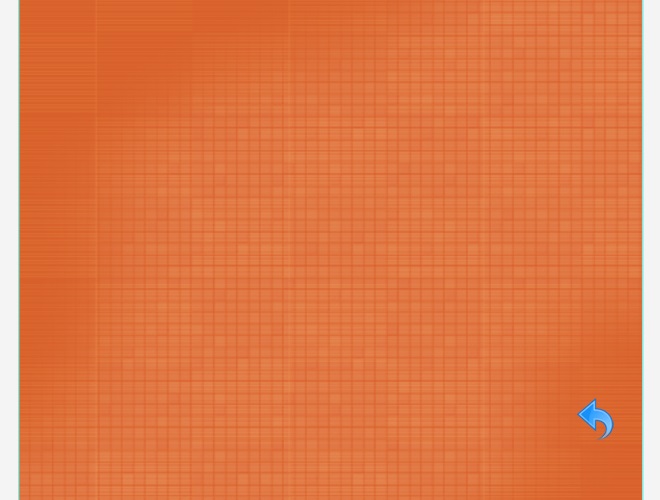
For the background, we will use a bright, bold color (#d8602b) and fill the background using the paint bucket tool.

Step 4:
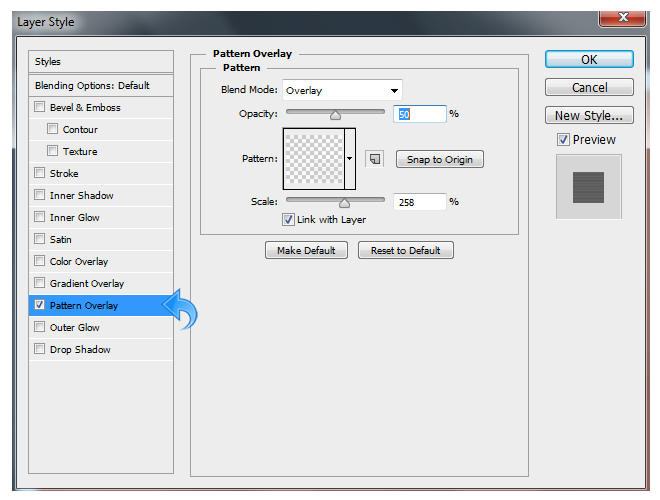
Now, select the background layer and click on “Layer styles” to add a pattern. Use the subtle pattern referenced in the resources above. Change the blending mode to “Overlay”, set the opacity to 50%, and keep the settings the same as shown in the image below.
Step 5:
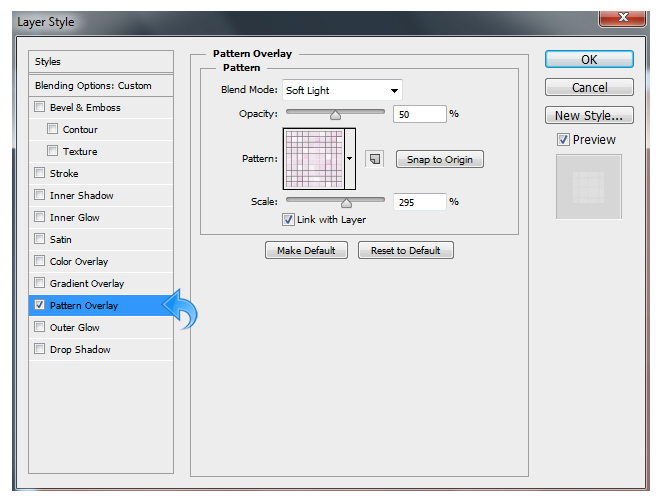
Create a new layer fill it with color #ffffff using the paint bucket tool. Now, reduce the fill to only 5% and click on “Layer styles” to add a mosaic pattern with blending mode switched to “Soft light” and the opacity set at 50%. Adjust the rest of the settings using the image below as a guide.
Step 6:
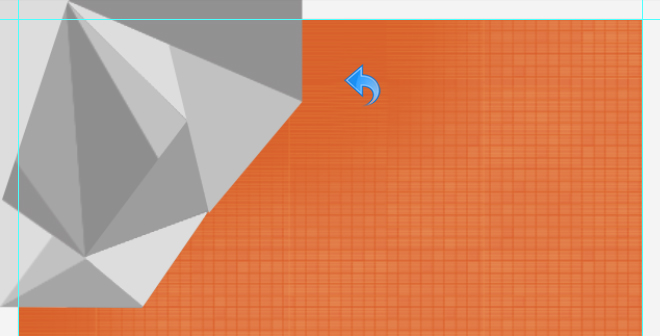
Select the above pattern layer and click on “Layer” > “Layer Mask” > “Hide all”. Now, select a soft round brush with a white foreground color and use it diagonally in the middle so that the pattern only appear in the middle. Look below for clarity.
Step 7:
Create a new layer, select the pen tool, and create some triangles and other shapes using various shades of gray.
Step 8:
Fill the entire background by repeating the same process. (I’ll create a pattern out of it so that we can use the same pattern for other elements as well.) Now, change blending mode of the layer to “Overlay” and reduce the opacity to 50%. We will keep this layer always on the top.
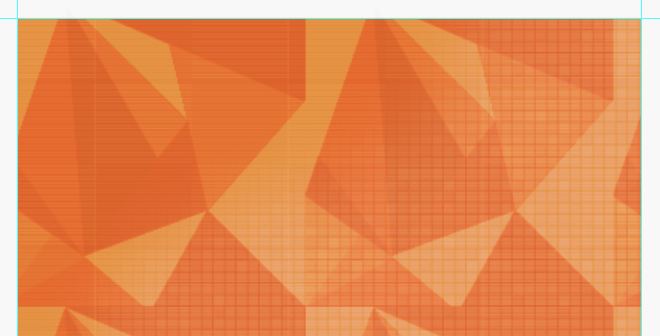
Step 9:
Select the polygonal tool and create a hexagonal shape in the middle with six sides. Fill it with color #02a598; make sure to place the shape layer under the pattern layer that we created earlier.

Step 10:
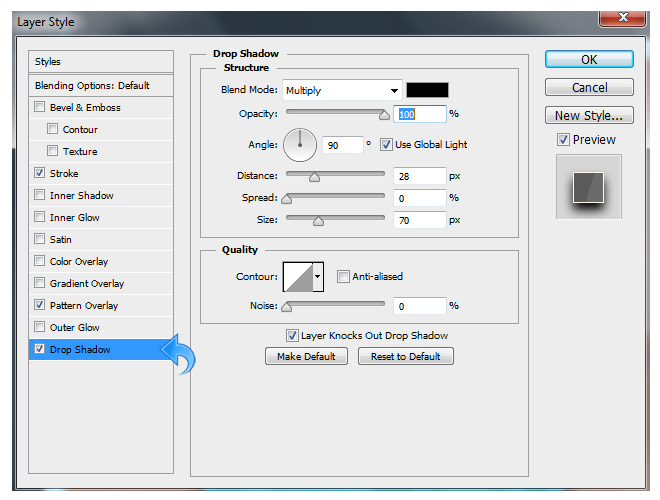
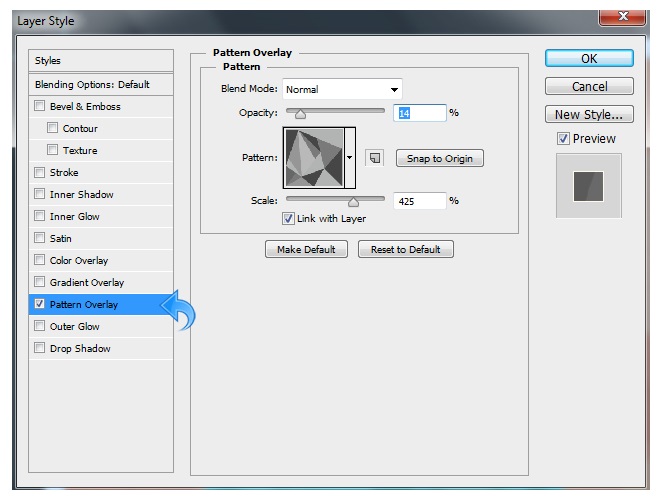
Select the shape layer and click on “Layer styles” to add some stroke, pattern, and drop shadow. Use the settings shown in the following images.
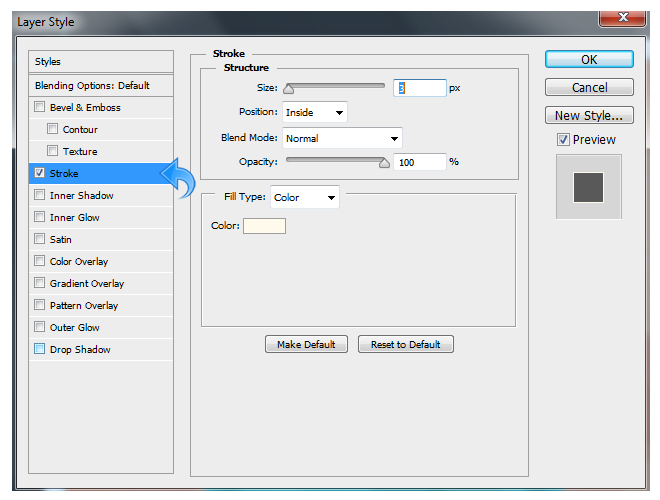

Step 11:
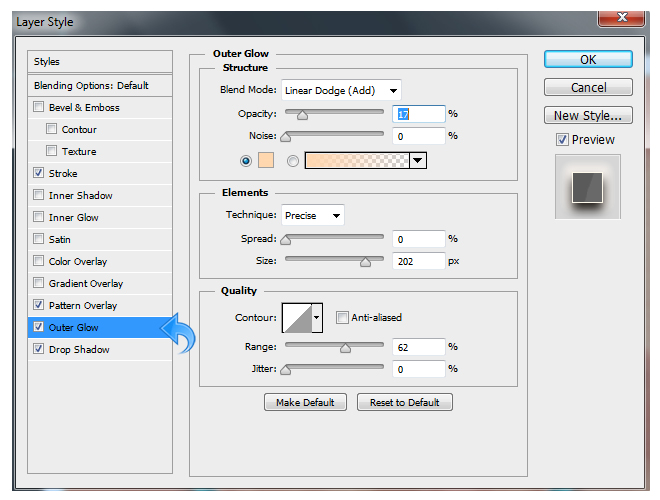
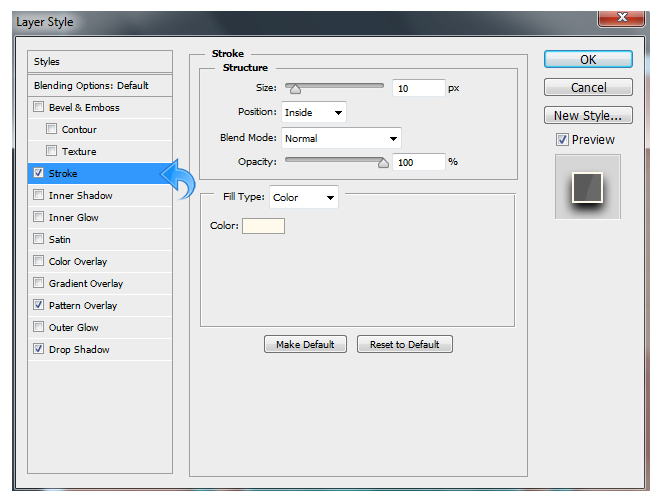
Create another shape using the polygon tool with six sides; this time, fill it with color #f36521. Make this shape a bit smaller than the previous one. Then, click on “Layer styles” to add a pattern and drop shadow using the same settings as before. Then, add an outer glow and stroke using the following settings.

Step 12:
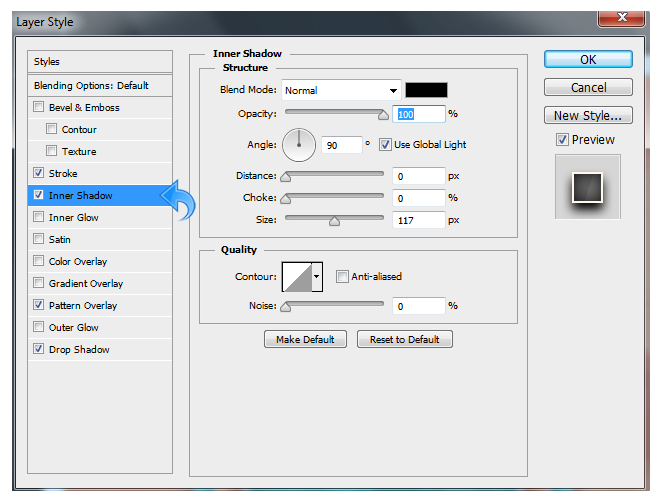
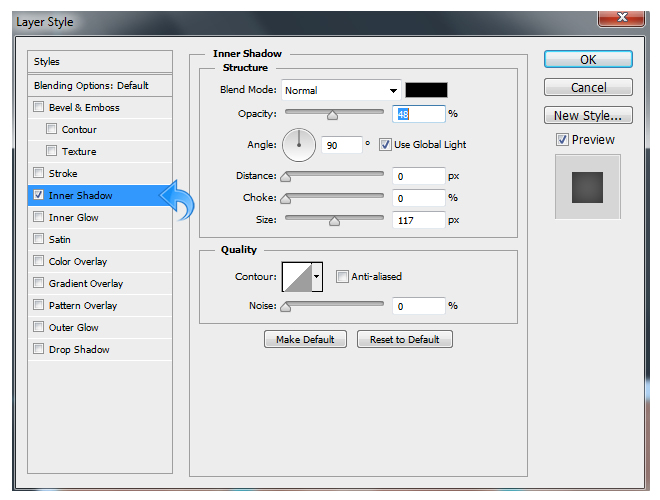
Repeat the same process and create another polygonal shape with six sides using the polygon tool. Again, make this one smaller than the previous shape. Fill it with color #00746b, then click on “Layer styles” to add a pattern and drop shadow with the same settings as the first shape. Then, add inner shadow and stroke with the settings shown below.
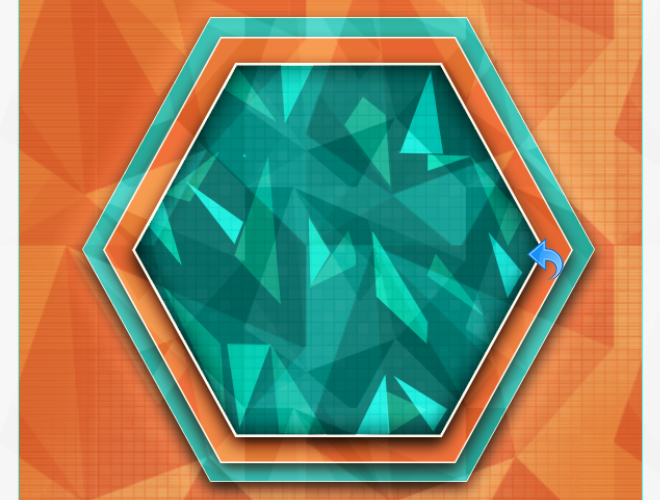
Step 13:
Create yet another shape using the polygon Tool; it should be the same size as shape from the previous step. (You could also simply duplicate the previous shape.) Now, reduce the layer fill to 0% and click on “Layer styles” to add a pattern. Here, we’ll use the mosaic pattern from the set I have mentioned in the resources.
Keep the pattern settings same as shown below.

Step 14:
To make our main polygonal shape nice and bright, we’ll add some more random triangles and other shapes to make it more interesting. So, create a new layer and select the pen tool to create some triangles using colors like #e1af9a, #f0f0f0, and #abe6d4.
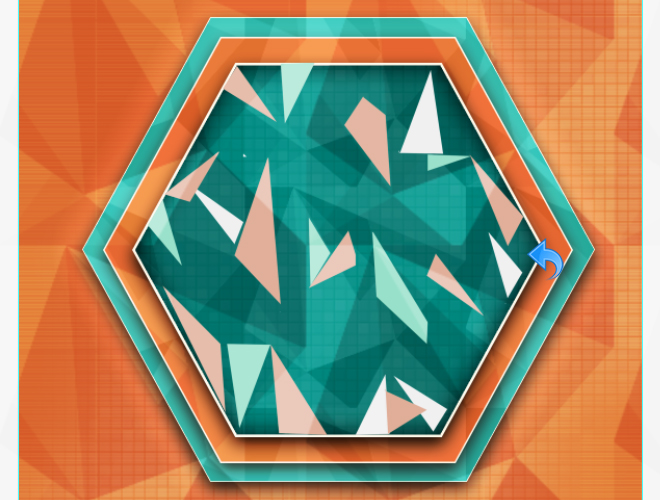
Step 15:
Now, change the blending mode of the triangles layer to “Overlay” with 100% opacity.
Step 16:
It’s time to start adding the text, so select the type tool and add a title using color #fffaec. Then, select the text layer and click on “Layer styles” to add a drop shadow. Adjust the shadow settings to reflect those in the image below.

Step 17:
Select the line tool and create a small line using color #ffffff, then click on “Layer styles” to add some drop shadow to the line.

Step 18:
Now, create three stripes using the rectangle tool and fill these with colors #005952, #00a99d, and #006b65. For the first two stripes, click on “Layer styles” to add some inner shadow and pattern overlay using the settings in the images below.
Step 19:
Let’s finally add rest of the text. Select the type tool and add the text using the same color and drop shadow settings used for the title text.

Step 20:
Now, simply add some basic dividers using the line tool. Create a horizontal divider using the same method as before. For the small vertical divider, create two lines using color #252525, and then create a third with color #ffffff.

We’re done with our bright, geometric event flyer. I hope you enjoyed the process. Please share your thoughts.
 Anum Khan
Anum is Web and Graphic designer. Addicted to Photoshop and crazy for pixel perfection. She is also an active blogger, sharing her passions, skills and creative details on her blog Websoulz. She loves to connect with the community, sharing the latest design gossips and rolling her eyes on boring trends.