There are plenty of ways to impress and make introductions online, but business cards are still very important, and regardless of whatever nascent technology lies ahead, a compelling, tangible business card will always play a key role in attracting new clients. A unique and appealing business card design can help you stand out from the crowd and demonstrate your value and talents in real, tangible terms. One way to make your business card intriguing and different is designing a vertical business card instead of the usual, expected horizontal equivalent.
So, today,we are going to create an appealing vertical business card in InDesign. We will use some useful techniques, tools, and tricks to get this done. Let’s get stated.
Final Result: (Download the finished, layered InDesign file.)

Step 1
Open InDesign and click on “File” > “New” > “Document,” with the number of pages set at 2. Uncheck the Facing pages. You can use the size that your printer prefers; I’m going to set the width to 2in and the height to 3.5in with margins of 0.5in and a bleed 0.125in.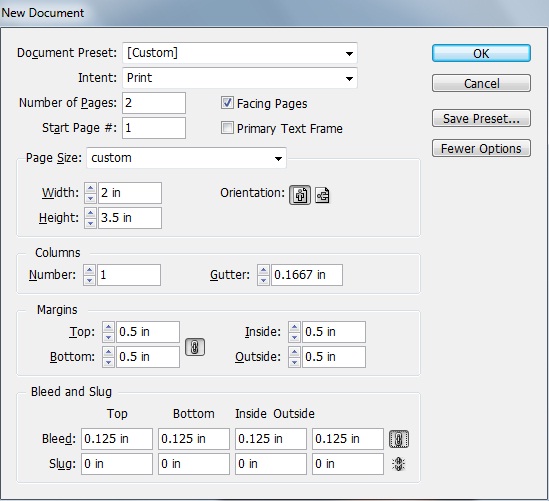
Step 2
Now, select the rectangle tool and create a rectangle with a dark color swatch (C=0 M=0 Y=0 K=92).
Step 3
Select the line tool and create a vertical line with the same color used in the above rectangle. Then, add a 4pt “white diamond” stroke with color swatch (C=0 M=0 Y=0 K=93).
Step 4
Repeat the same process and fill the background with these lines.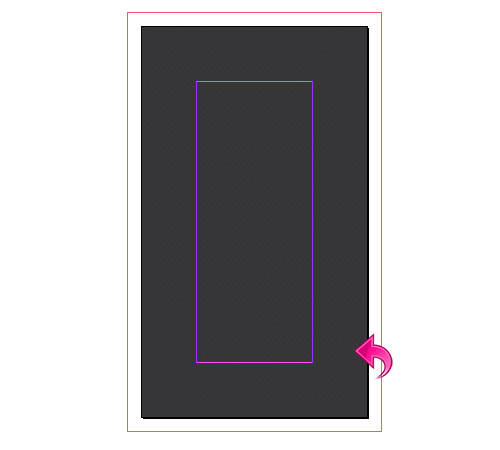
Step 5
Before we start with the design elements, let’s change the screen mode to “Preview” so that we can properly see the details. Now, create a new layer (using the layer panel) then select the pen tool and create a path like the one below. Fill it with color swatch (C=9 M=75 Y=100 K=7).
Step 6
Select the above layer and click on effects to add some drop shadow. Use the following settings.
Step 7
Select the pen tool again, create another path, and fill it with paper color swatch (C=0 M=0 Y=0 K=0). Then, click on “Effects” and add a drop shadow using the same values used before.
Step 8
Repeat the same process and create some more paths with similar colors and drop shadows.
Step 9
Now, let’s start with bottom. Select the pen tool, create a path, and fill it with color swatch (C=9 M=75 Y=100 K=7).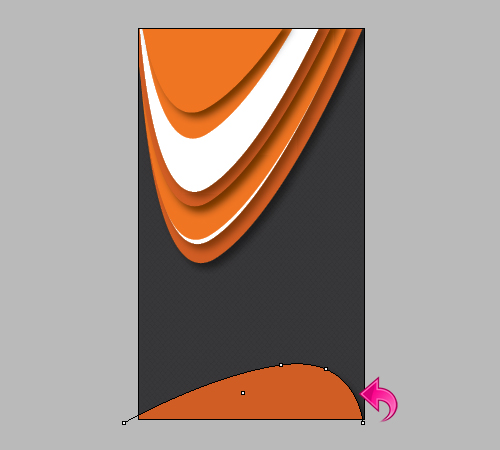
Step 10
Create two more paths with colors (C=9 M=75 Y=100 K=7) and (C=1 M=67 Y=100 K=0). Then, click on “Effects” to add some drop shadow. Use the values shown below.
Step 11
Now, let’s add the title text. Select the type tool and add text using paper swatch (C=0 M=0 Y=0 K=0).
Step 12
Select the above layer and click on “Effects” to add a drop shadow and inner shadow using the following settings.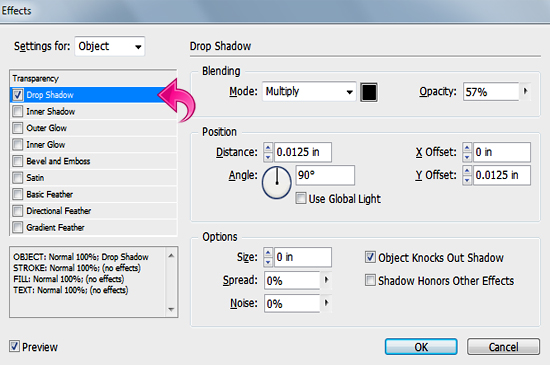

Step 13
Repeat the same process and add some more text. We’re done with the front side!
Step 14
Now, let’s start with the other side. Create a new layer and select the rectangle tool to create a rectangle using the same printer-friendly dimensions that you chose before.
Step 15
Select the line tool to add lines with a 4pt “White diamond” stroke, the same way that we did above.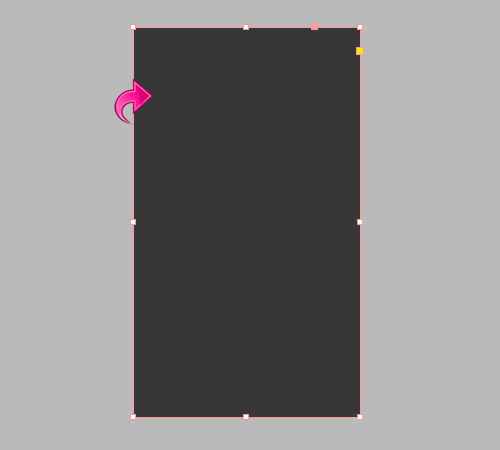
Step 16
Select the pen tool to create a path and fill it with color swatch (C=1 M=67 Y=100 K=0).
Step 17
Repeat the same process and create rest of the paths and add some drop shadow to each.
Step 18
Select the type tool, add text with a pure white paper swatch, and add inner shadow and drop shadow. Use the same settings that we used for the text on the other side of the card.
Step 19
Repeat the same process and add some additional text.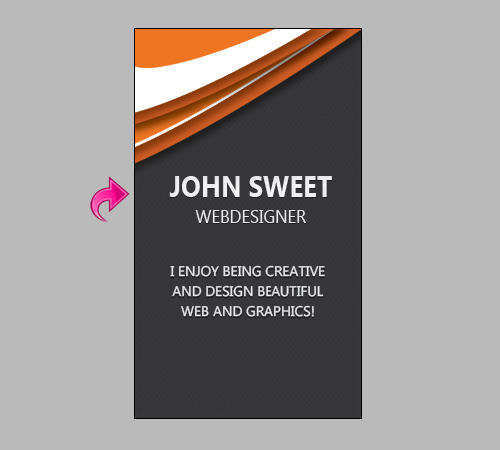
Step 20
Now, select the line tool and create a divider between the texts. Add a 3pt “White diamond” stroke to line with a gray color swatch (C=0 M=0 Y=0 K=83).
Step 21
Select the rectangle tool and create a small rectangle with color (C=0 M=0 Y=0 K=94).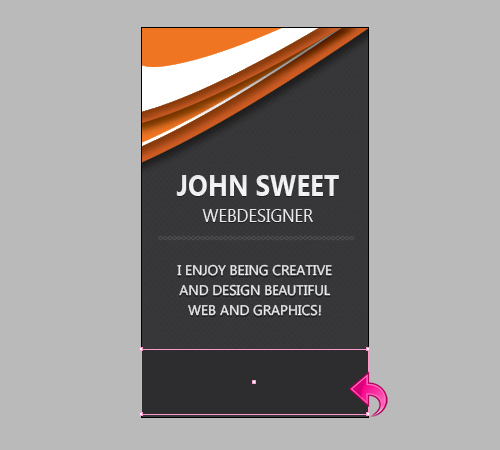
Step 22
Now, select the type tool and add the contact details into the design.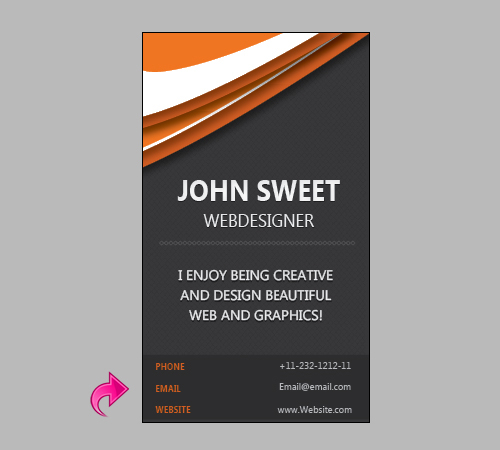
Step 23
Select the line tool and create dividers with a 1pt stroke using a dark color swatch (C=0 M=0 Y=0 K=93).
And, we are done with our vertical business card. Looking sharp! I hope you enjoyed the process.
Frequently Asked Questions about Creating a Sleek Vertical Business Card
What are the benefits of using a vertical business card design?
Vertical business cards offer a unique and modern twist to the traditional horizontal layout. They are more noticeable due to their unconventional orientation, which can help your business stand out. Additionally, vertical cards often have a more dynamic and creative look, which can be beneficial if you’re in a creative industry or want to showcase your innovative approach.
How can I design a vertical business card in Adobe InDesign?
Adobe InDesign is a powerful tool for creating professional-looking business cards. Start by setting up a new document with the correct dimensions for a business card. Then, use the tools available in InDesign to add text, images, and other design elements. You can also use layers to organize your design and make it easier to edit.
Can I use templates for designing my vertical business card?
Yes, using templates can be a great way to get started with your business card design. Templates provide a pre-designed layout that you can customize with your own text, images, and branding. Many online platforms like Canva and Adobe offer a variety of business card templates, including vertical designs.
Are vertical business cards professional?
Absolutely. While the orientation of a business card may be unconventional, it does not detract from its professionalism. In fact, a vertical business card can help you stand out and be remembered, which is a key goal of networking. The most important thing is that your card contains all the necessary information and represents your brand well.
What should I include on my vertical business card?
Your business card should include your name, job title, company name, contact information (such as phone number, email address, and website), and your company logo. You may also want to include social media handles if they are relevant to your business. Remember to keep the design clean and easy to read.
How can I print my vertical business card?
Once you’ve designed your business card in a program like InDesign, you can export it as a high-resolution PDF file for printing. You can then take this file to a professional printer, or print it yourself if you have a high-quality printer. Make sure to choose a good quality cardstock for a professional finish.
Can I use images on my vertical business card?
Yes, images can be a great way to add visual interest to your business card. However, it’s important to ensure that any images you use are high-quality and relevant to your business. Also, remember to keep the design balanced and not too cluttered.
What are the dimensions of a vertical business card?
The standard dimensions for a vertical business card are 3.5 inches by 2 inches. However, you can choose to use a different size if it suits your design better. Just remember to keep the size practical, as business cards need to fit easily into wallets and card holders.
Can I use different colors on my vertical business card?
Absolutely. Using color can help your business card stand out and can also be used to reinforce your brand identity. However, it’s important to ensure that the colors you choose are easy to read and not too overwhelming.
How can I make my vertical business card design more unique?
There are many ways to make your business card design unique. You could use a unique font, add a creative image or graphic, use a different material for the card itself, or even add a special finish like foil stamping or embossing. The key is to create a design that represents your brand and makes a memorable impression.
 Anum Khan
Anum is Web and Graphic designer. Addicted to Photoshop and crazy for pixel perfection. She is also an active blogger, sharing her passions, skills and creative details on her blog Websoulz. She loves to connect with the community, sharing the latest design gossips and rolling her eyes on boring trends.


