Modern websites truly do justice to the term multimedia. If you’re not making the most of the web as a medium for sound, video, and interaction, then you’re missing out on a tremendous opportunity. Custom media players are a great way to go beyond offering simple text and build compelling content online.
In this tutorial, I’ll walk you through the process of designing a sleek media interface in Photoshop. We’ll use the pen tool, various shape tools, and layer styling techniques for the creation of this interface. I hope you’ll learn some handy tips along the way, so, let’s get started!
Resources:
Abstract Render Pack by QaysA
Final result: (Click here to download the completed PSD file.)
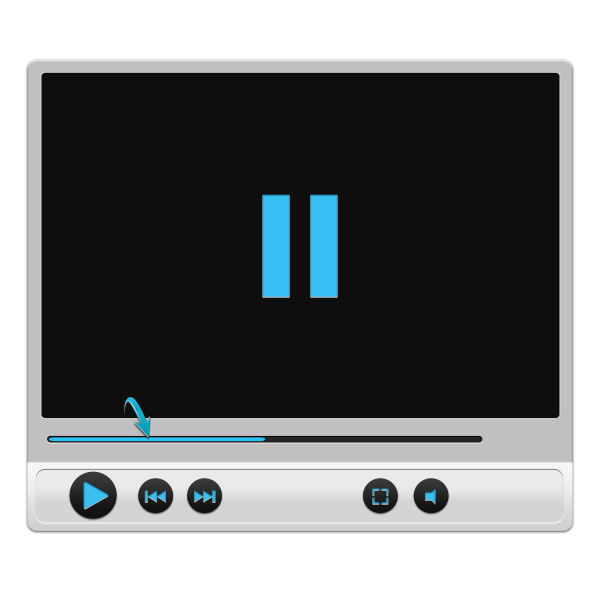
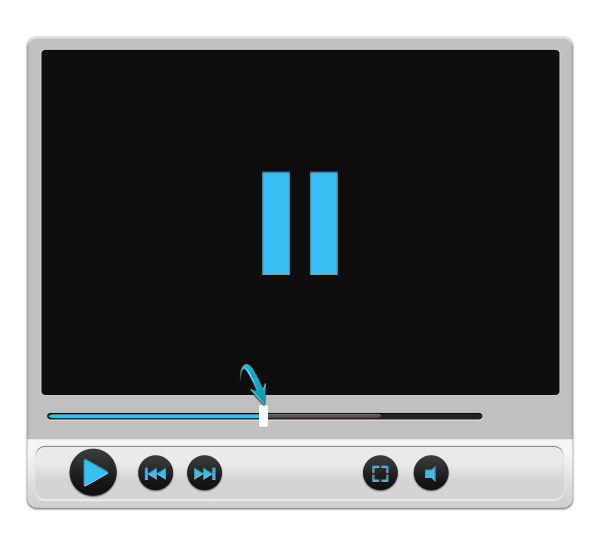
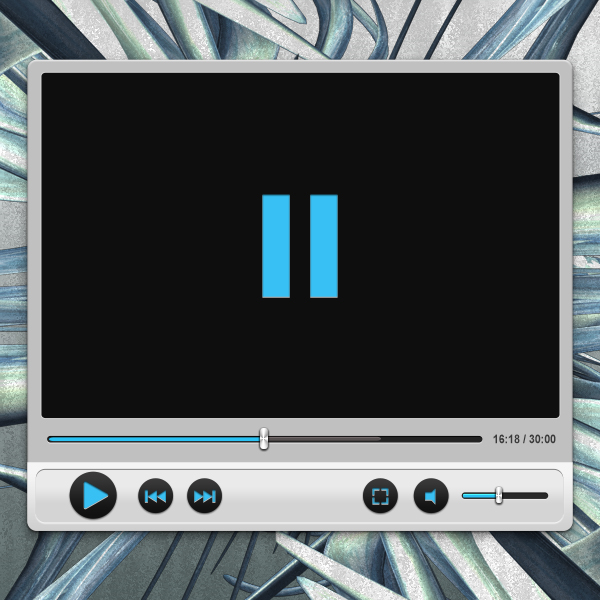
Before we start, let’s look ahead at our end result.

Here is the darker version of media interface.

Step 1
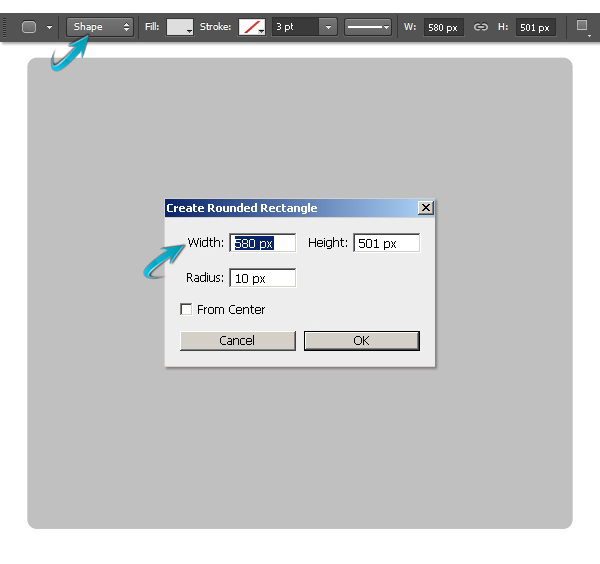
Create a new document in Photoshop with a 670px width and a 670px height.

Step 2
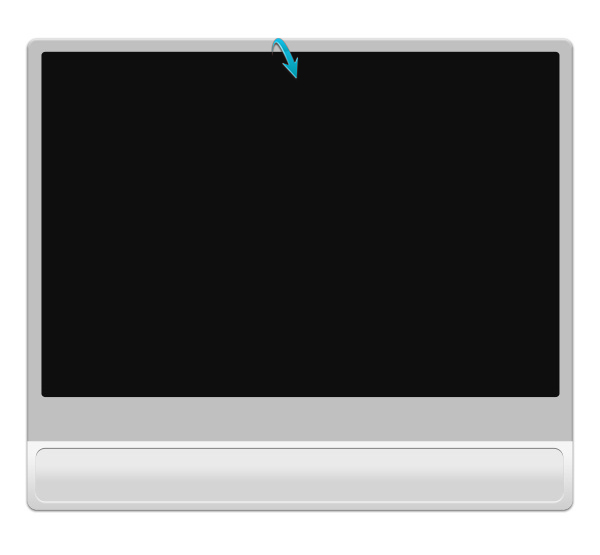
First of all, we’ll create the base for the media player. For that, set #c0c0c0 as your foreground color and select the rounded rectangle tool with a 10px radius to draw a rectangle like the one shown below.
Step 3
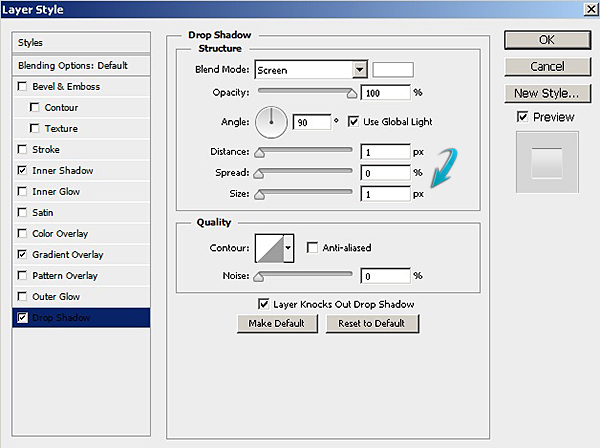
Double-click on the rectangle layer to open the layer style window and apply the following settings.


Step 4
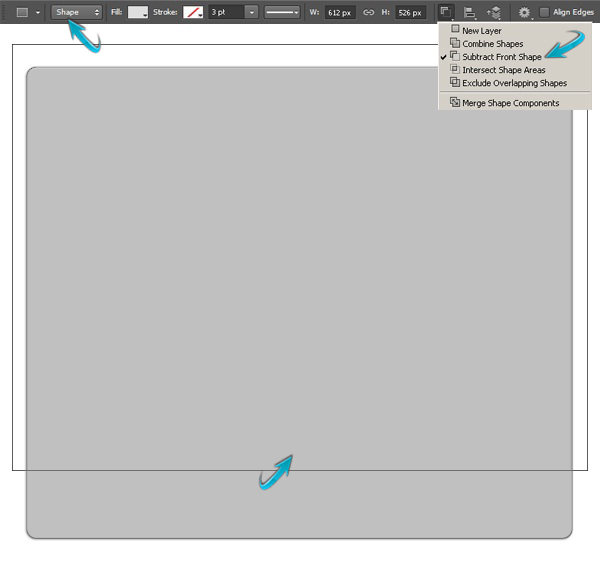
Now, duplicate the rectangle by going to “Layer” > “Duplicate layer.” Remove the “effects” from this duplicated rectangle by simply dragging the “effects” to the “Delete layer” icon present at the bottom of the layers panel. After that, select the rectangle tool (Tool mode: Shape), select “Subtract front shape” in the “Path operations” menu, and draw a rectangle on this duplicated layer leaving around 1/6th of the rounded rectangle at the bottom.
Step 5
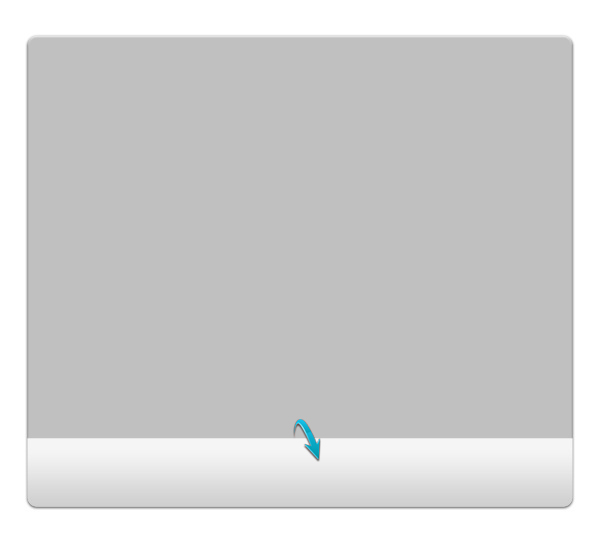
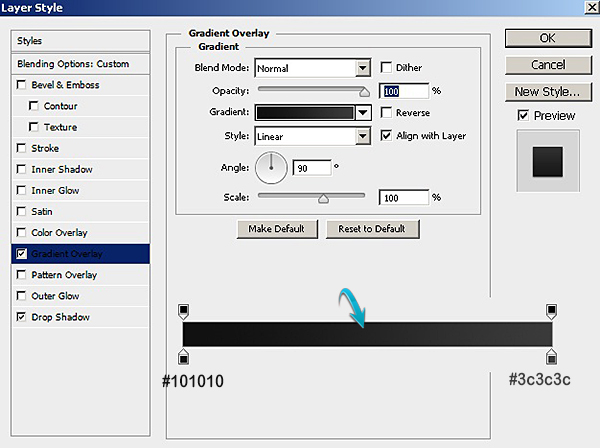
Apply the following settings as a gradient overlay on this new subtracted shape.

Step 6
Select the rounded rectangle tool with a 10px radius and draw a rectangle inside the subtracted shape, as shown below. You can use any color for now, as we are going to apply gradient on it later.

Step 7
Apply the following layer style settings on this new rectangle.


Step 8
Now to form the screen, draw the rectangle shown below using the rounded rectangle tool with a 10px radius. Use pure black color for this purpose.
Give it a 1px stroke.

Step 9
The base for the media player is ready, so we’ll move ahead to create other elements. Let’s create the buttons next. Select the ellipse tool to draw five ellipses, one larger and the other four of the same size. Press the Shift key while using the ellipse tool to get perfect circles and arrange them as shown below.
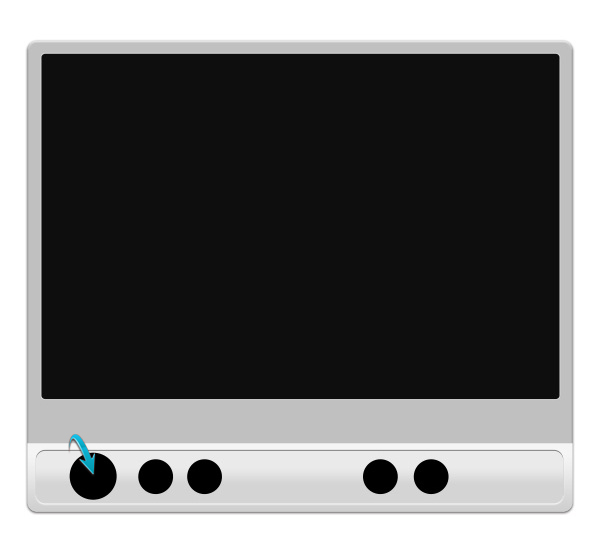
Step 10
Double-click on one of the ellipse layers and apply the following layer style settings to it.


Step 11
Now, right-click on this ellipse layer and select the option of “Copy layer style.” Then, right-click on rest of the ellipse layers one by one and choose “Paste layer style” to apply the same effects to them.
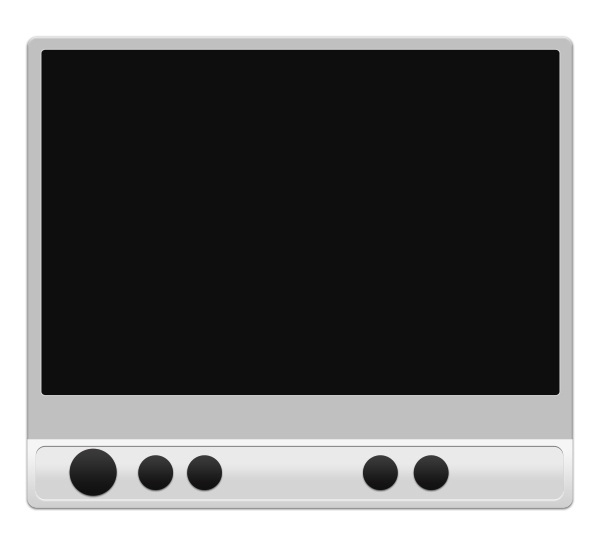
Step 12
Next, we’ll draw various shapes over these buttons. For that, set #38c0f3 as your foreground color and select the pen tool (Tool mode: Shape) to draw the triangular “play” shape.


Step 13
Now, apply the following layer style settings on the triangular “play” shape layer.

Once you are done, copy the layer style of the play shape layer and paste it onto the rest of the shape layers to get the effect shown below.

Step 14
We’ll create the timeline bar now. Draw a thin horizontal rectangle using the rounded rectangle tool with a 10px radius in pure black color. Reduce the opacity of this layer to 82%.

Now, apply the following settings for inner shadow and drop shadow on this thin rectangle.


Step 15
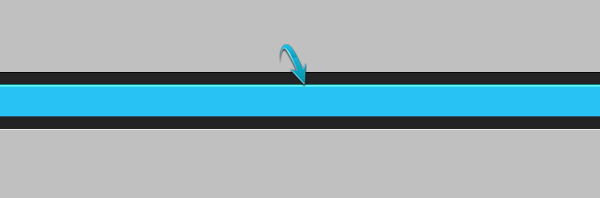
Draw another rectangle inside the previous one and apply color #29c2f4.
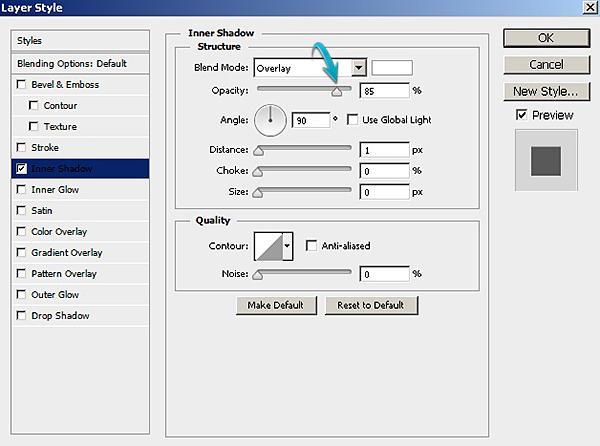
Use the following settings to add an inner shadow to this thin colored stripe.
Step 16
Duplicate the blue rectangle, change its color to #575151, and drag it to the right side of blue rectangle. This rectangle will indicate buffering.

Step 17
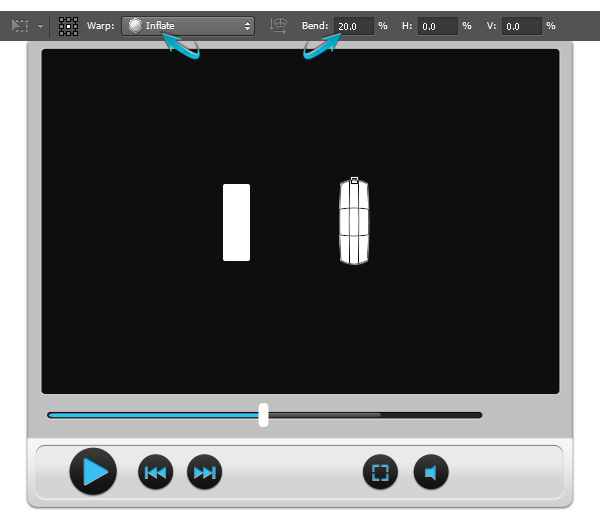
Next, we’ll create the pointer on this timeline. For that, set #FFFFFF as your foreground color and select the rounded rectangle tool with a 2px radius to draw a small rectangle, as shown below.
Now go to “Edit” > “Transform” > “Warp.” Select “Inflate” with a 20% bend in the properties bar to get the shape shown below.
Step 18
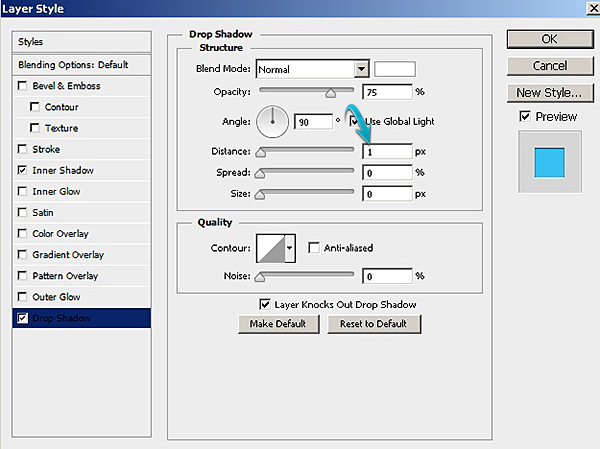
Apply the following settings as a drop shadow on the pointer layer.

Now, duplicate the pointer layer. Make sure that duplicate layer is above the original layer. Drag its effects to the delete layer icon and double-click to apply the following gradient overlay settings.


Step 19
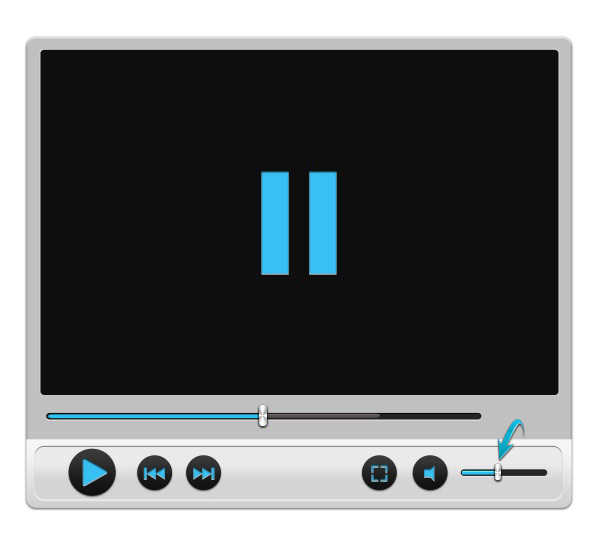
Collect all of the layers forming the timeline bar into a single group, duplicate this group, and reduce its size using the free transform tool (Ctrl + “T”) to form the volume adjustment lever. Delete the buffering layer from this duplicated group and position it as shown below.
Step 20
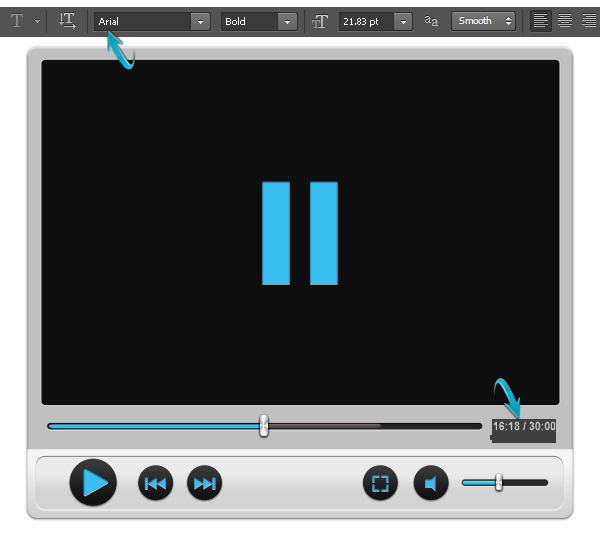
Now, we’ll add a timer in front of the timeline. We’ll use “Arial” font (Bold) in #3a3a3a color for this purpose.
Step 21
Our media player interface is almost ready. You can leave it as it is now, or can enhance the shadow effect if you want. To make a darker media player, duplicate the base rectangle of media player, place this copy just above the background, turn it black, and label it as shadow. Then, right-click on this new layer and select “Rasterize layer.” Now, go to “Filter” > “Blur” > “Gaussian blur.” Use a value of 5px for the Gaussian blur to get the effect shown below.

Now drag the shadow a bit downward.

Step 22
For the background, I’ve used renders and grainy texture, which is made using filters.
That’s it. I hope you enjoyed the tutorial and learned something useful. Share your thoughts!
 Anum Khan
Anum is Web and Graphic designer. Addicted to Photoshop and crazy for pixel perfection. She is also an active blogger, sharing her passions, skills and creative details on her blog Websoulz. She loves to connect with the community, sharing the latest design gossips and rolling her eyes on boring trends.